Tag Archives: Necklace

Disney’s Frozen Inspired Cameo

Standard

My friend is coming into town this week, and after Christmas we have made plans to go to the movies. Him, my husband, the kids, and myself.

I’ve been looking forward to seeing Frozen for a while now, and wanted to make a necklace to wear when I go. Meh, why not, right? At first I thought I might just make a chibi of Elsa. However, after looking through all the findings I have, I settled on making a cameo.

6 hours later and I finally pulled it out of the oven, completed.

DSCF2425

DSCF2432DSCF2434 DSCF2438 DSCF2441

I’m not entirely happy with it, but I’m not unhappy either. I think I could be fairly proud to wear this…into a dark theater. x)

Tutorial: Monocle Necklace

Standard

I’m going to do a quick tutorial over how to make the Monocle necklace like what my sister is modeling here:
Image

Here is what you will need:
Image
Wire cutters
Chain
Jump Rings (5 small, 1 large)
Clasp
Round Nosed Pliers
Polymer Clay Mustache and Monocle (I have a tutorial on making both of these her eon my blog)

First we are just going to make a simple necklace with the Mustache like this:
Image
Put the jump rings through the holes you made in your mustache:
Image

Image
Attach the Mustache to the length of chain you prefer. I don’t really measure, just eyeball it:
Image
Make sure you add your clasp to the other end of this chain:
Image

Next you want to add another (much) shorter length of chain a couple inches away from your clasp:
Image
Image
Image
Add the large jump ring to your monocle:
Image
And then attach the monocle to the other end of the shorter chain and you are done!
Image

Hope you enjoyed the tutorial and found it useful. 🙂 More to come!

Show and Tell: Coming Soon!

Standard

My mother in law is a very talented jewelry maker, and she has graciously allowed me to start selling her beautiful work in my Etsy shop. ❤ I have had some of her things for a while now and I just haven’t been able to snap good enough pictures until today. I can’t wait to put all of her lovely creations up:
Image
Image
Image

Check back later this evening as well and I will have a new tutorial up. 🙂 That’s for stopping by!

Tutorial: Monocle

Standard

I’m feeling rather full of Sir this month, so, I decided to try my hand at making a very simple monocle and mustache necklace (I have a tutorial on my blog on how to make a simple mustache, if you need). 

Here is what the final product ended up looking like:
Image

So, if you would like to make one for yourself, here is what you will need:
Image
Clay in your choice of color.
Exacto (or other type of blade)
Smoothing tool

Start by rolling your clay out into a long snake:
Image
Cut both ends with your blade to make them even, then attach them and make a circle:
Image
Roll out a small piece of clay like so:
Image
Pinch it into a tear drop shape and attach it to your large circle where the two end meet:
Image
Smooth out all the spots where the clay meets with your blending tool, then bake according to the instructions on your clay’s packaging.

When your done, you can throw together a cute little necklace and have some fun like my little sister did here:
Image

Enjoy and come back for more tutorials!!!

Tutorial: Nerd Glasses

Standard

If you recall, a while back I posted a tutorial on the mustache part of this necklace (modeled by my little sister):
Image
Today we will cover the glasses!

What you will need:
Image
Clay in your choice of color
Exacto Blade or knife
Ball Tool or tooth pick

Grab a chunk of your clay and condition it. I always roll it into a ball afterward:
Image
Roll your ball into a long, skinny-ish snake. About like this:
Image
Cut your snake into three sections. One being longer, the other two being equal in size:
Image
Image
One you have these cut, take your two short piece and attach them to the longer piece to make a sort of B shape:
Image
Image
Smooth the clay together:
Image
Add a hole in each corner with your ball tool or toothpick:
Image
Image
Now bake according the instruction on your clay’s package, add a couple of jump rings and attach to a length of chain you like. Easy right?!

Here are a couple others I have made:
Image
Image

Don’t forget to have fun with it and check back soon! There are always more tutorials to come. 🙂

Show And Tell: My past and favorite creations

Standard

I just wanted to share some of my creations from past projects:
Stacked Ombre Cakes
ImageImage
Coraline Inspired Key: Image
Hello Kitty Nerd Glasses:
Image
Phantom of the Opera Inspired Necklace:
Image
Rainbow Cake:
Image
Clay Dragon:
Image
Clay Woman in Winter Scene (This was my first attempt at clay ‘painting’. Everything is 100% polymer clay): Image
Mother Nature Inspire Necklace (this was my 2nd attempt at clay ‘painting’. Again, everything is 100% polymer clay. The pendant is about the size of a nickle):
Image

Those are some of my favorites that I’ve made. Most are available in my Etsy shop and all can be recreated if need be. 🙂
https://www.etsy.com/shop/PsUnexpectedTreasure?ref=si_shop

Mustache Necklace Tutorial

Standard

Ah…the noble mustache. Everyone loved them, but very few of us can grow something so majestic. What do those of us who CAN’T grow a mustache do? We wear fake ones.

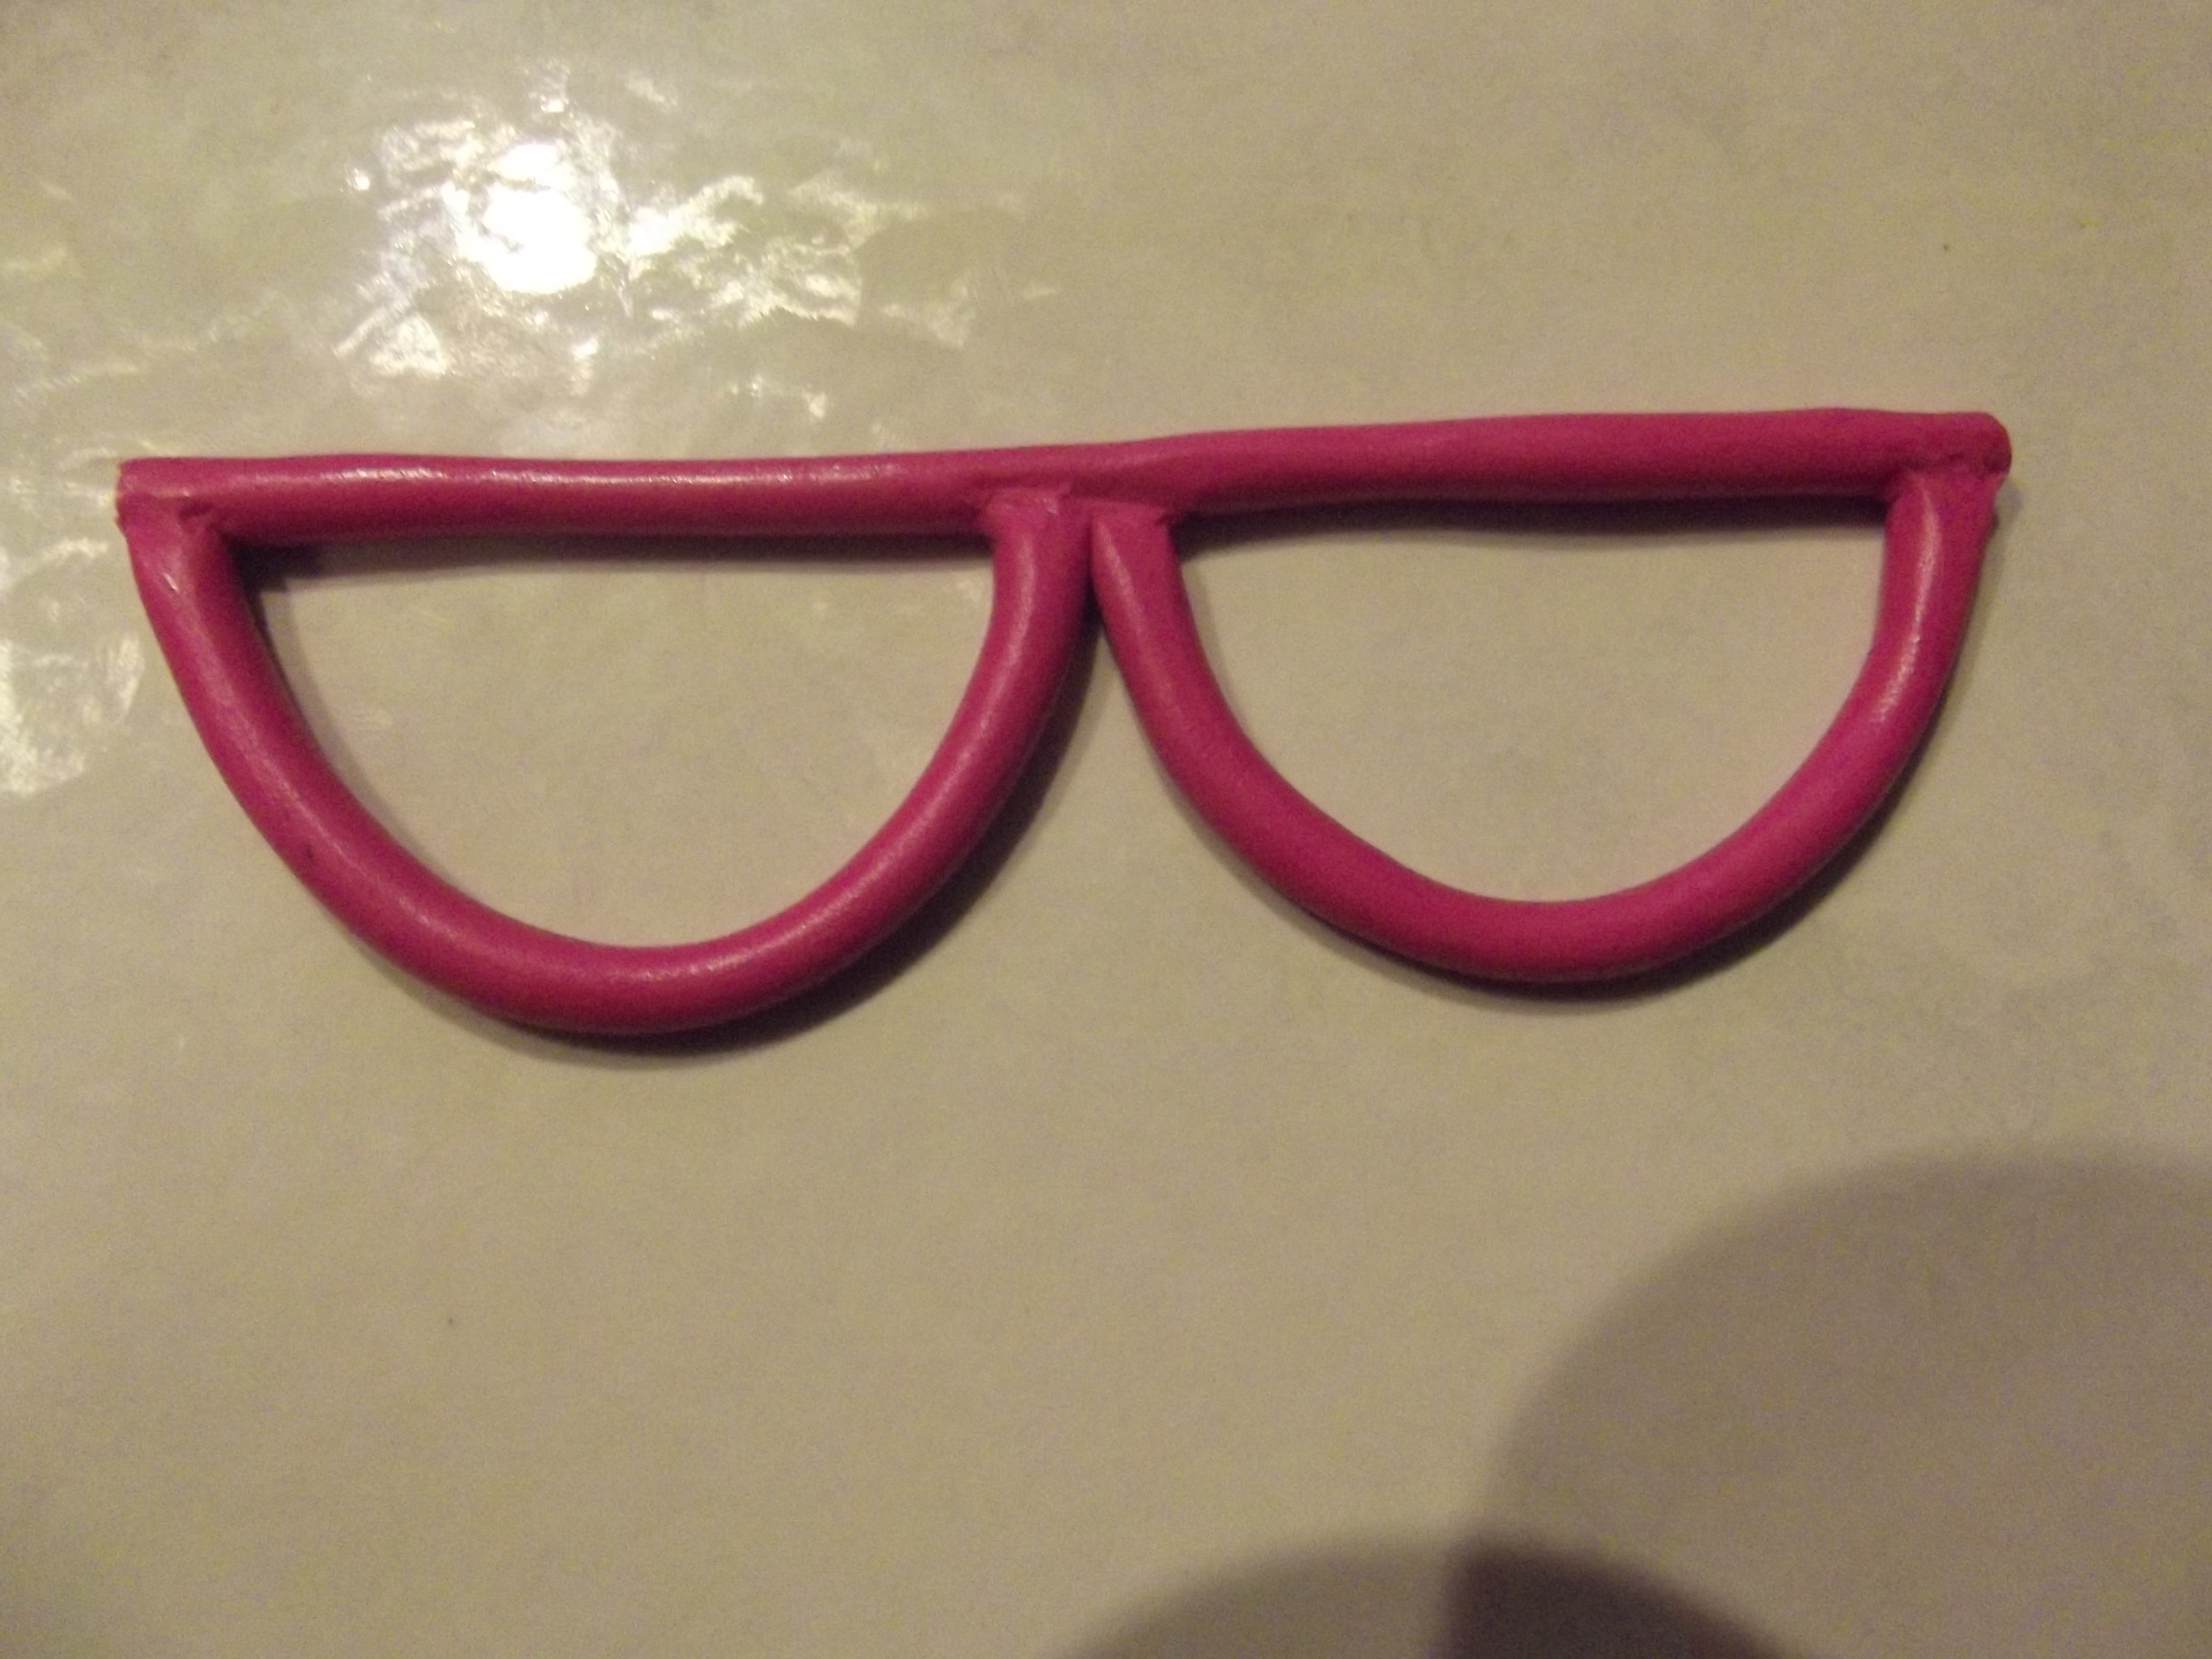
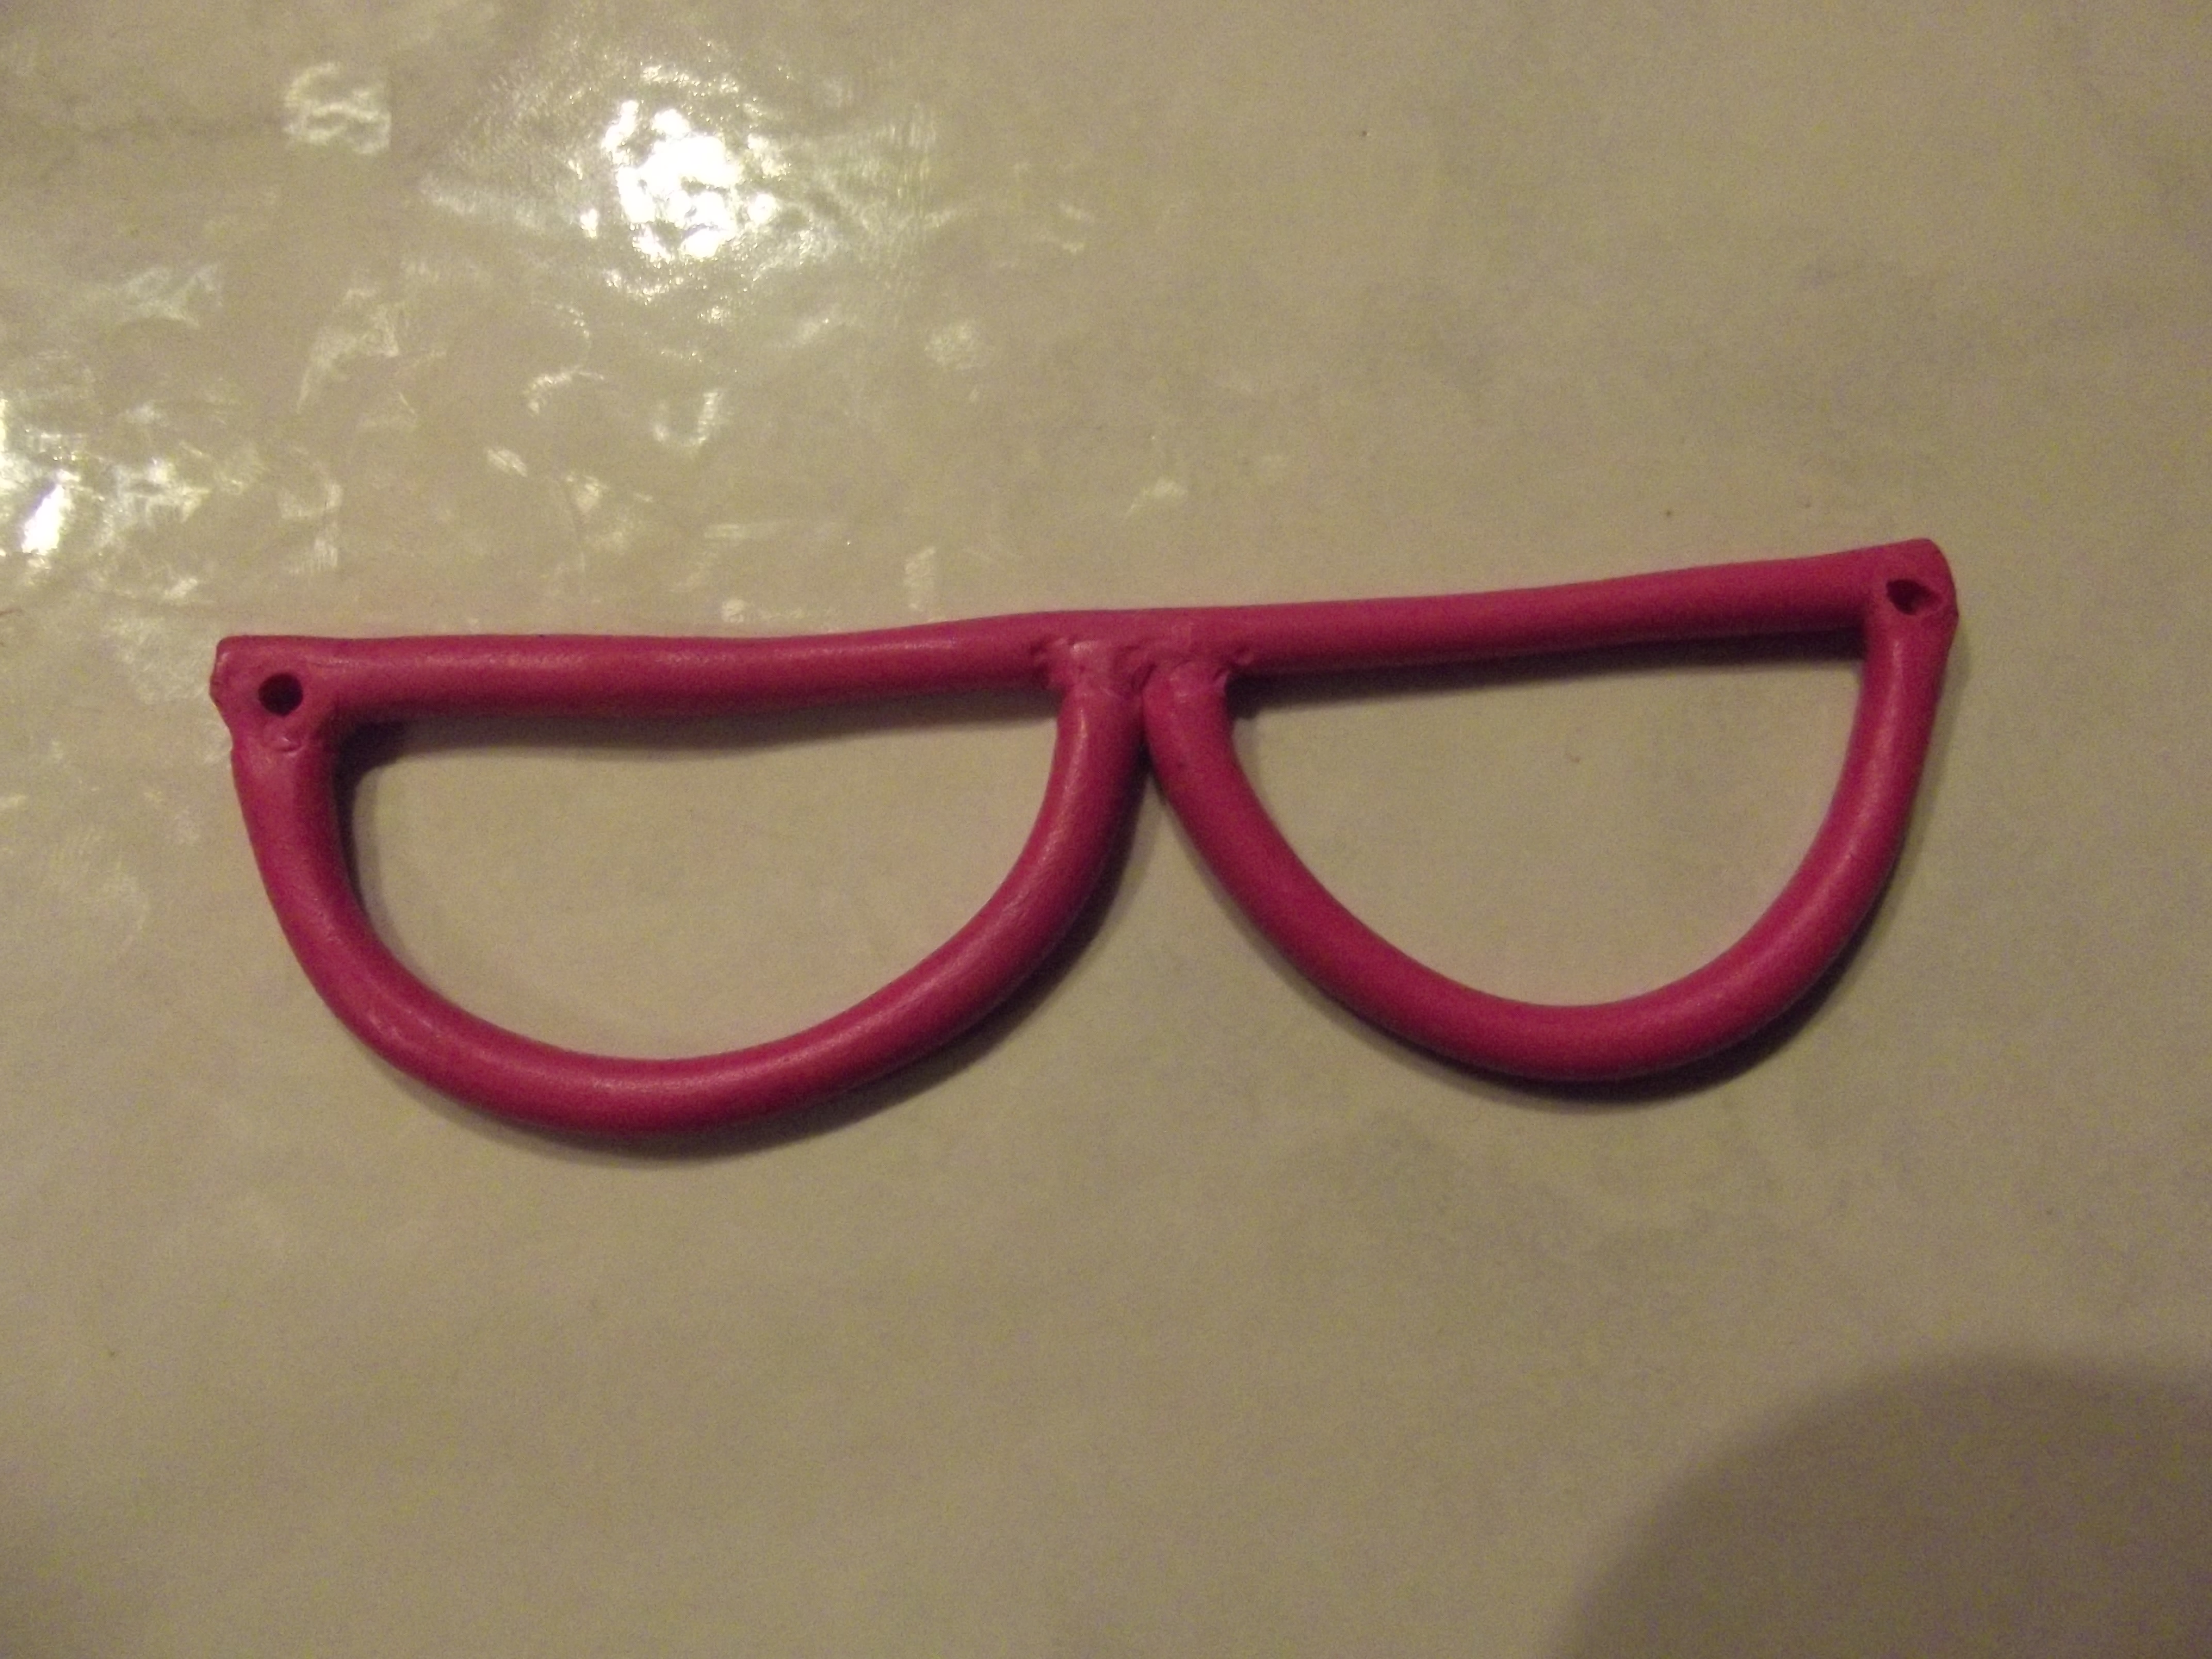
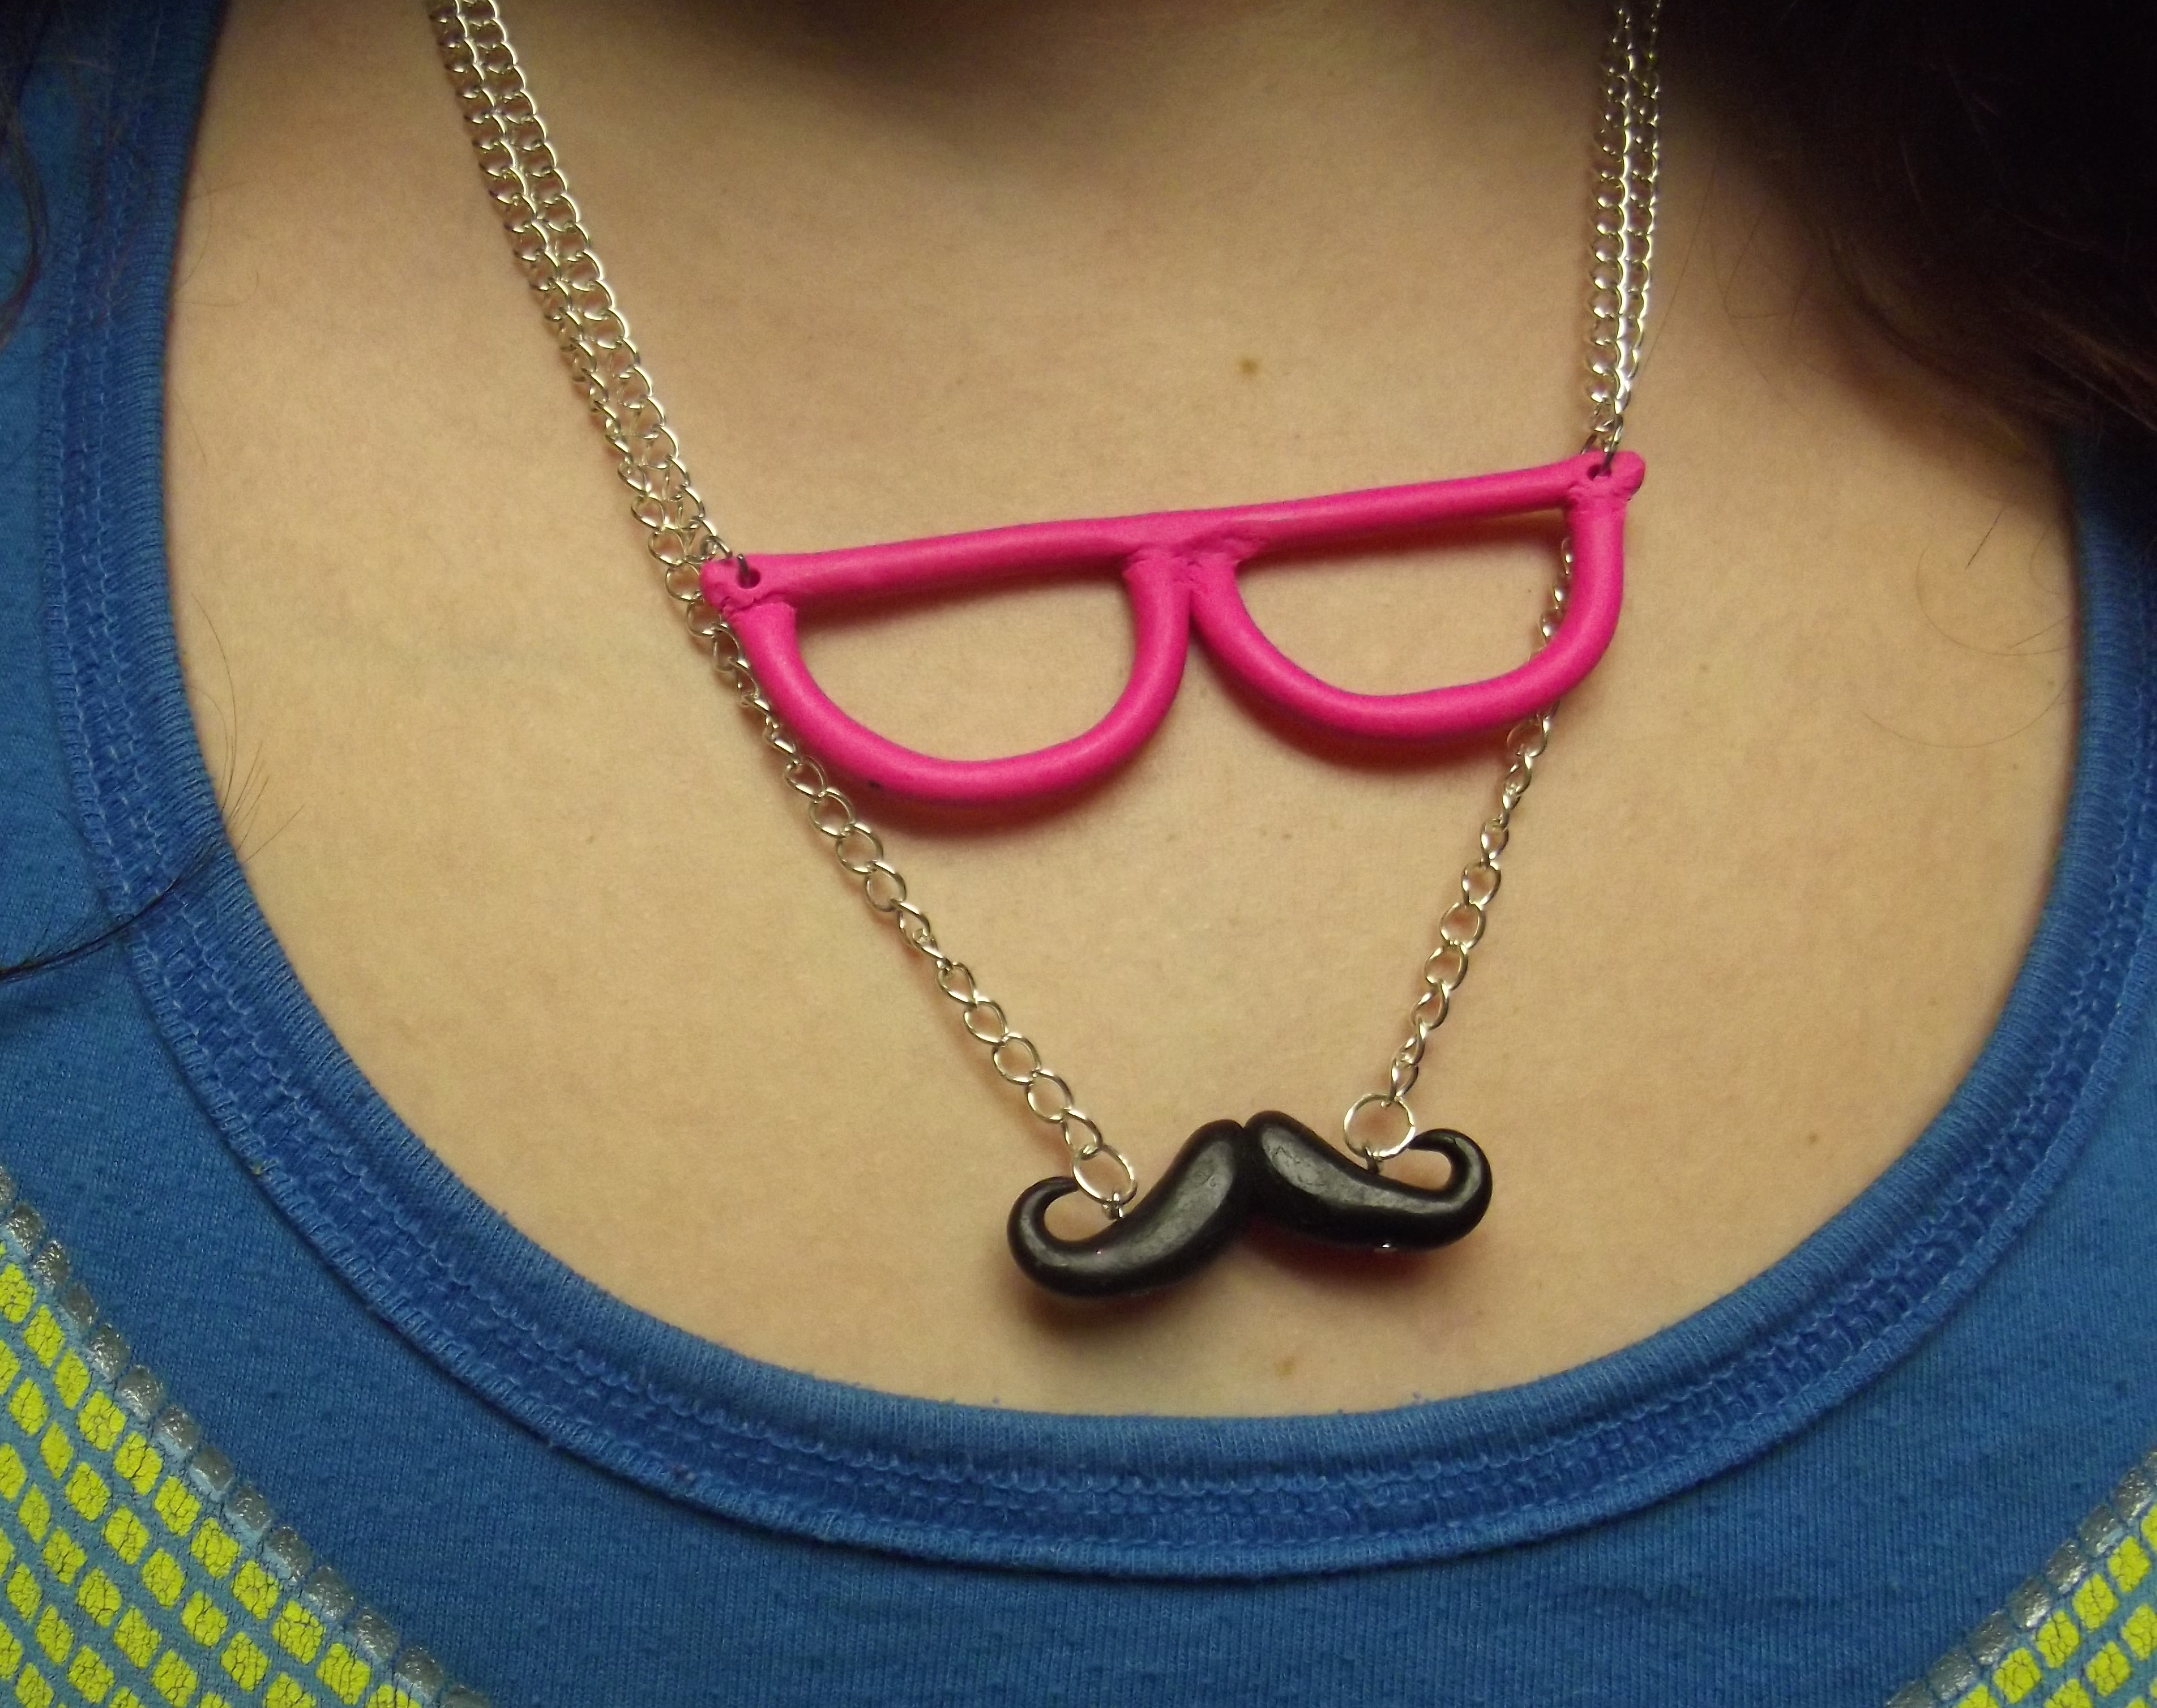
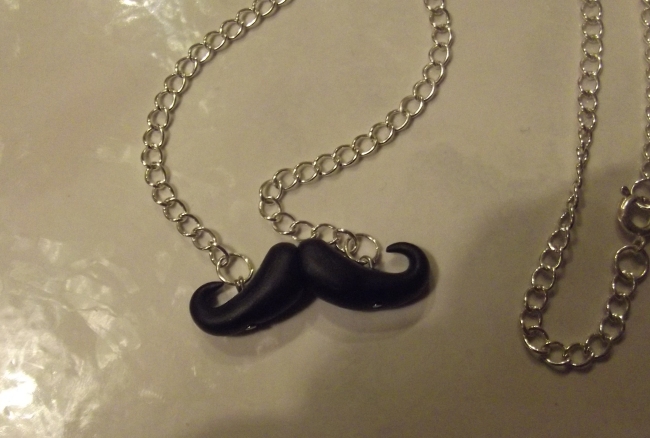
Today’s tutorial will be going over how to make your very own Mustache necklace, like the one you can see my little sister modeling here:
Image
(The glasses will be a later tutorial, if you would like)

Cute right? Well, stick with me and I’ll walk you through how to make one of your own.

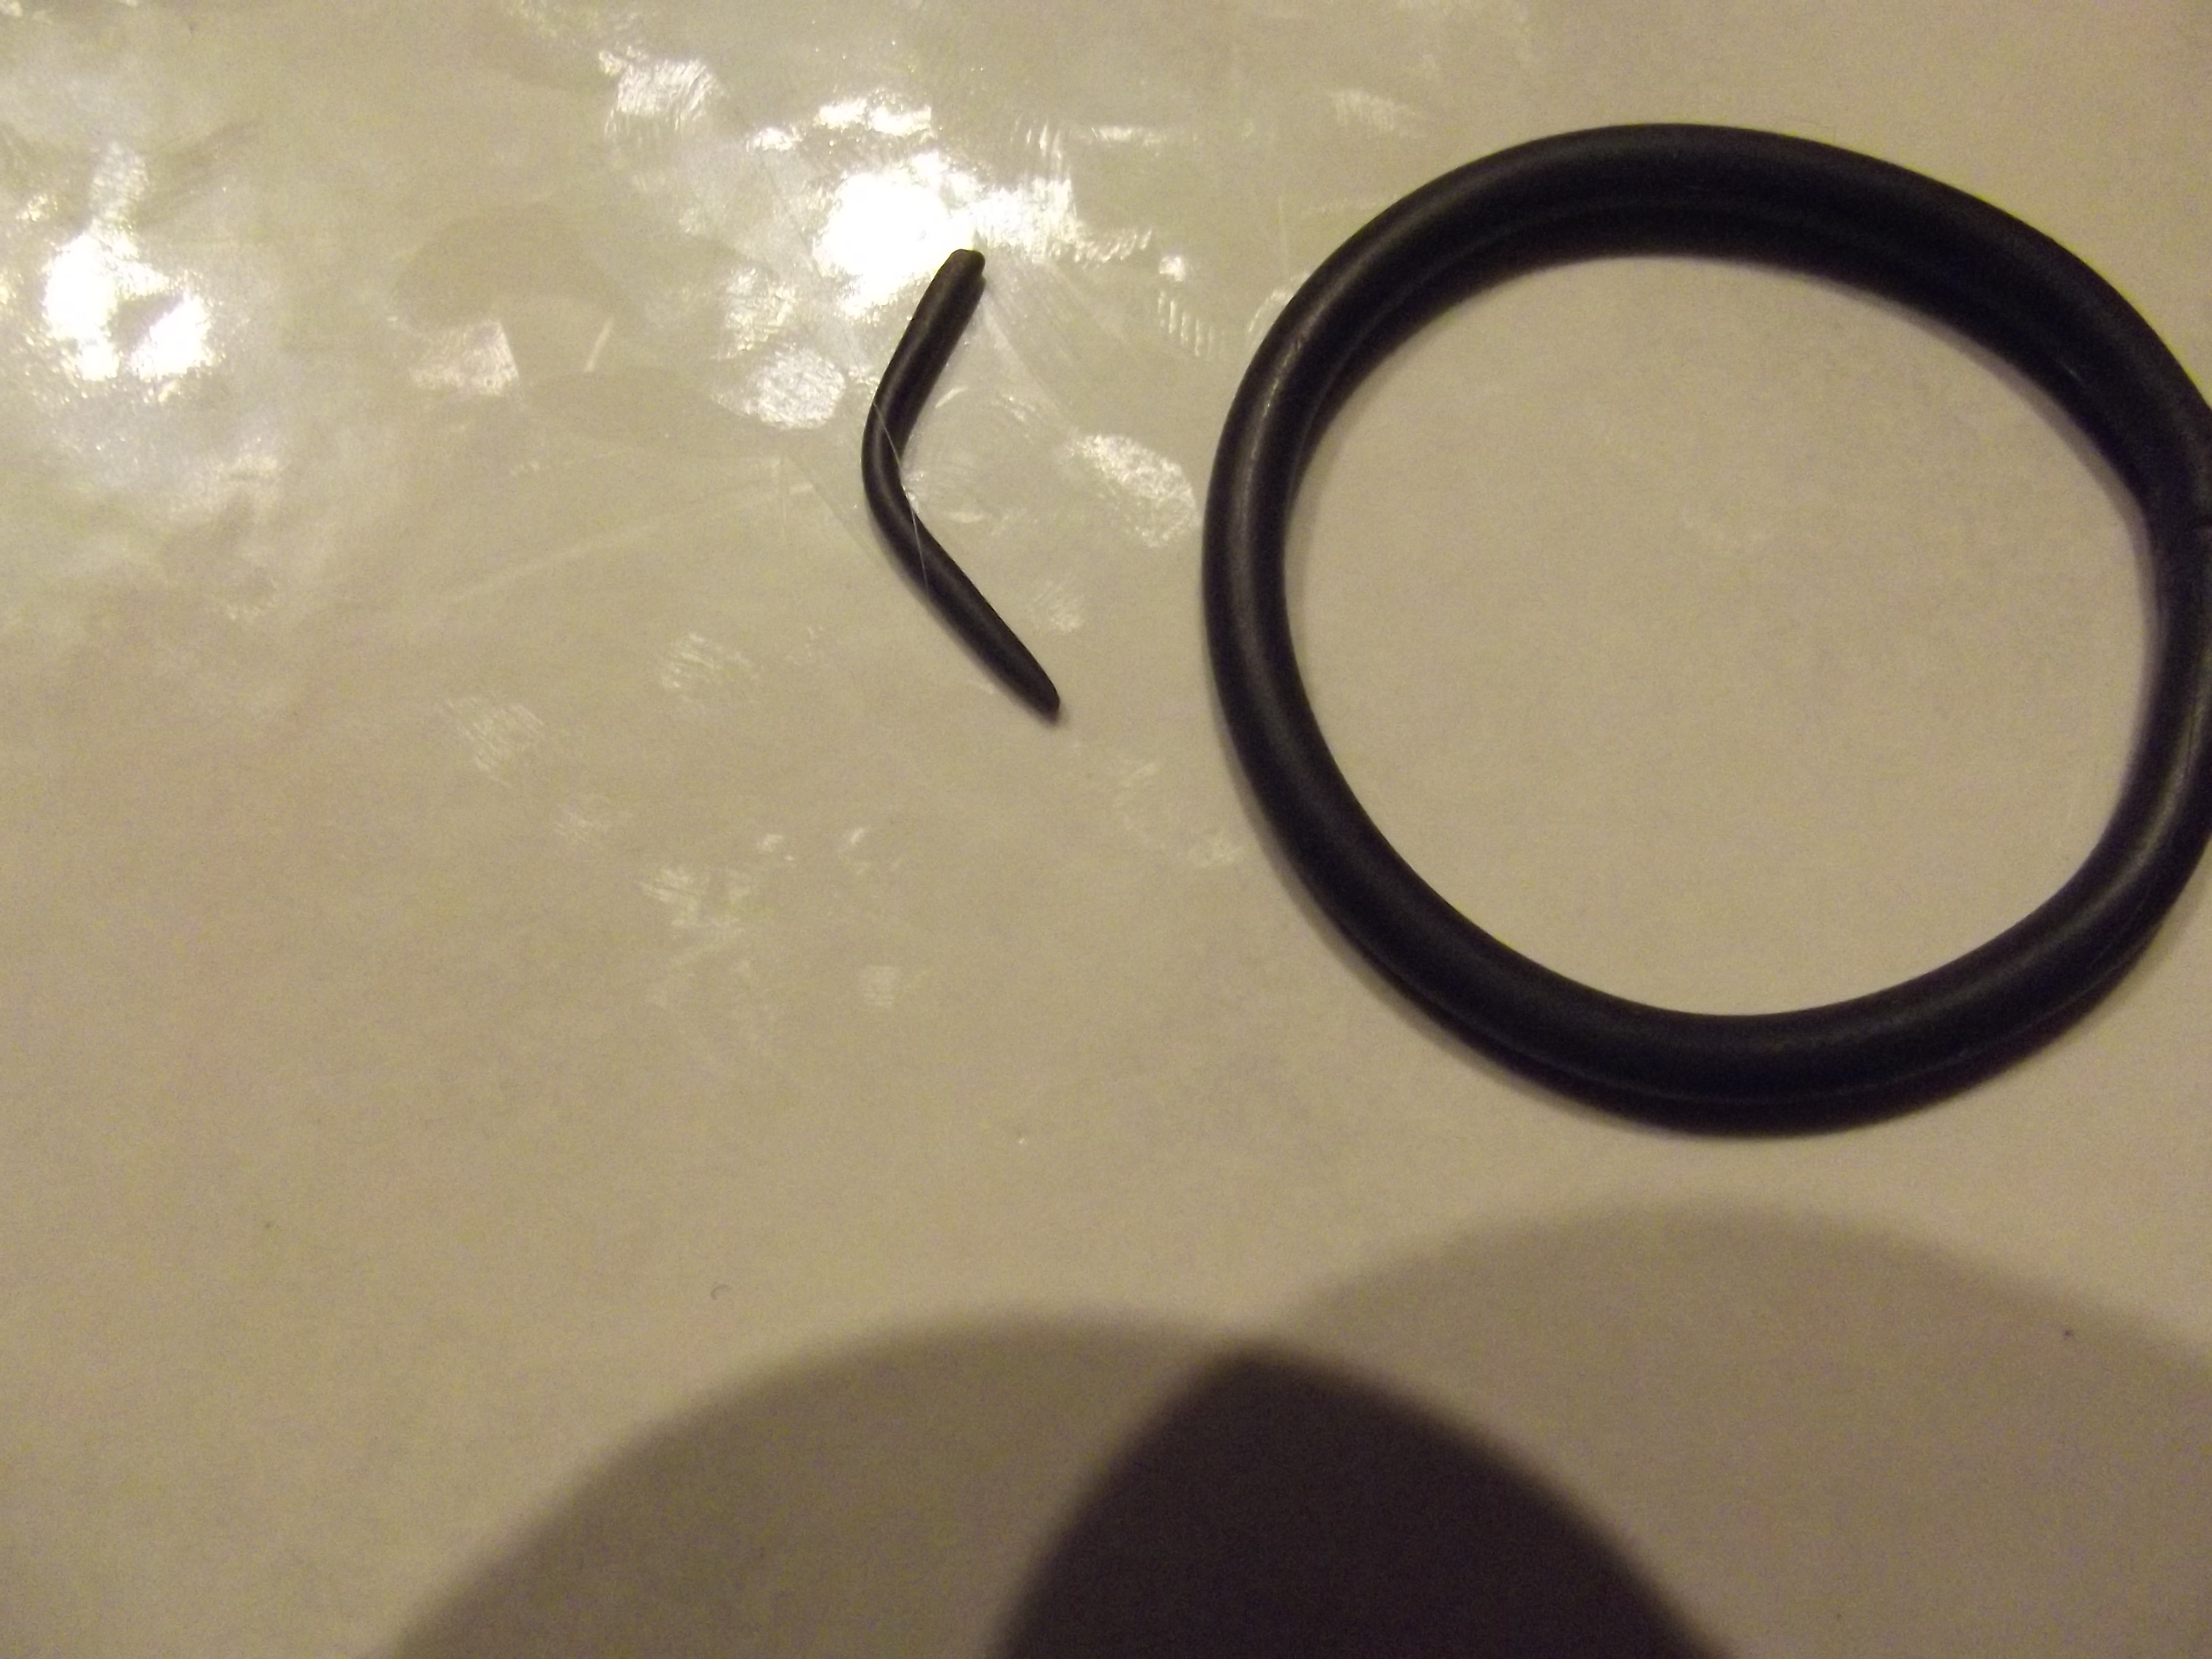
Here is what you will need to make the Mustache itself. Ignore the jump rings for the time being:
Image
Polymer Clay in your choice of color (I’m using black)
Two head pins
Exacto blade or a knife to cute the clay

First, you are going to need to pull out a chunk of your clay and condition it. Conditioning just means working with the clay until it is soft enough to mold into the shape you want with it crumbling.
Image
Next, take your clay and roll it into a sausage kind of shape…something like this:
Image
And then cut it in half.

You will want to roll each half into a sort of cone shape. You’ll want something that looks about like this: Image
Press them together and shape them how you want your mustache to look:
Image
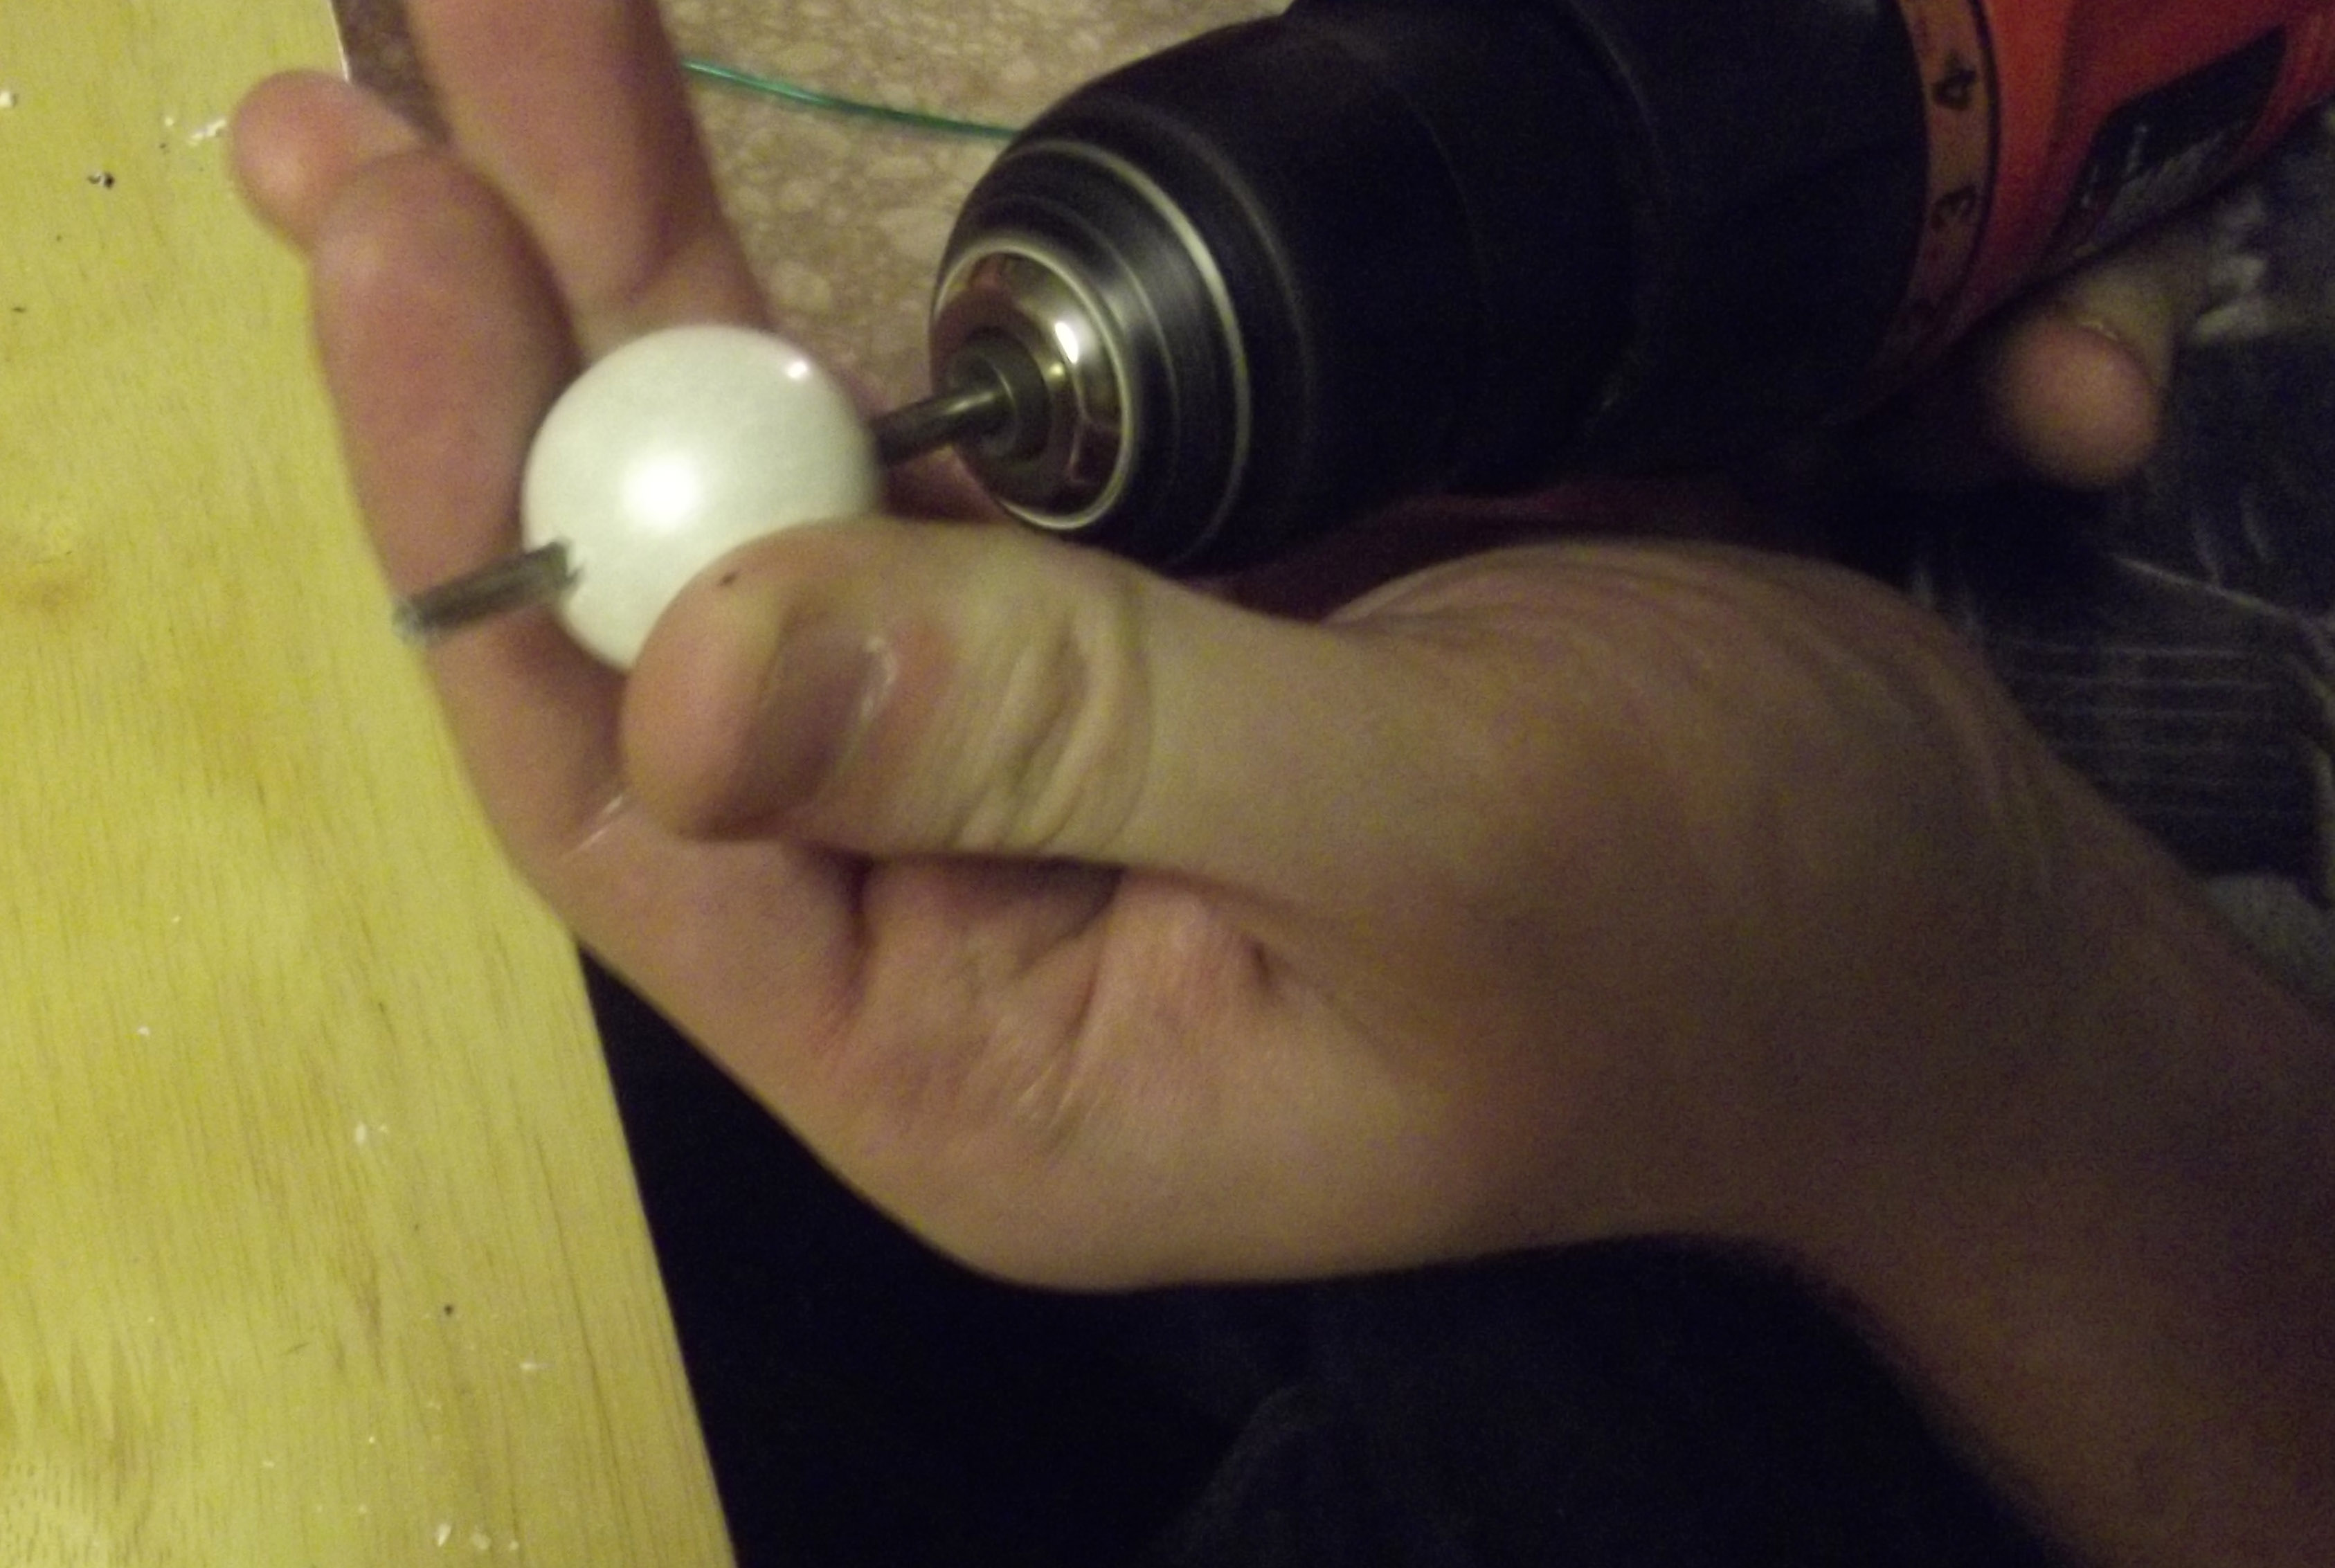
Add your head pins and bake according to the directions on your polymer clay package:
Image

Now, let’s assemble this bad boy! Here is what you will need:
Image
Rounded pliers (yay! we found them!)
Your fully baked mustache
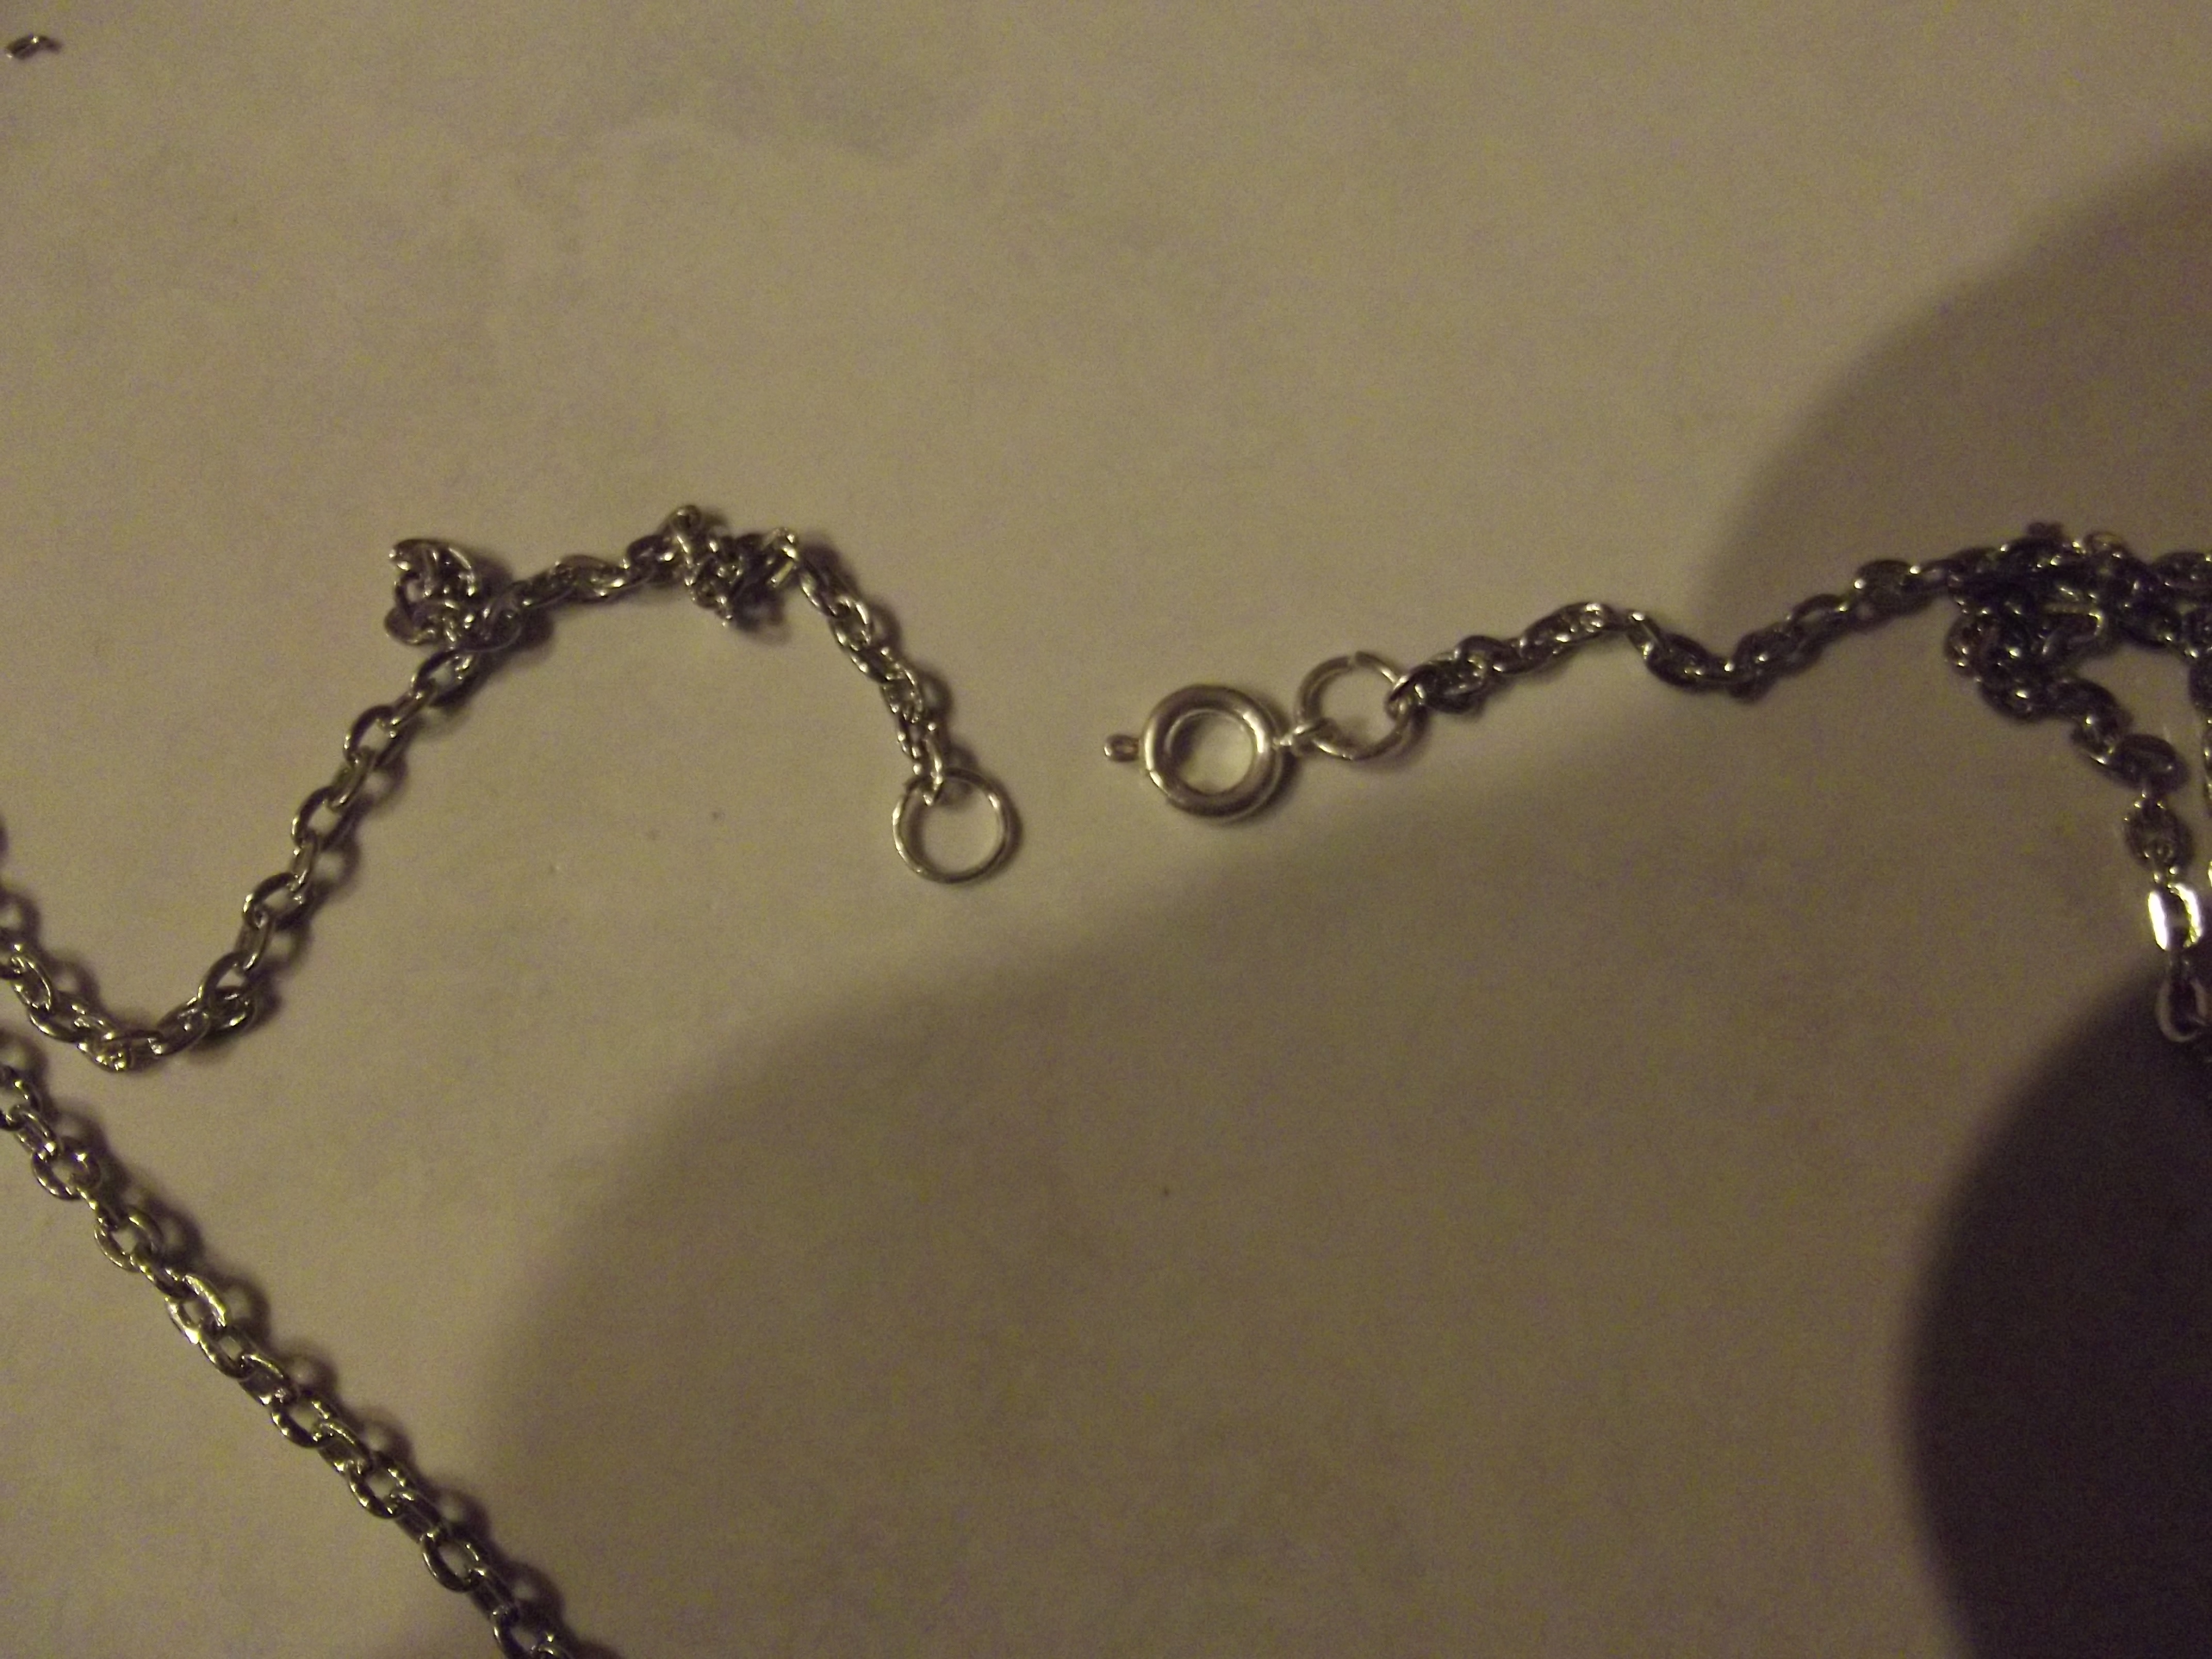
Clasp
Jump rings
Wire cutters
And (not pictured) a length of chain, Mine is 18 inches, again. 🙂

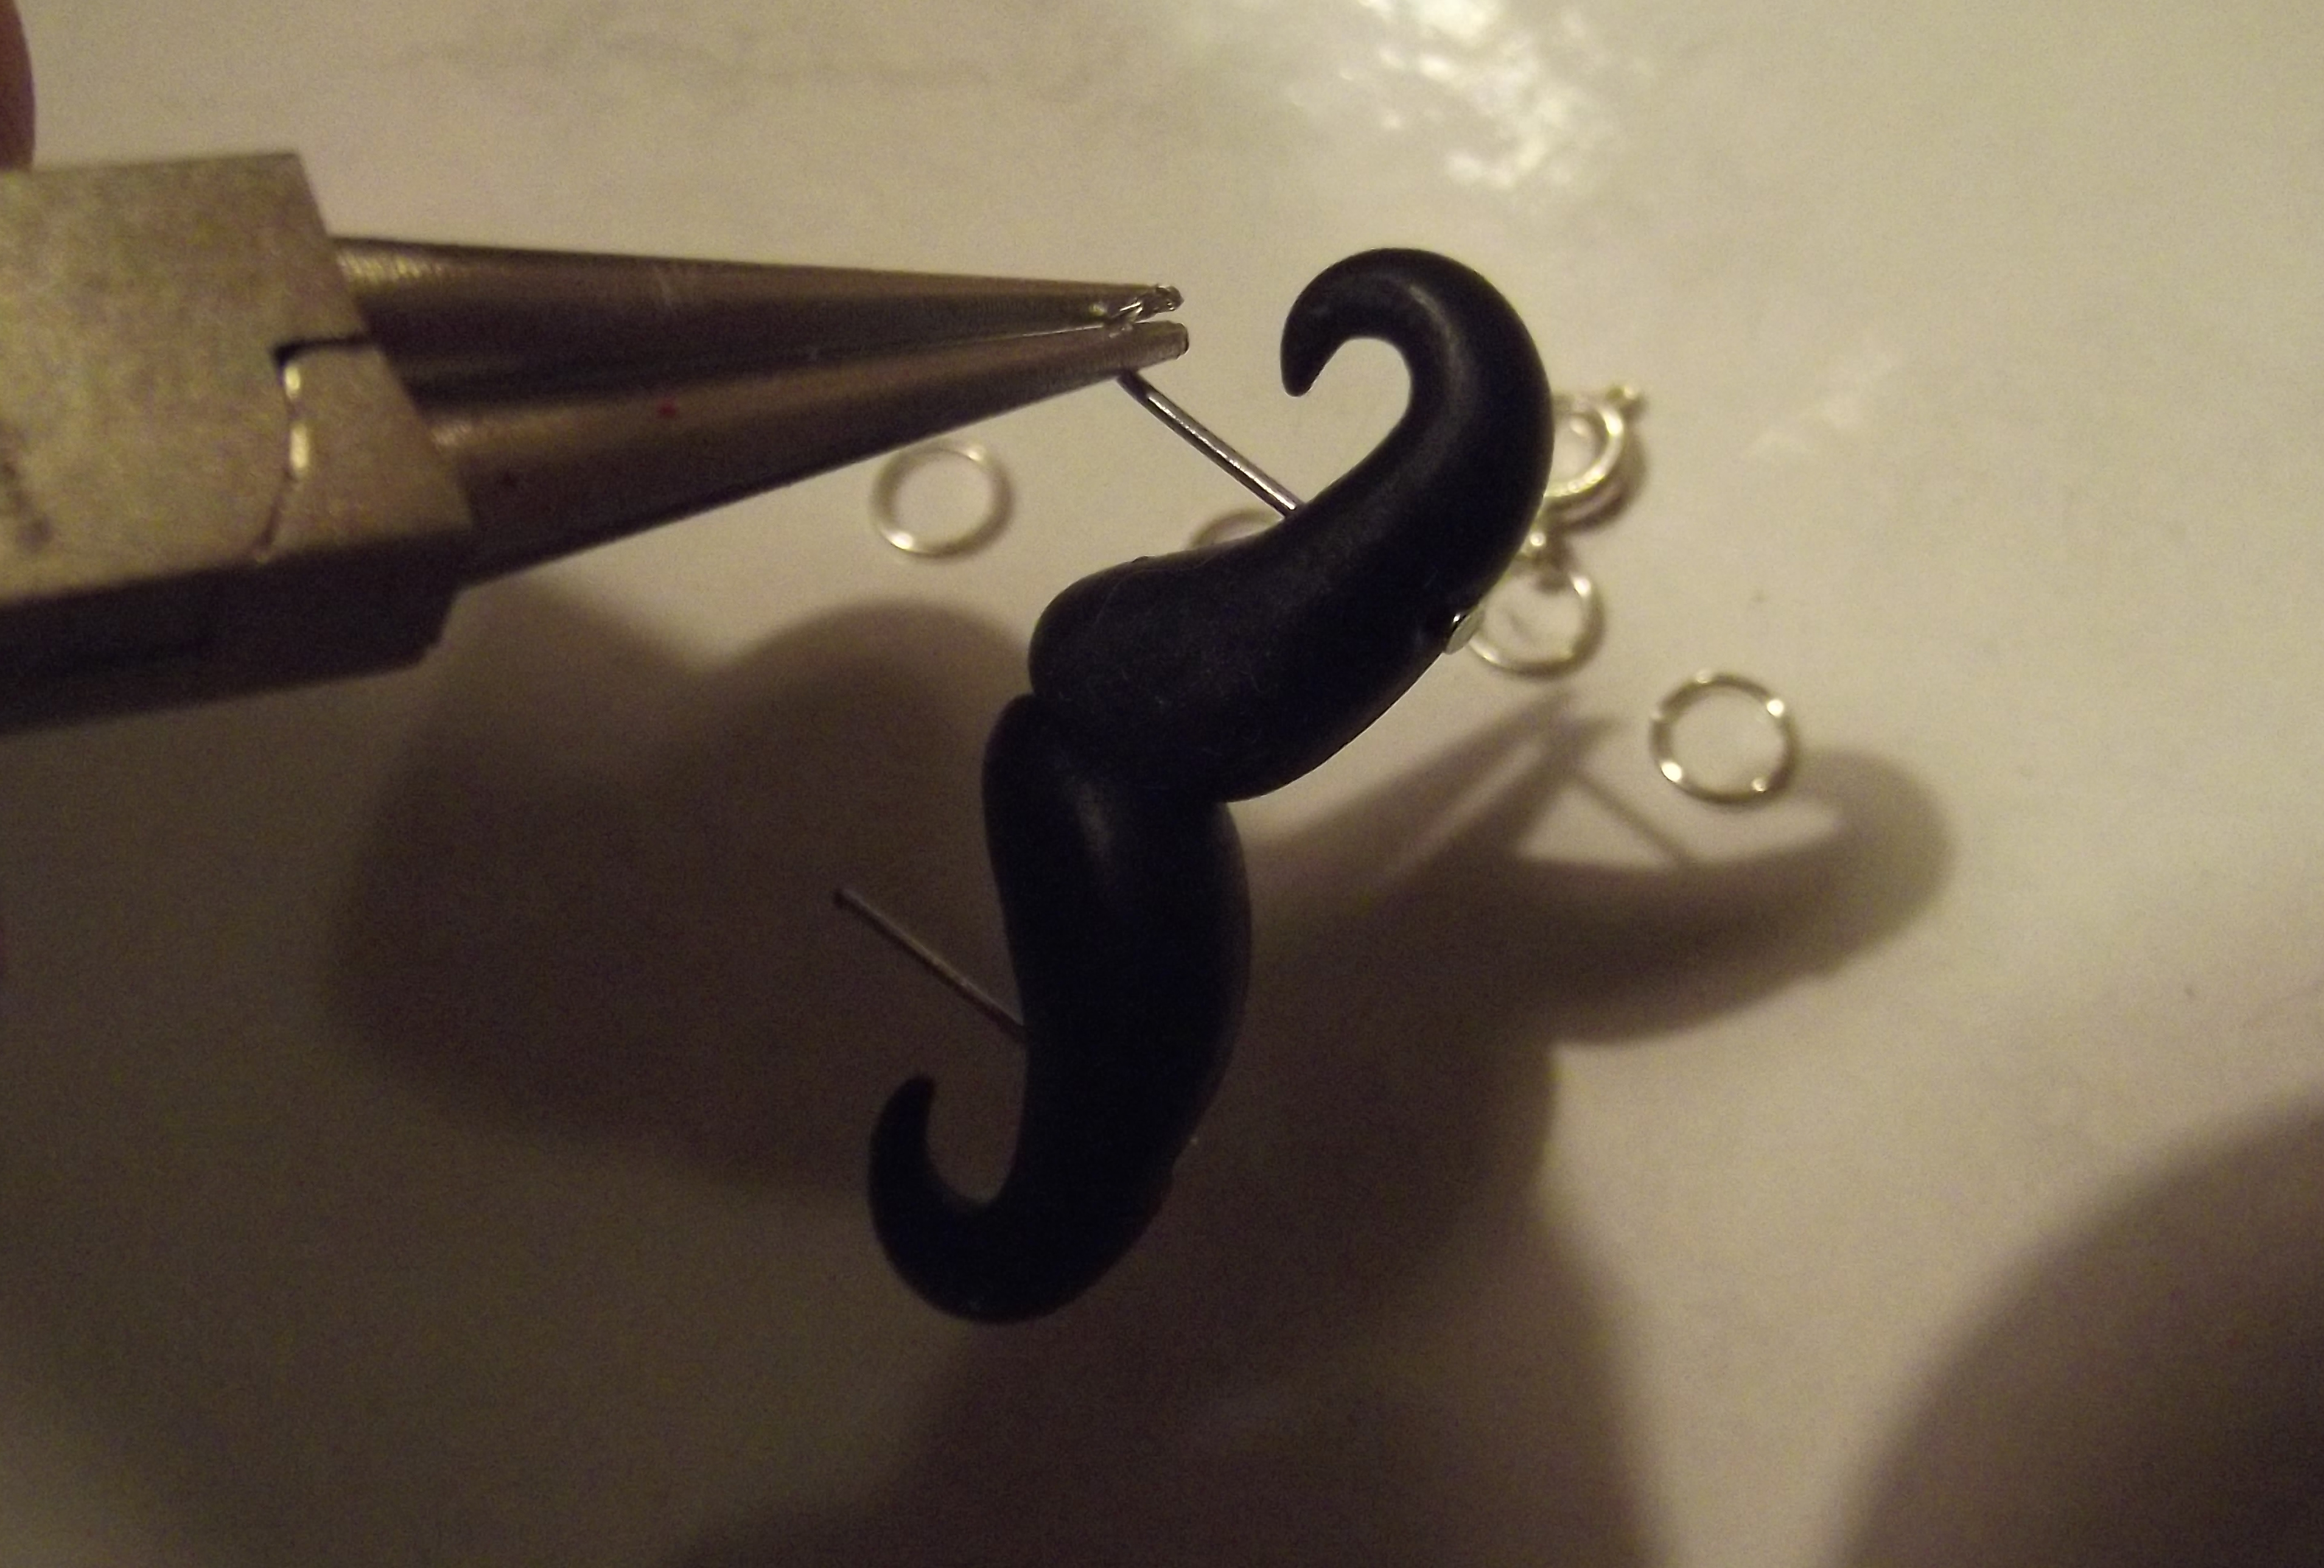
Cut down your head pins on the mustache:
Image
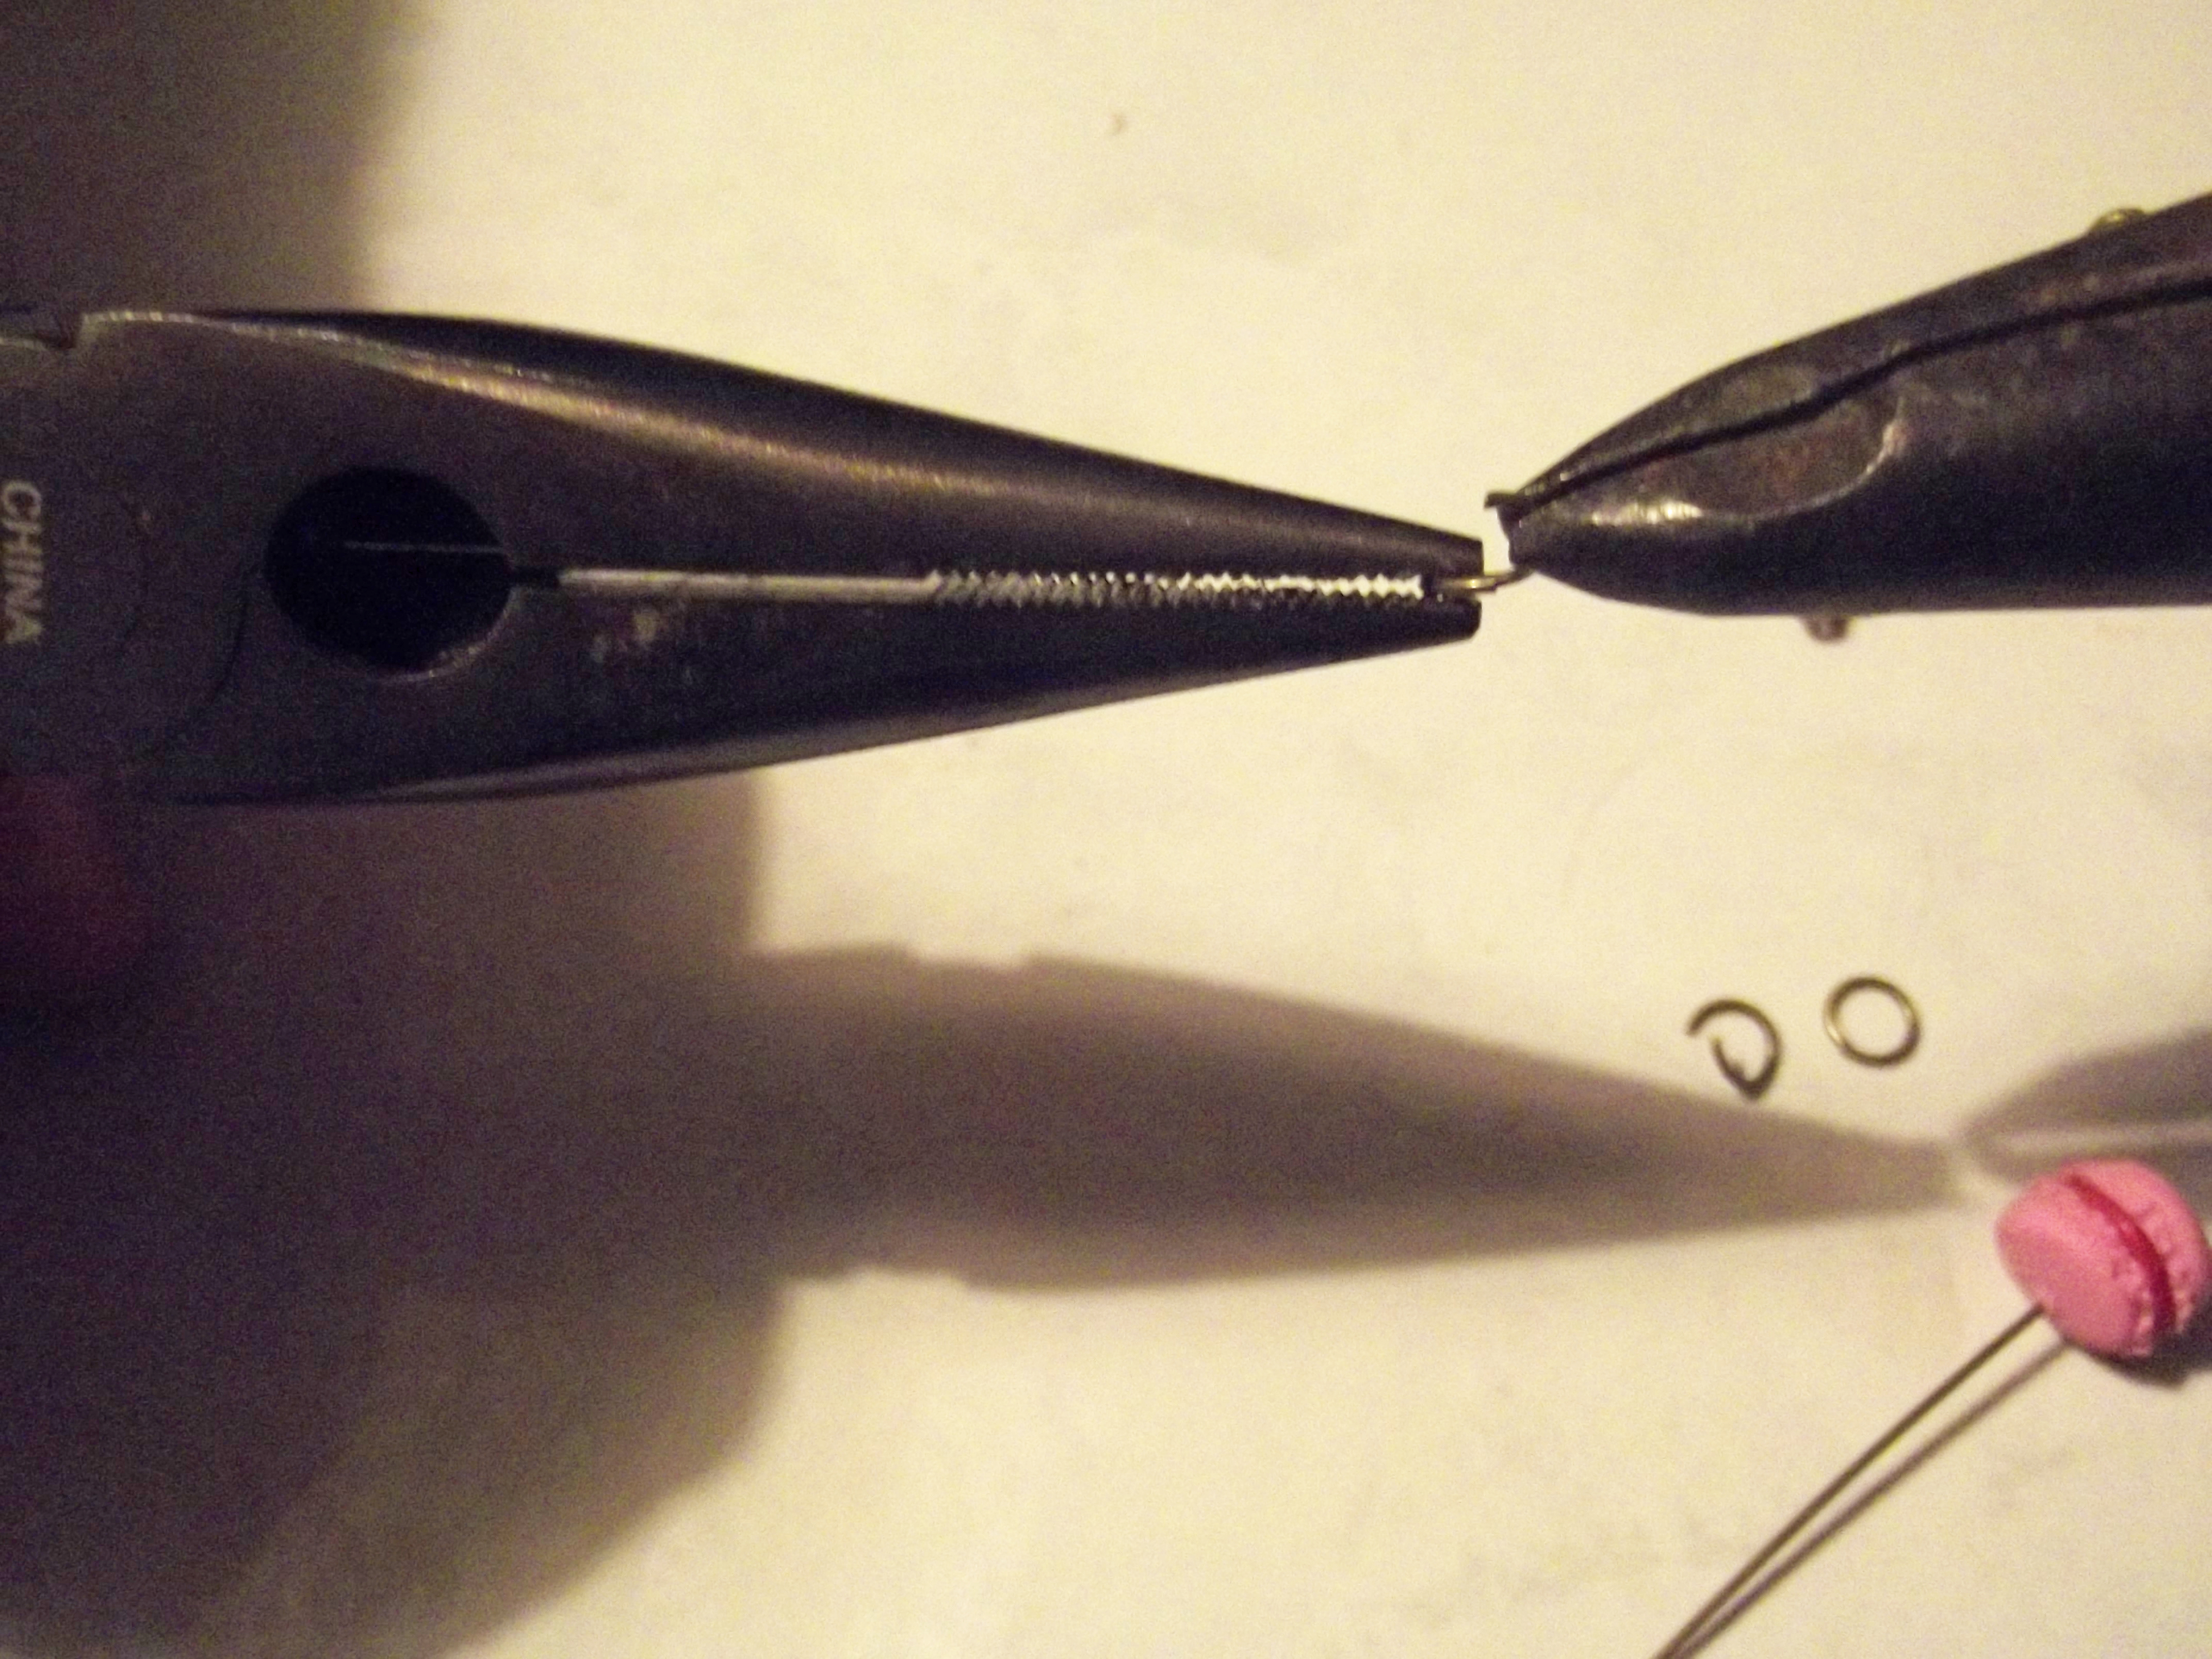
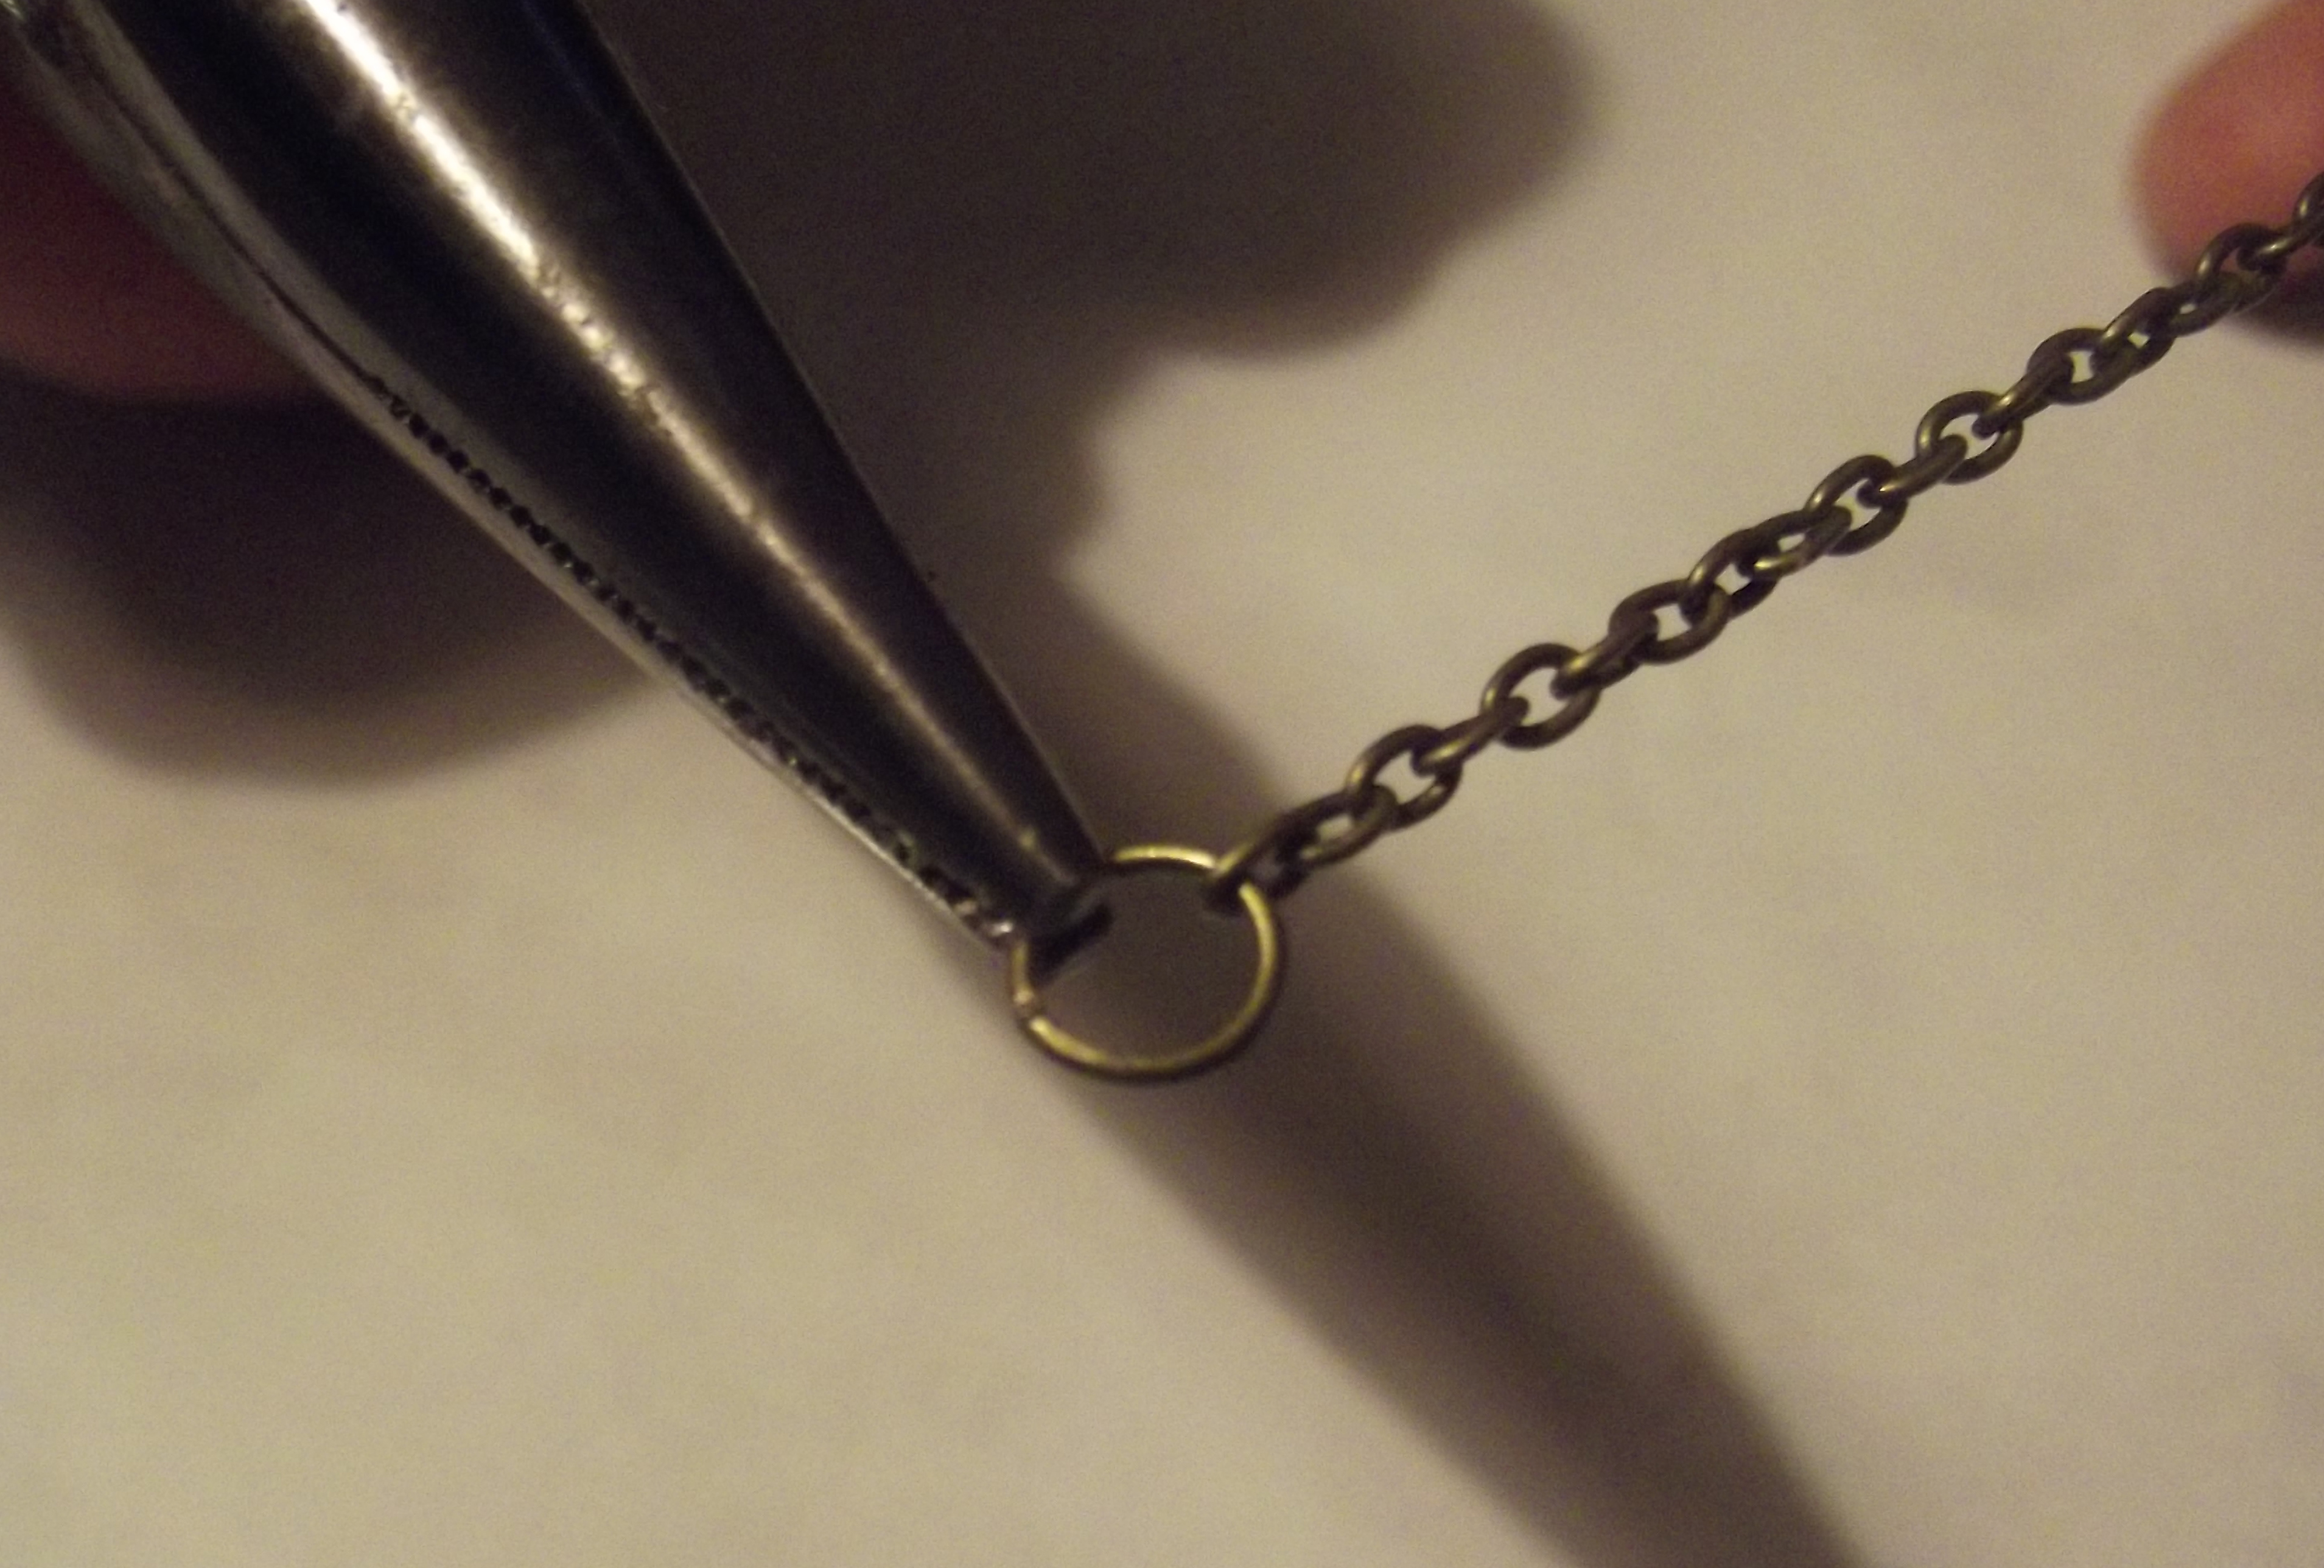
Curl down the extra to make eyelets:
Image
Image

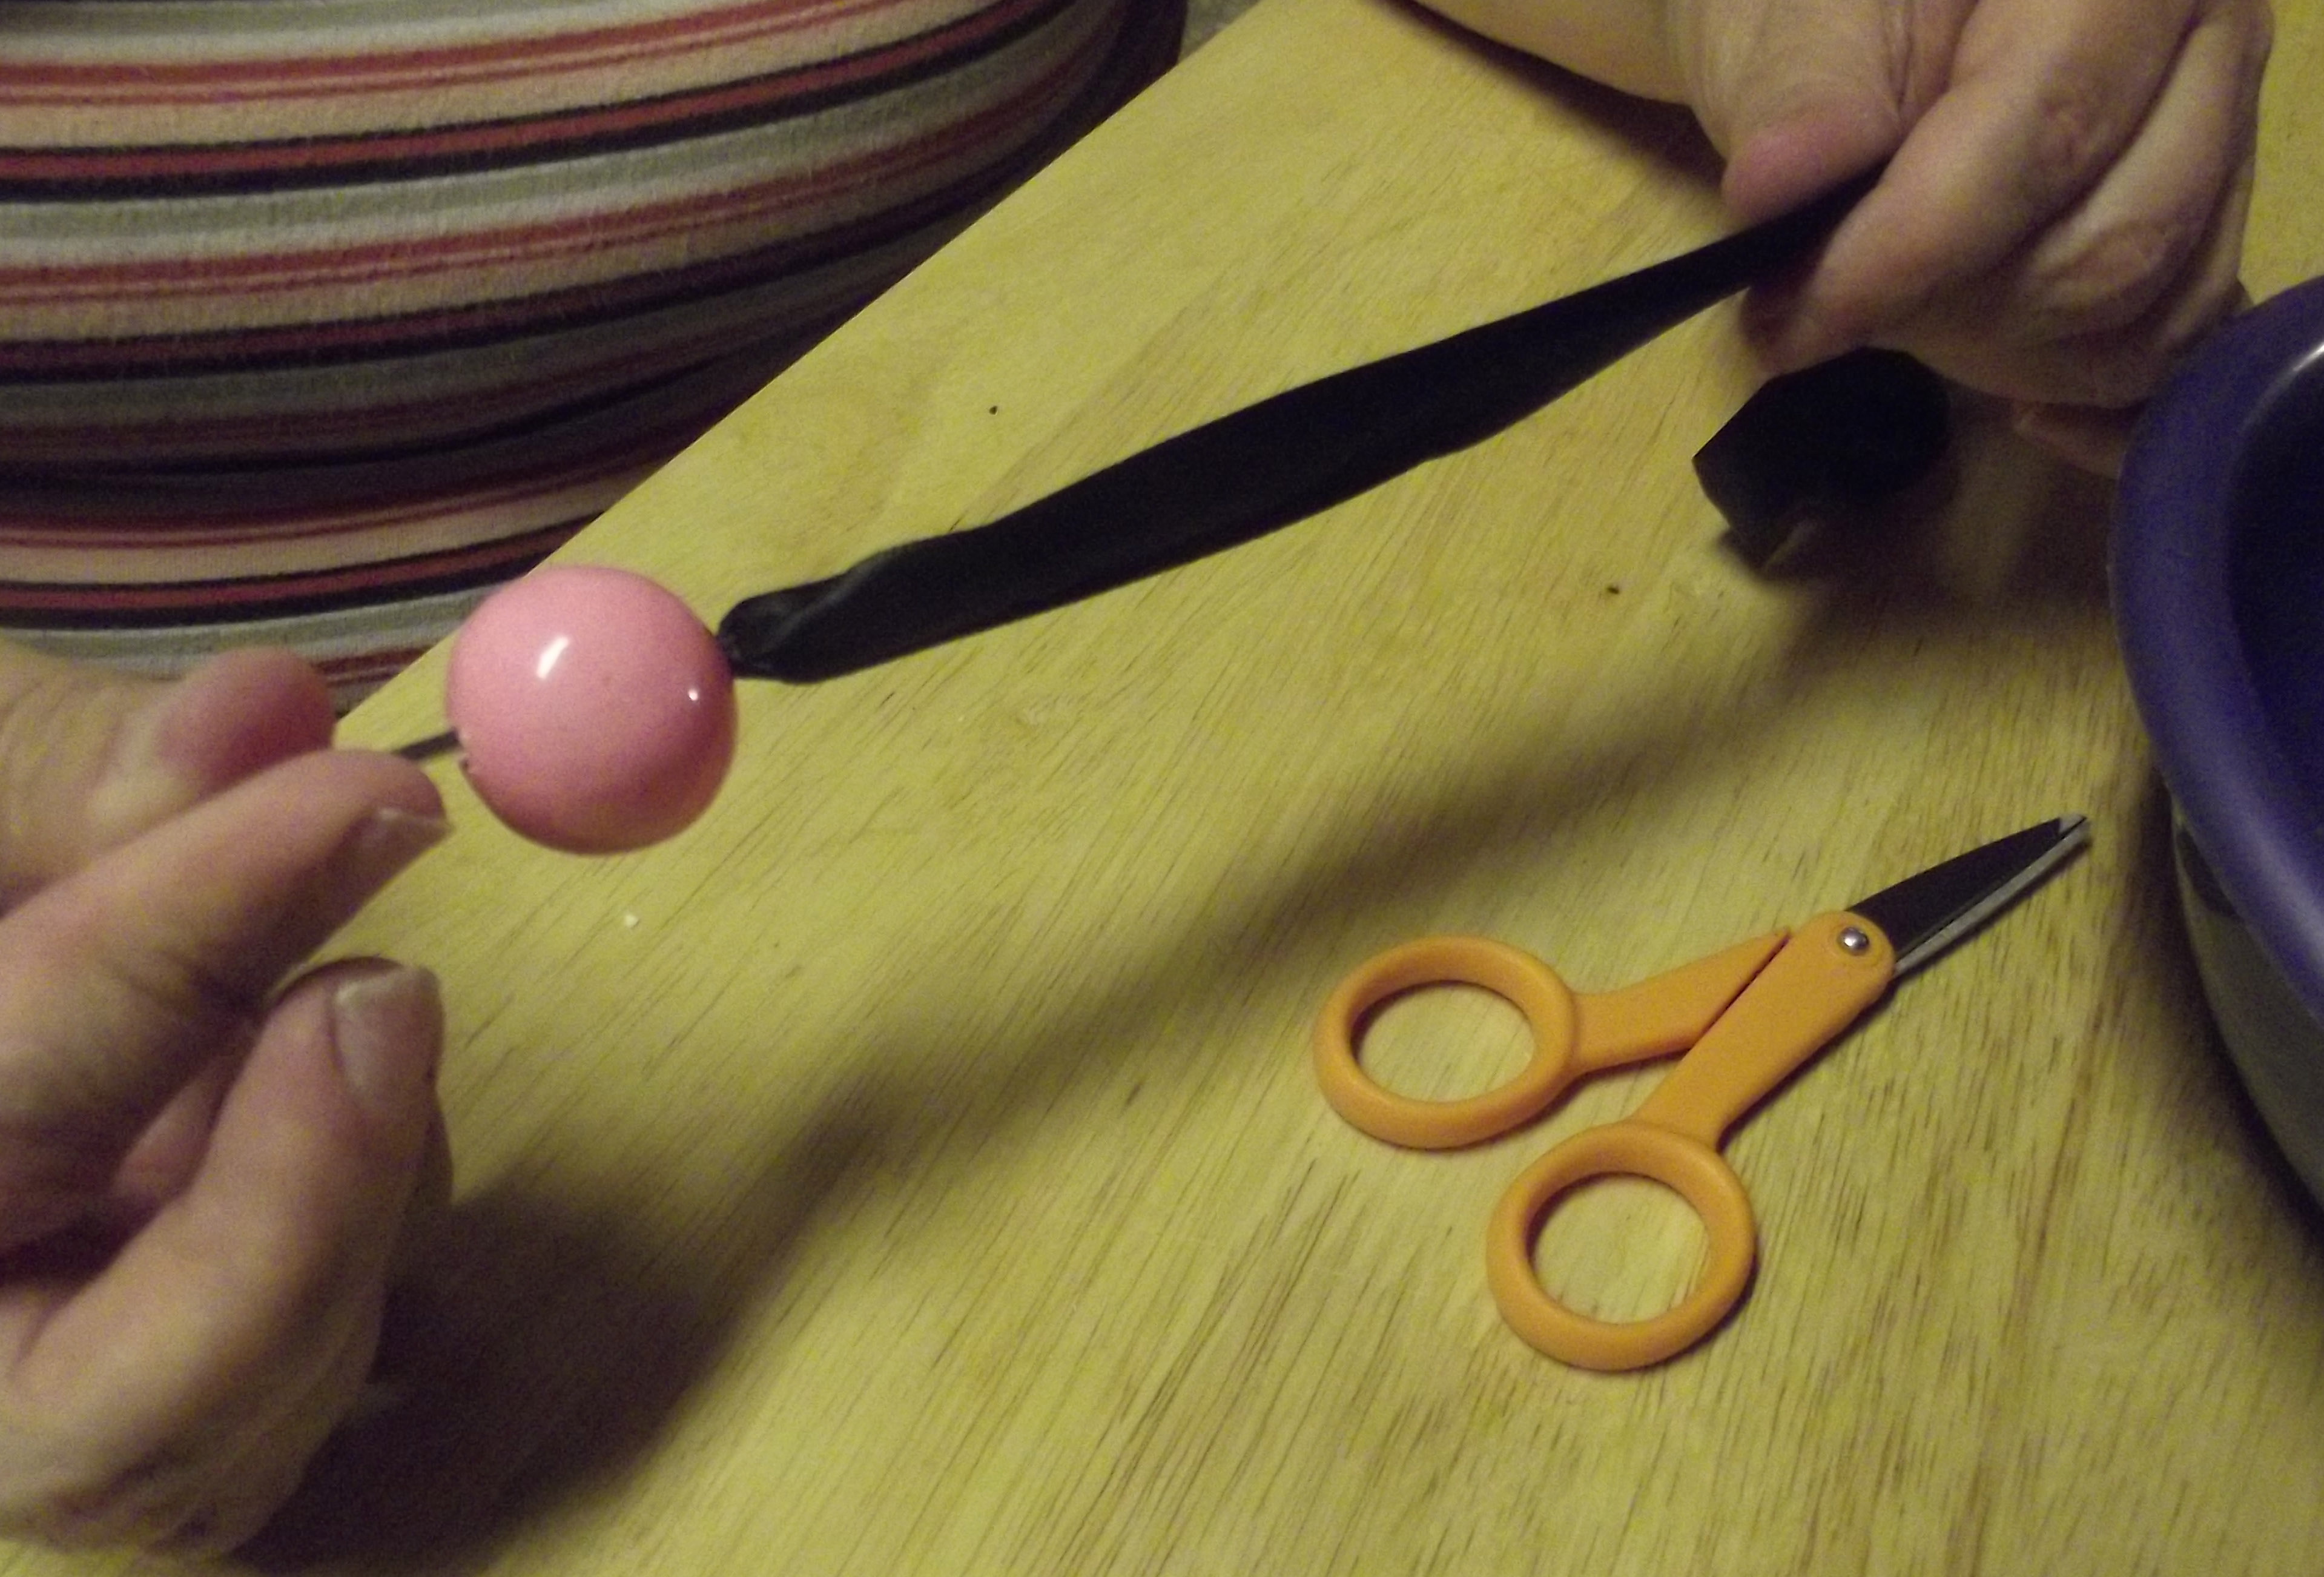
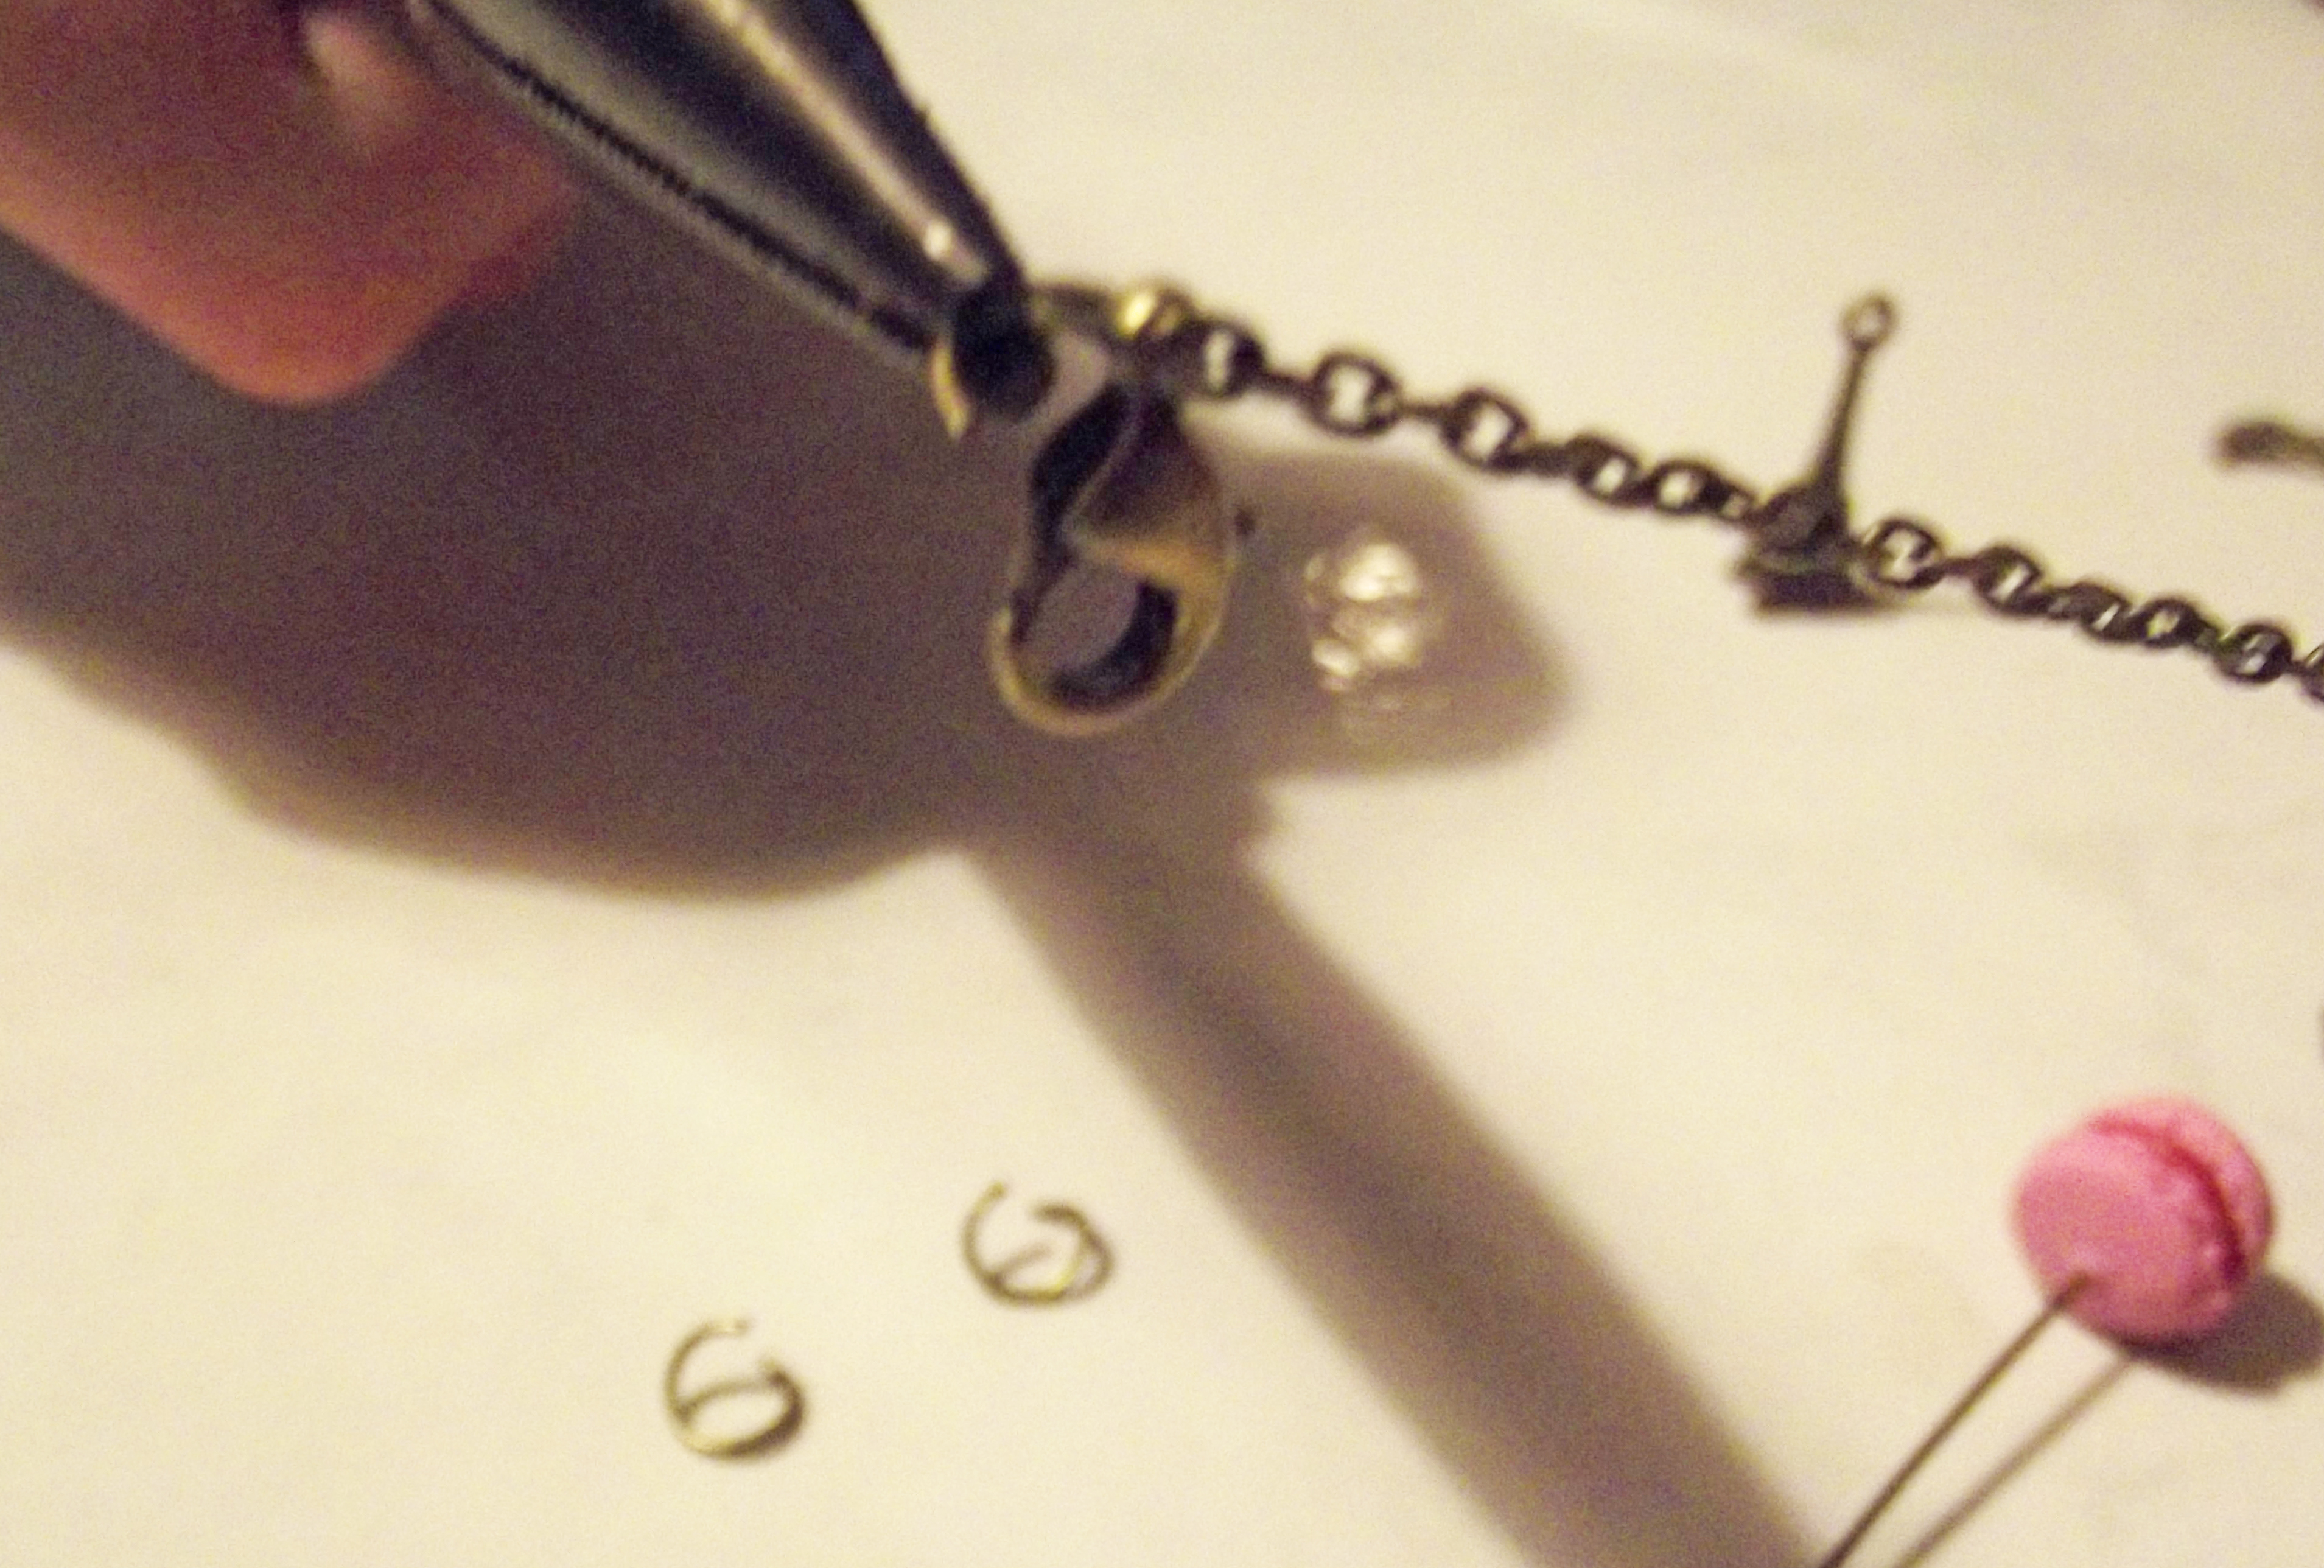
Add your jump rings to your chain, attach your mustache, and here you go (if you need a walk through on putting chain together, check out Part II on my Paris inspire Macaron necklace)!
Image
Now, go out, show off your mustache-ness. Walk proudly…like a sir. 😉

Show and Tell: Rayven’s Pink in Paris Party

Standard

The 22nd brought my daughter’s big birthday party. Yes, there were hiccups, and I think I threw a fit like a two year old sometime before the first guest arrived (some decorations I had made and spent several days on weren’t out, and never got to be).
But, my guests were extremely happy and, most important, so was my daughter.
My two hour long party ended up going over into 5-6 hours as my guests stayed and visited, ate, and were just happy in general. I think that says something in itself, what about you?
Friends and family we had not seen in several years were there, and it felt peaceful and comfortable after it all got started.

Party Highlights-
The Cake Stand
Handmade (and perfected) French Macarons
Tutu and Gumball Necklace Party Favors
The Water Bouncy Mat
Bubble Machine
and of course,
The Cake
Image
Image
Image
DSCF1258
The cake and cupcakes were made by a talented bakery artist local to my area. She has a Facebook page if you are from the Kansas City-ish area: https://www.facebook.com/pages/Kristys-Kitchen-presents-Guilty-Pleasures/576830295683515
I do recommend checking her out. She is very talented and extremely easy to work with.
Image
Image
Image
Image
Image
Image
The wind and the heat made it difficult for us at times, but since I was more worried about how everything looked when my guests arrived, I had no problem moving the food indoors. The kids were able to stay cool with their bouncy water mat…thing. Well, whatever it is called, they loved it.
Nearly all the decorations used were handmade.

The punch bowl was given it’s own tutu
The backdrop is made up of a piece of fabric, tissue flowers, and tulle garland, pinned to a collapsible clothing rack.
The jars are spray painted candle sticks glue to various glass jars and globes and filled with candy.
The cake stand is a re-purposed chandelier (tutorial found here: https://portiasunexpectedtreasures.wordpress.com/2013/06/16/the-chandelier-cakestand-a-walk-through/).
The balloons are tied with regular balloon ribbon and tulle.
My daughter’s outfit was handmade from top to bottom.
The guests got their own tutus and necklaces, also handmade. (tutorials can be found on my blog here: https://portiasunexpectedtreasures.wordpress.com/2013/06/21/gumball-necklace-tutorial/, here: https://portiasunexpectedtreasures.wordpress.com/2013/06/19/parisian-inspired-necklace-part-2/, and here: https://portiasunexpectedtreasures.wordpress.com/2013/06/17/tutu-party-favors-aka-my-death/)

None of these things would have been possible without the help of my family. My mother-in-law made many of the sweets, including those perfect and utter gorgeous macarons.
My sister helped make the tutus and get the yard set up.
My husband did a lot of the shopping for me and put together the water bouncy mat thing…
My parents cut up most of the food
And my father helped me put together the back drop.

It was a huge team effort.

It was all well worth the effort in the end. Some things were omitted, sure, but the look of utter joy on my daughter’s face is all that really matters.

Thanks for allowing me to share her special day with you.

Gumball Necklace Tutorial

Standard

For today’s tutorial, I’ll just be going over a simple gumball necklace.

My mother-in-law and husband did 100% of the work. I just sat there taking pictures and looking pretty. 😉

Here is what you are going to need:
Image
Gumballs in the colors of your choice. I am using black, pink, and white. You can get these for $5-6 in the size of bags seen here at a Party City, but I recommend shopping around. I am positive you can fins much cheaper.
Ribbon in your color choice.
Scissors
Large Darning Needle
Drill

Step one will be cutting your ribbon in the size that you need. We used about 70 inches of ribbon for each necklace. I know this sounds like a lot, but bare with me.

Step two will be drilling. My husband decided that before you drill, it is best to slightly puncture the gumball:
Image
Image
Step three will be grabbing your ribbon and knotting it at the end. Put your ribbon through the eye of your needle and you will then add your first gumball. Be sure to knot it after each time you add a new gumball:
Image
Image
Image
***Note: Be sure to leave around 5-10 inches at each end of your necklace so that you can tie it around your or your child’s neck.

Repeat, repeat, repeat. We used 12 gumballs on each of our necklaces. At the end, your necklace should look something like this:
Image

Tadaah!
And here you can see my little sister-in-law modeling:
Image

Hope you enjoyed the tutorial. More to come!

Parisian Inspired Necklace: Part 2

Standard

Time for part 2 of the necklace tutorial!
We are going to have a finished product that will look something like this (thank you to my lovely little sister for modeling :P):
Image
Now it’s time for the assembly. Here is what you will need:
Image
Unfortunately, all our regular tools are still packed away in our boxes…somewhere, so we used what we had on hand:

1 pair of Wire Cutters2 pairs of Needle Nose Pliers
Length of chain (mine is 18 inches, bough at Michaels)
3-4 Jump Rings (also from Michaels)
Lobster Claw Clamp (Michaels again!)
Eiffel Tower Charm (I bought a load of these from Tophatter for like…$5. Keep an eye on that site for neat things like that)
Your Macaron we made last tutorial!

Let’s get started!
Open up all the jump rings first. My husband will be putting it together for me while I sit back and just snap pictures. 😉 He has found that it’s much easier when he does this step first:
Image
Next, add a jump ring to one end of your chain:
Image
Add a jump ring and your clip to the other end of the chain:
Image
Now, comes the hard part. If you used a head pin and don’t happen to have your curling pliers around, you are going to have to try and curl your excess wire on your macaron with regular needle nose pliers…like this:
Image
Clip off the extra with your wire cutters. Fiddle around with it and you should get something that looks like this:
Image
Add this and your Eiffel Tower charm to one jump ring:
Image
And attach this to your chain (If you decide you want it stationary, you will need to find the middle of your chain. If you don’t care, then just attach it completely around the chain) and you are all done! Now admire your work and show it off!:
Image