Today, I’m going to show you a super quick tutorial for this chocolate chip cookie:

These could make adorable last minute gift ideas. They are super quick and easy to make, and using the basic idea, you can customize it anyway you seem fit (i.e making it into an M&M cookie, leaving out the chocolate chips and making it a sugar cookie, changing the color, whatever you wish).
Chocolate Chip Cookie:

What you will need:
Tan Clay (Mine is Sculpy Brand, bought at Michael’s)
Brown Clay (Sculpy, bought at Michael’s)
Chalk Pastels in the colors pictured above (I bought mine on E-Bay)
A tooth brush or bottle brush like the one pictured for texture (I bought my tool at Michael’s)
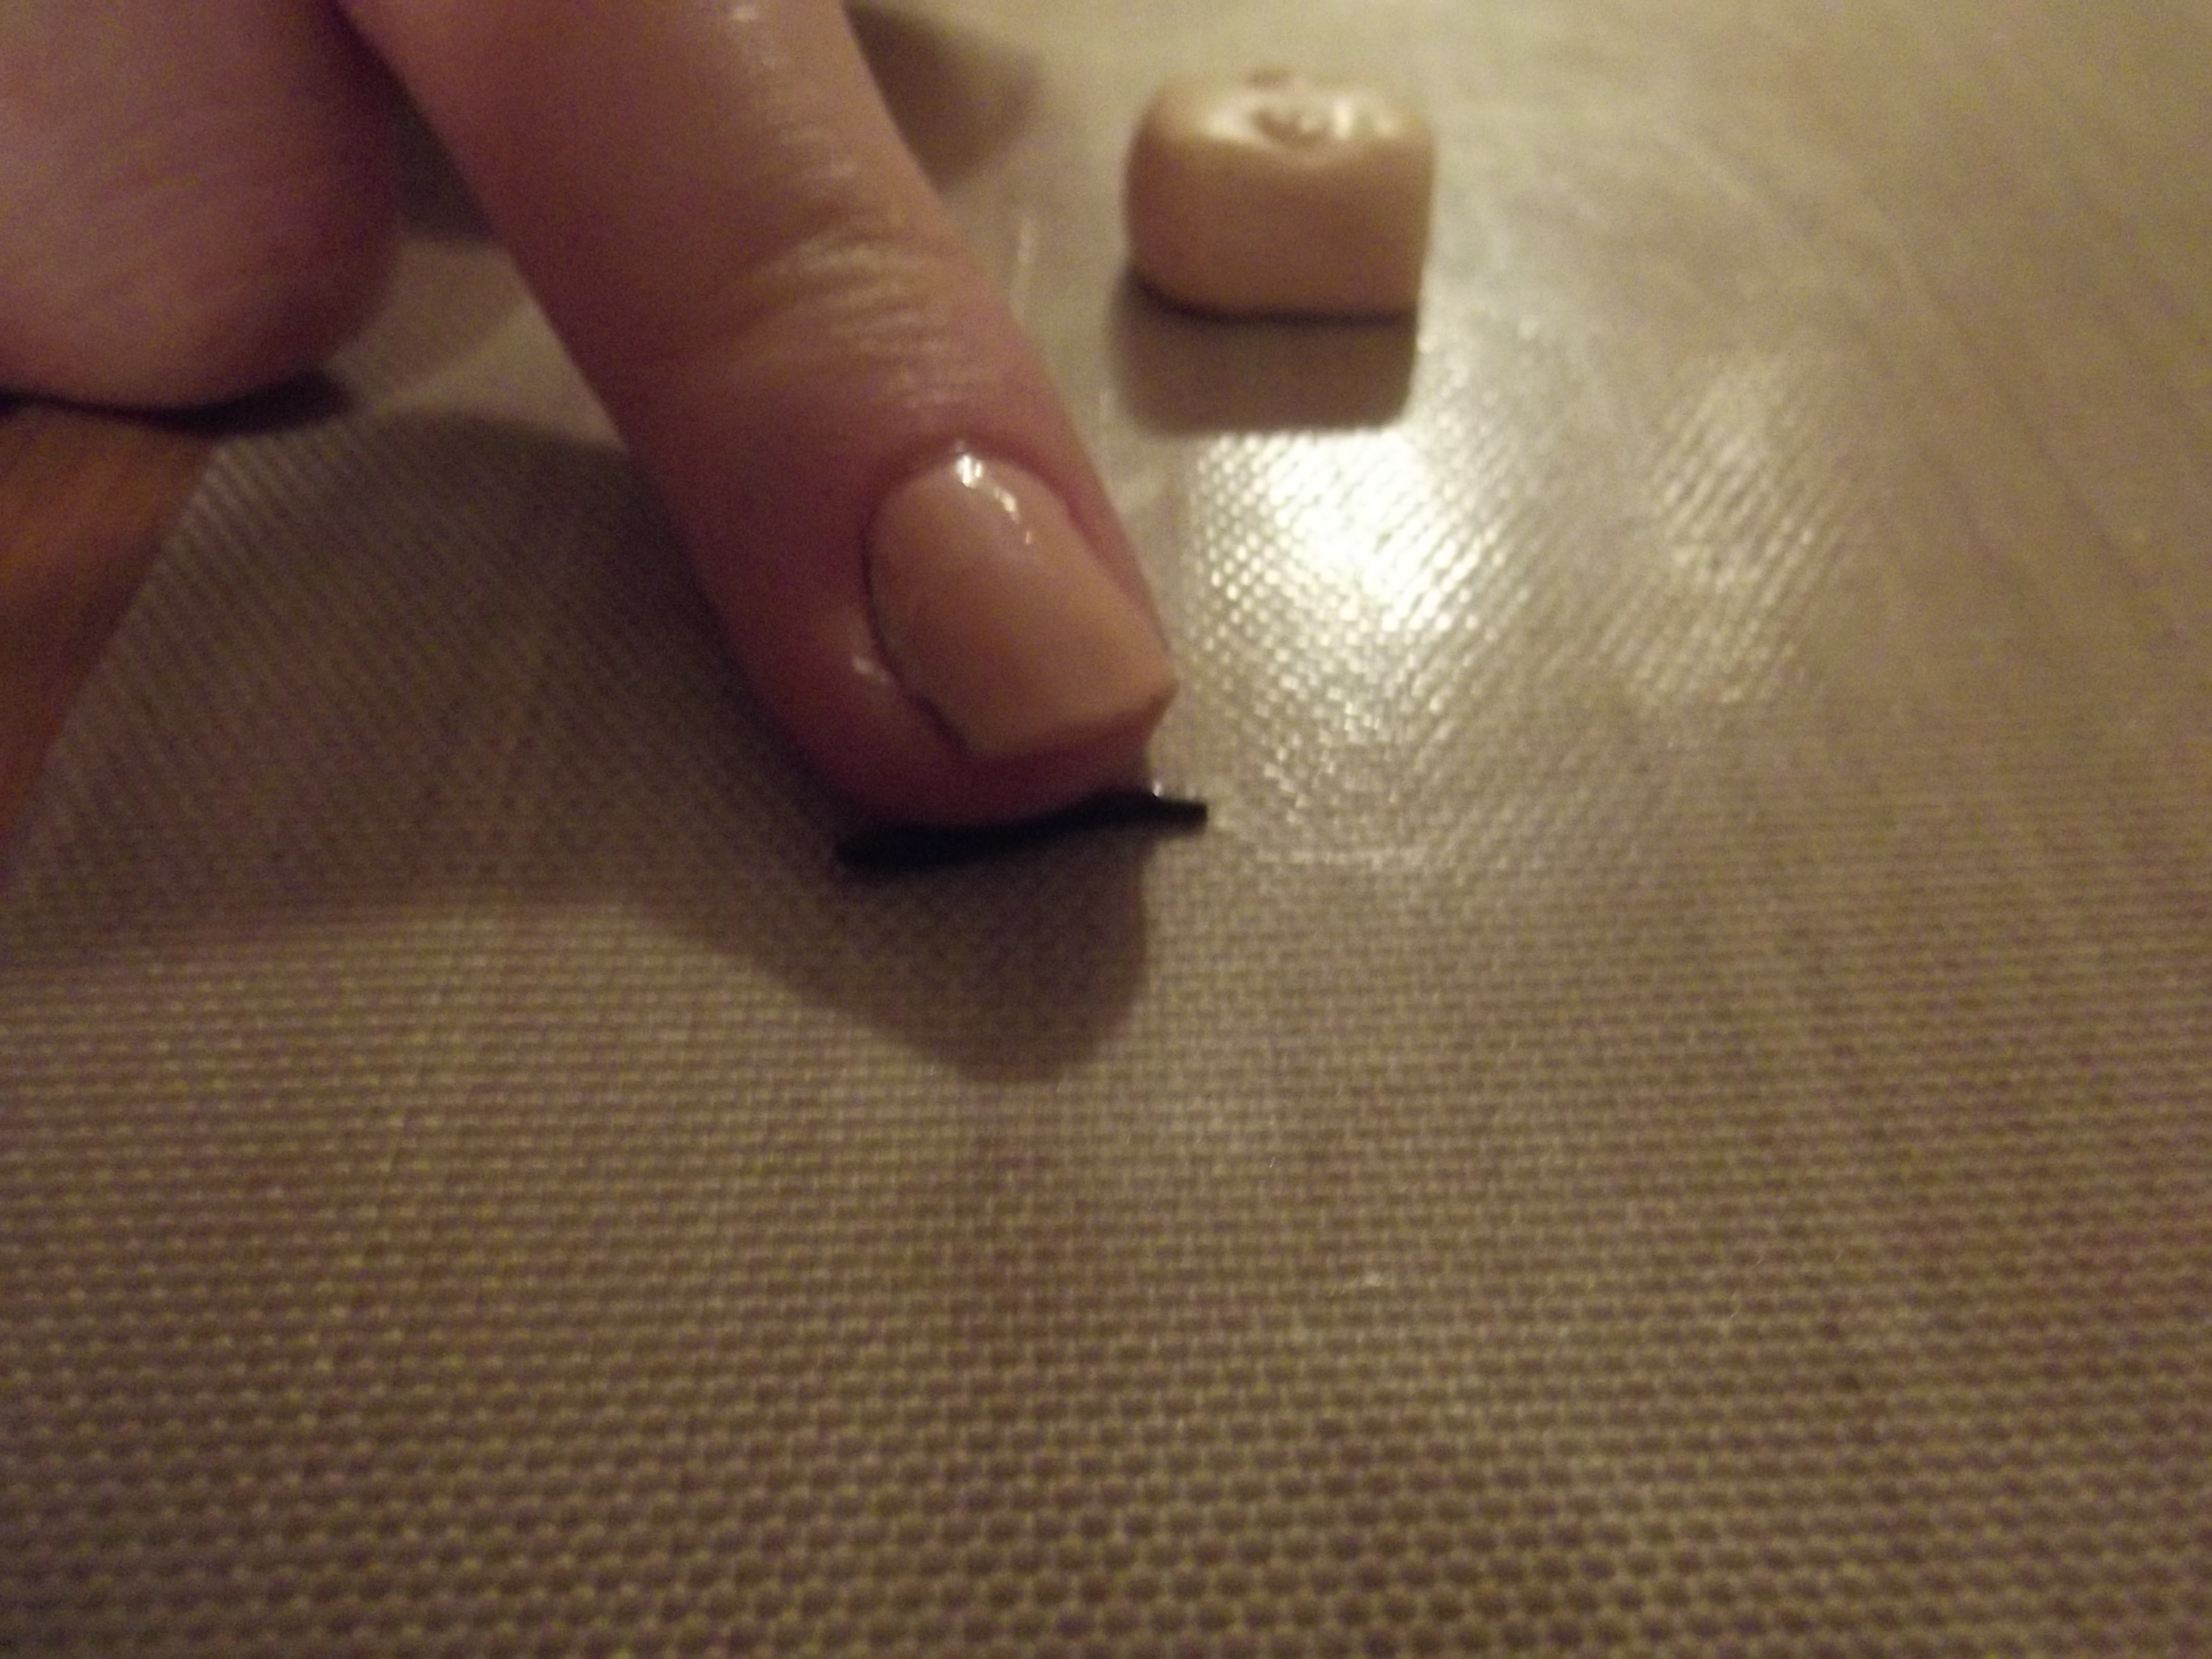
Eye Pin (also bought at Michael’s)
Soft Bristle Paint Brush (bought at Wal-Mart)
Blade (I am using an X-acto I bought at Michael’s)
Parchment Paper (bought at Wal-Mart) (not pictured)
Cookie Sheet (not pictured)
Oven (not pictured)

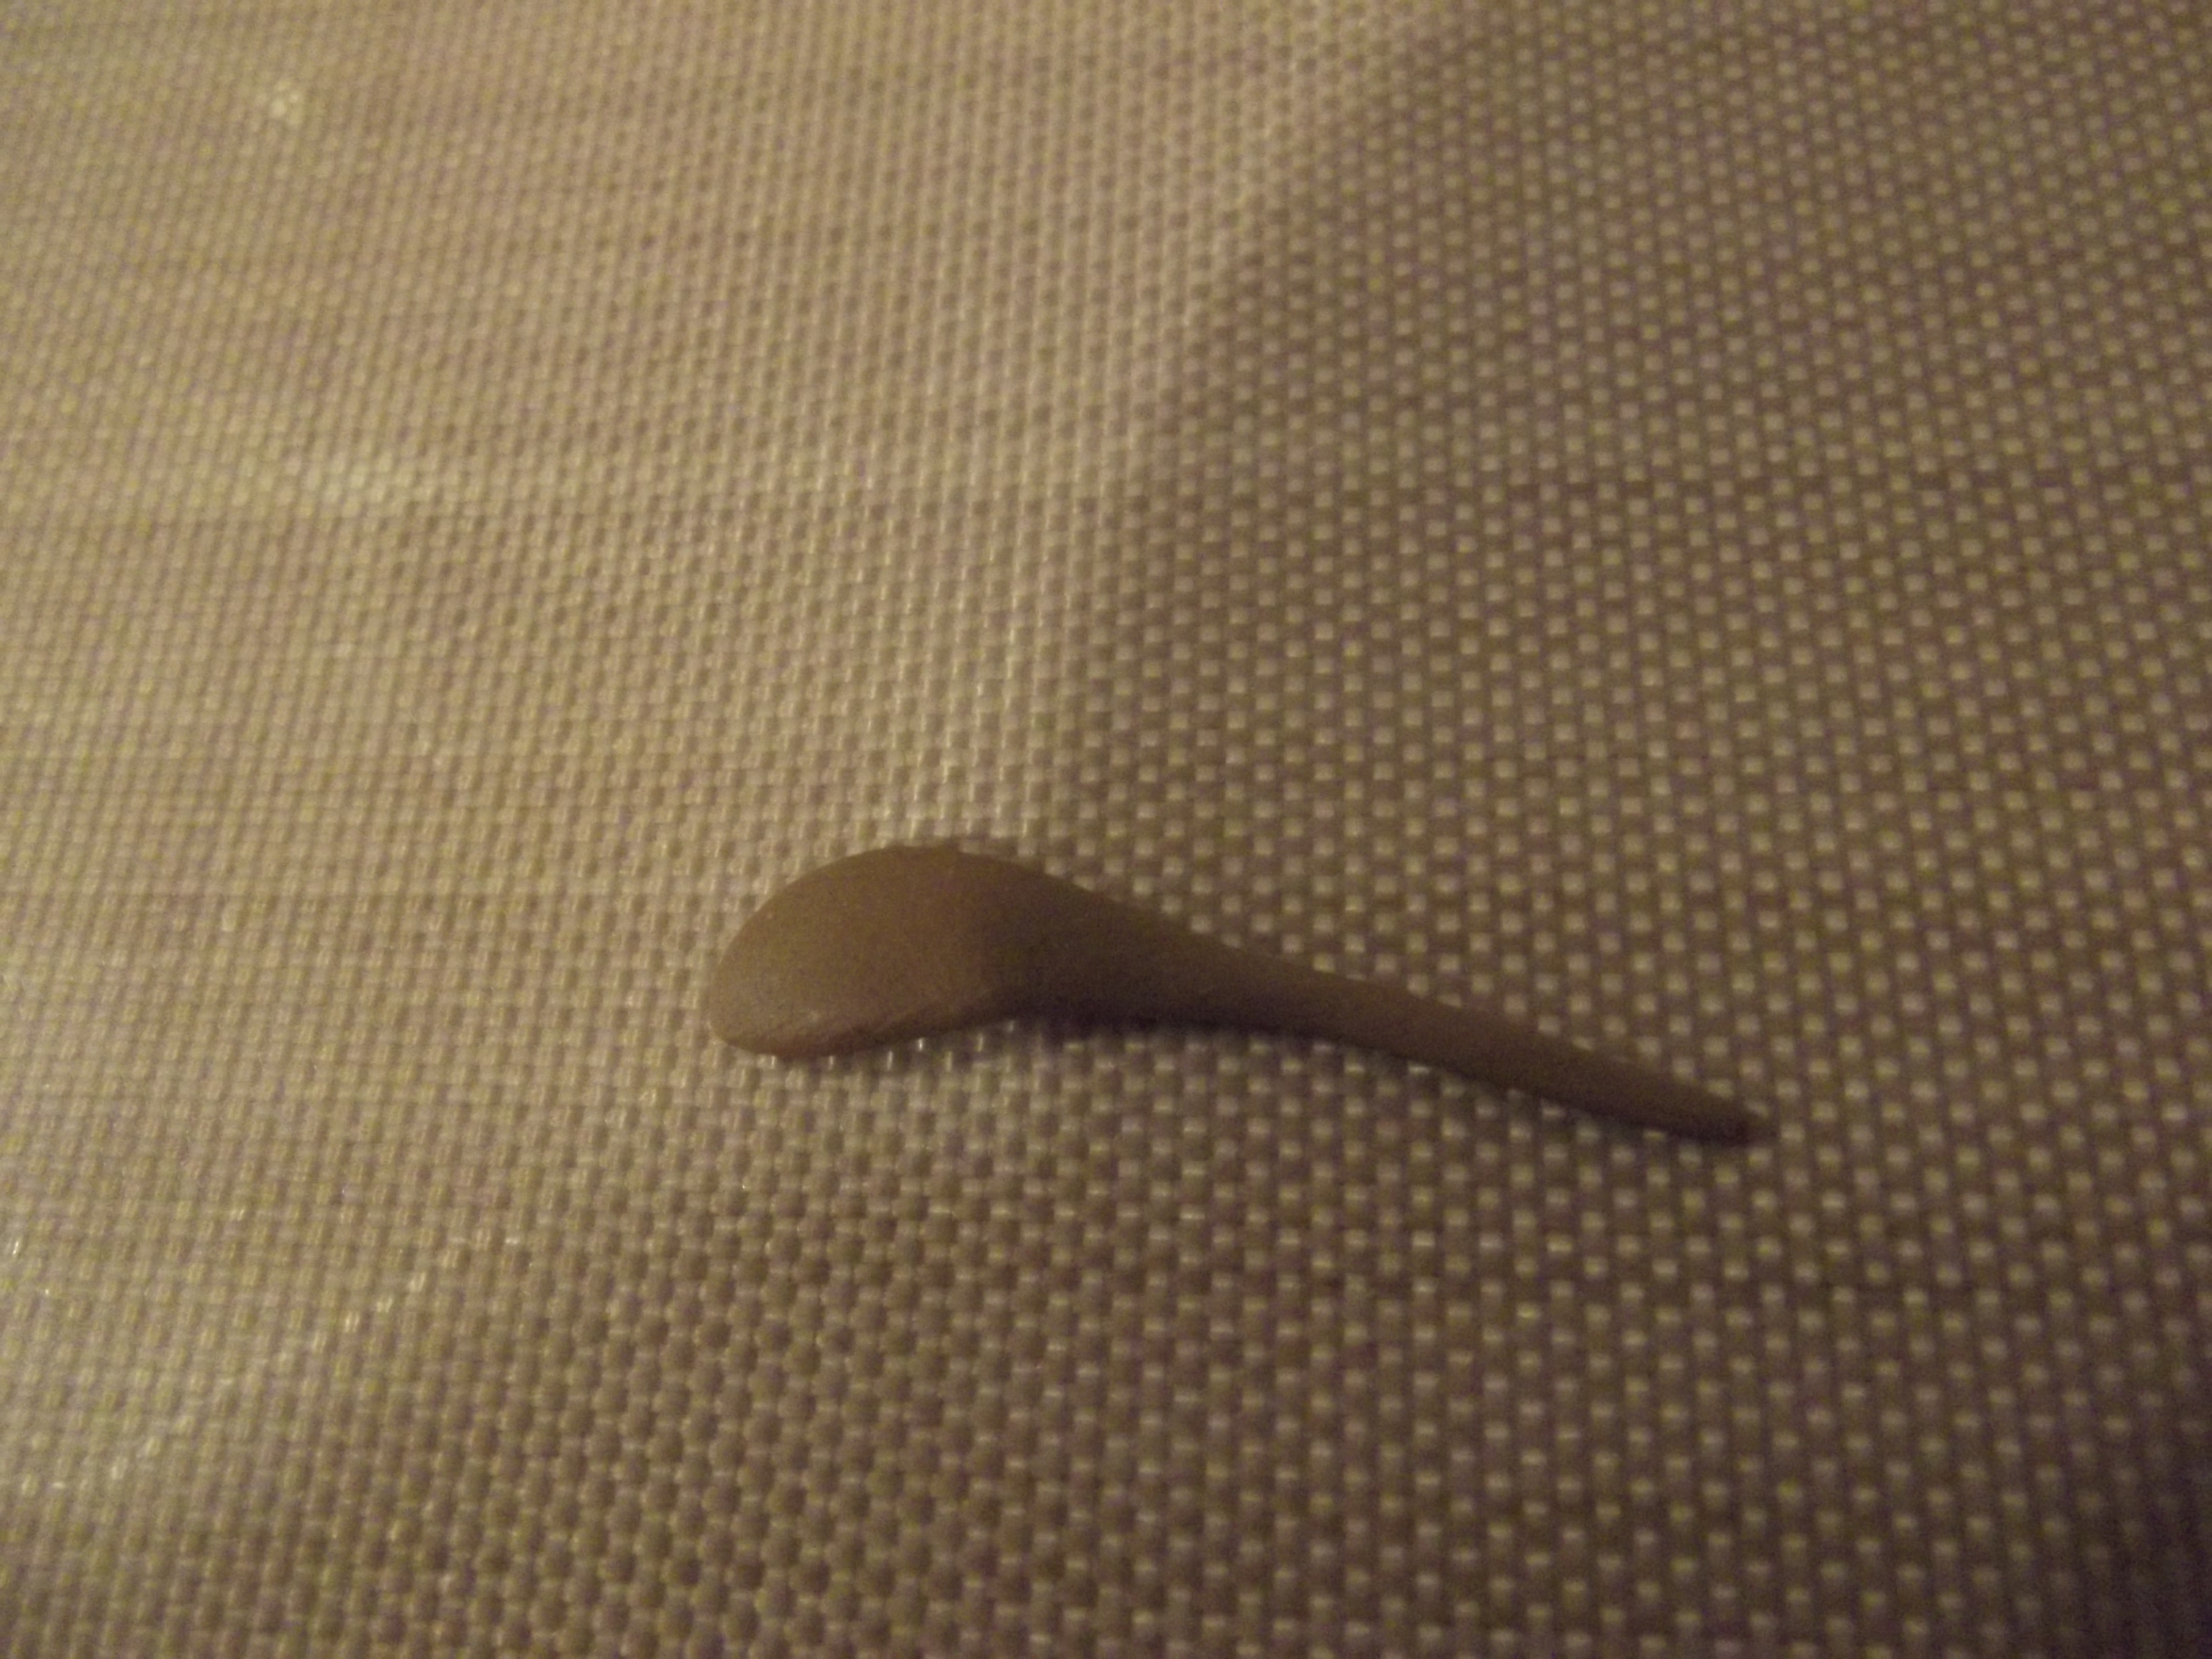
1. Start by rolling your brown clay into a long, skinny snake. Bake for 3-5 minutes at 275 degrees on a cookie sheet lined with parchment paper.

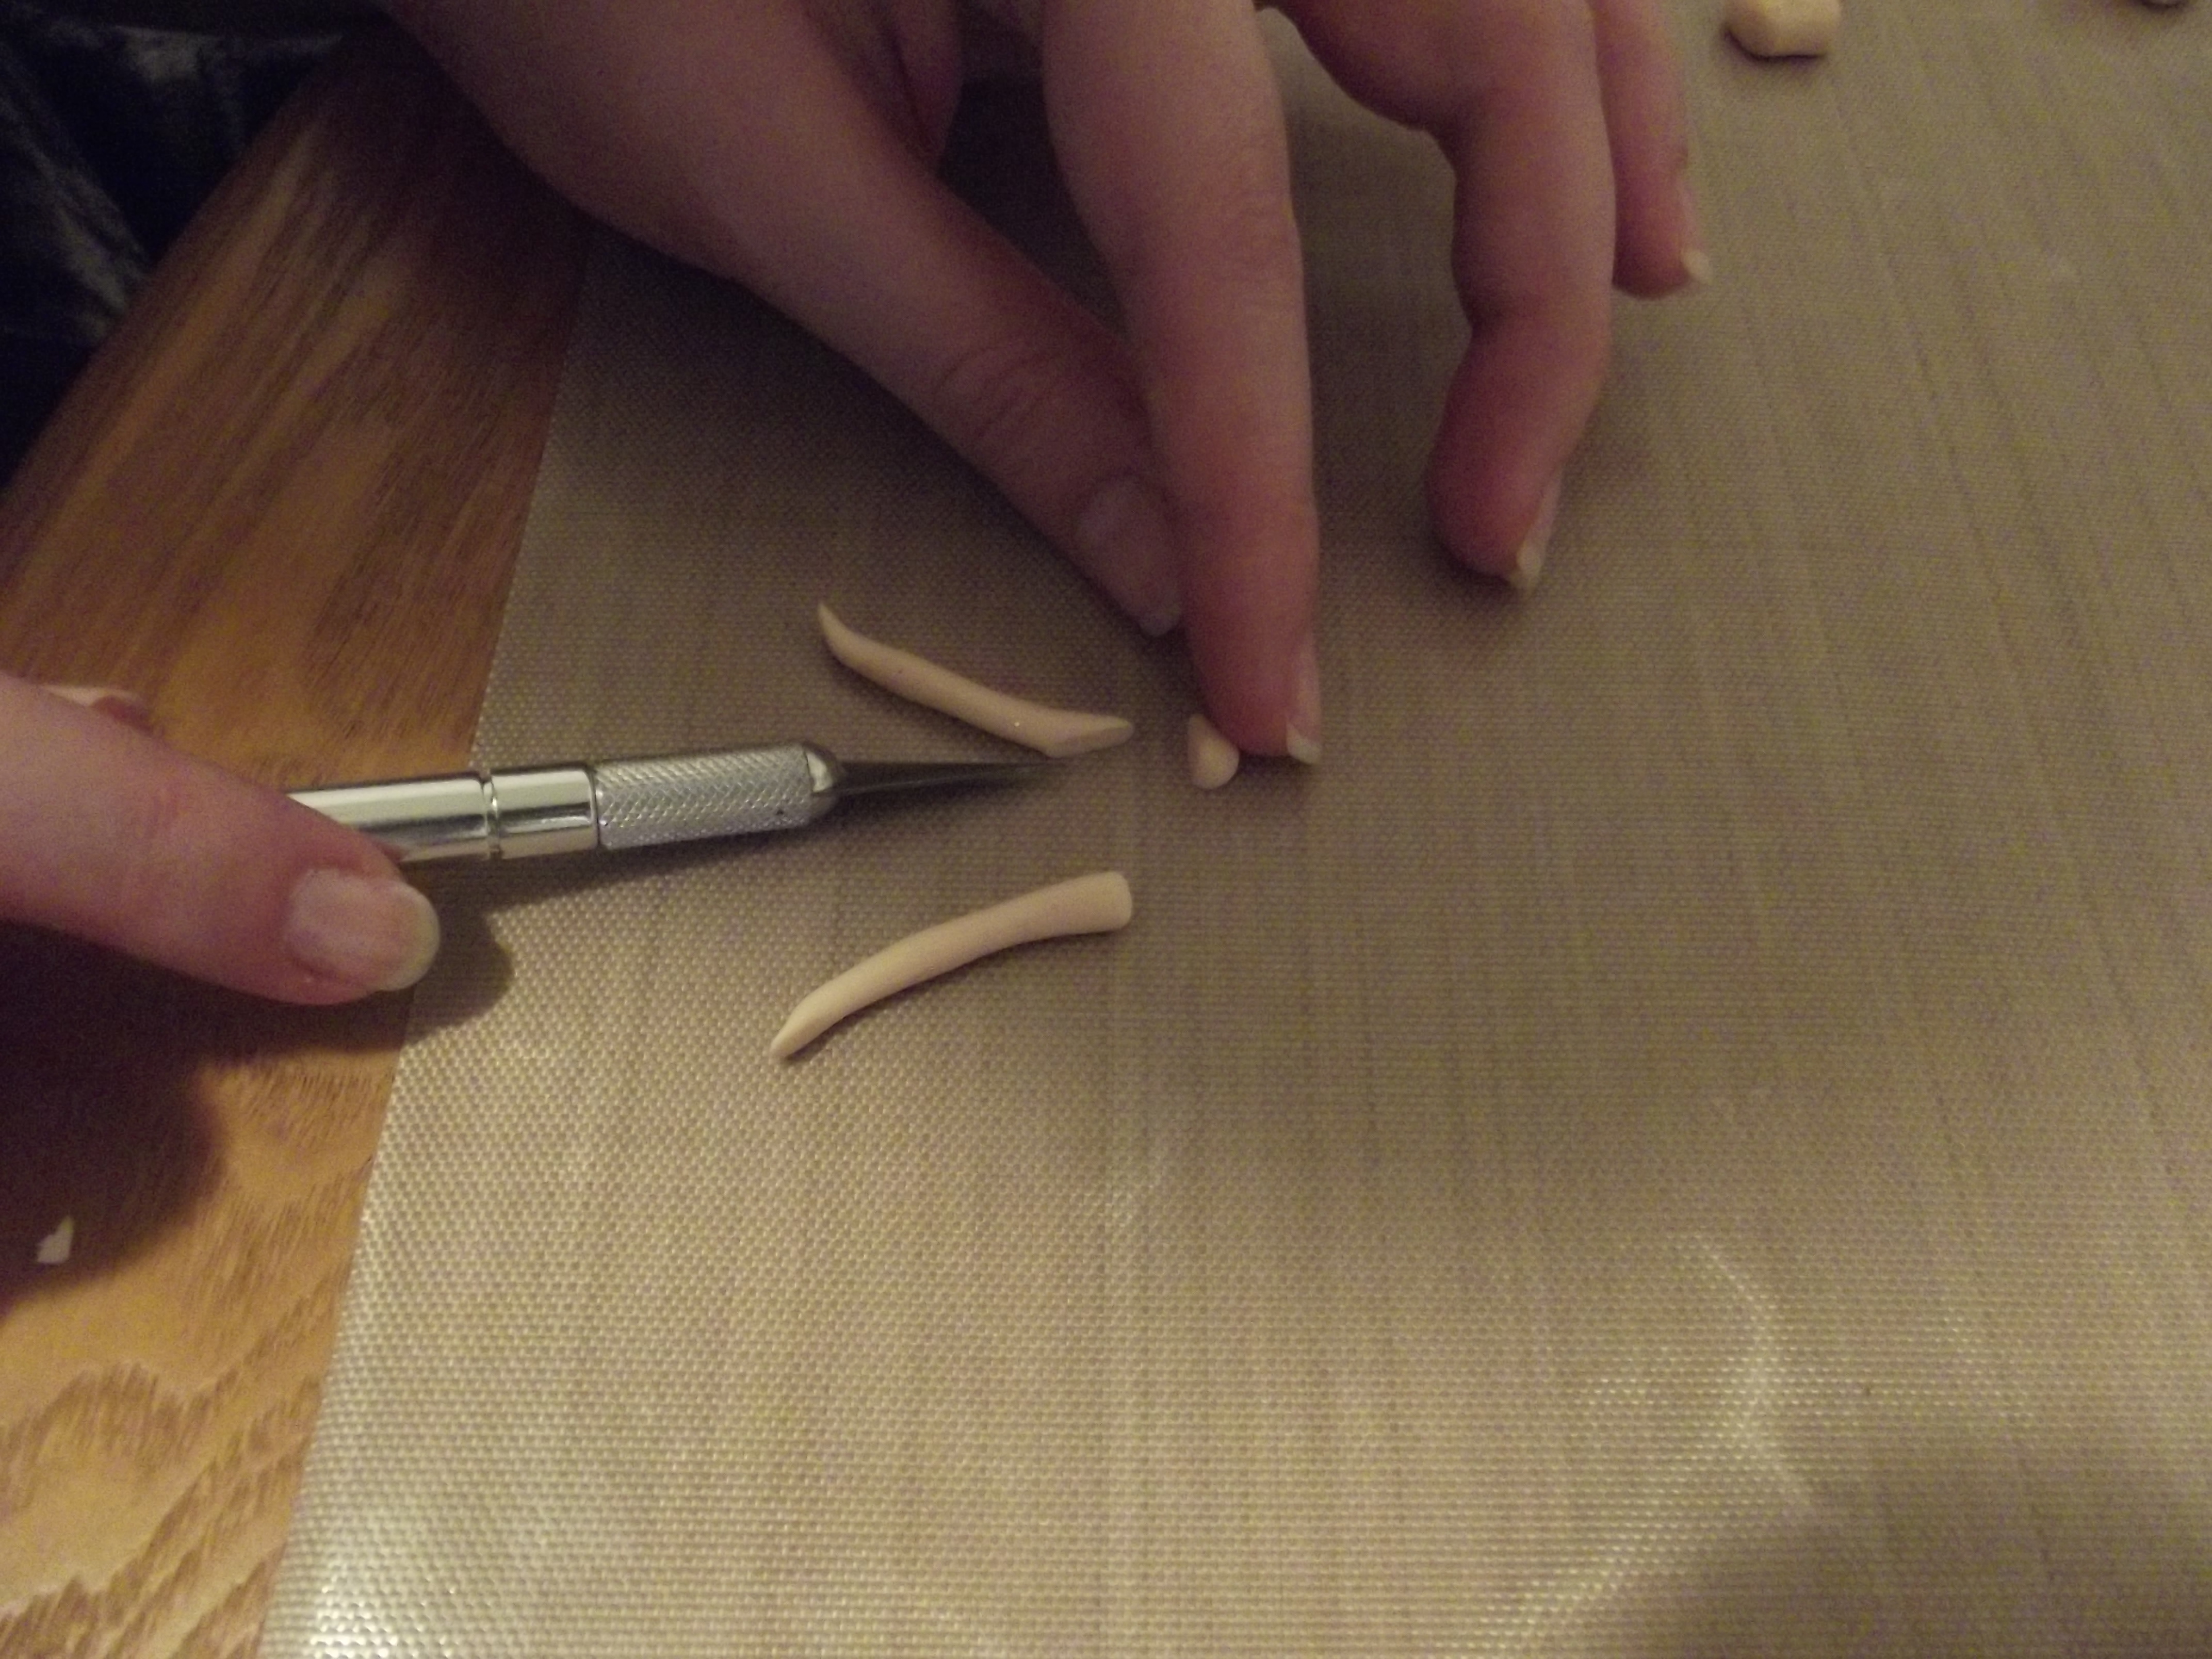
2. Once the brown log, snake piece has cooled, begin cutting small pieces off. This will serve as your chocolate chunks.


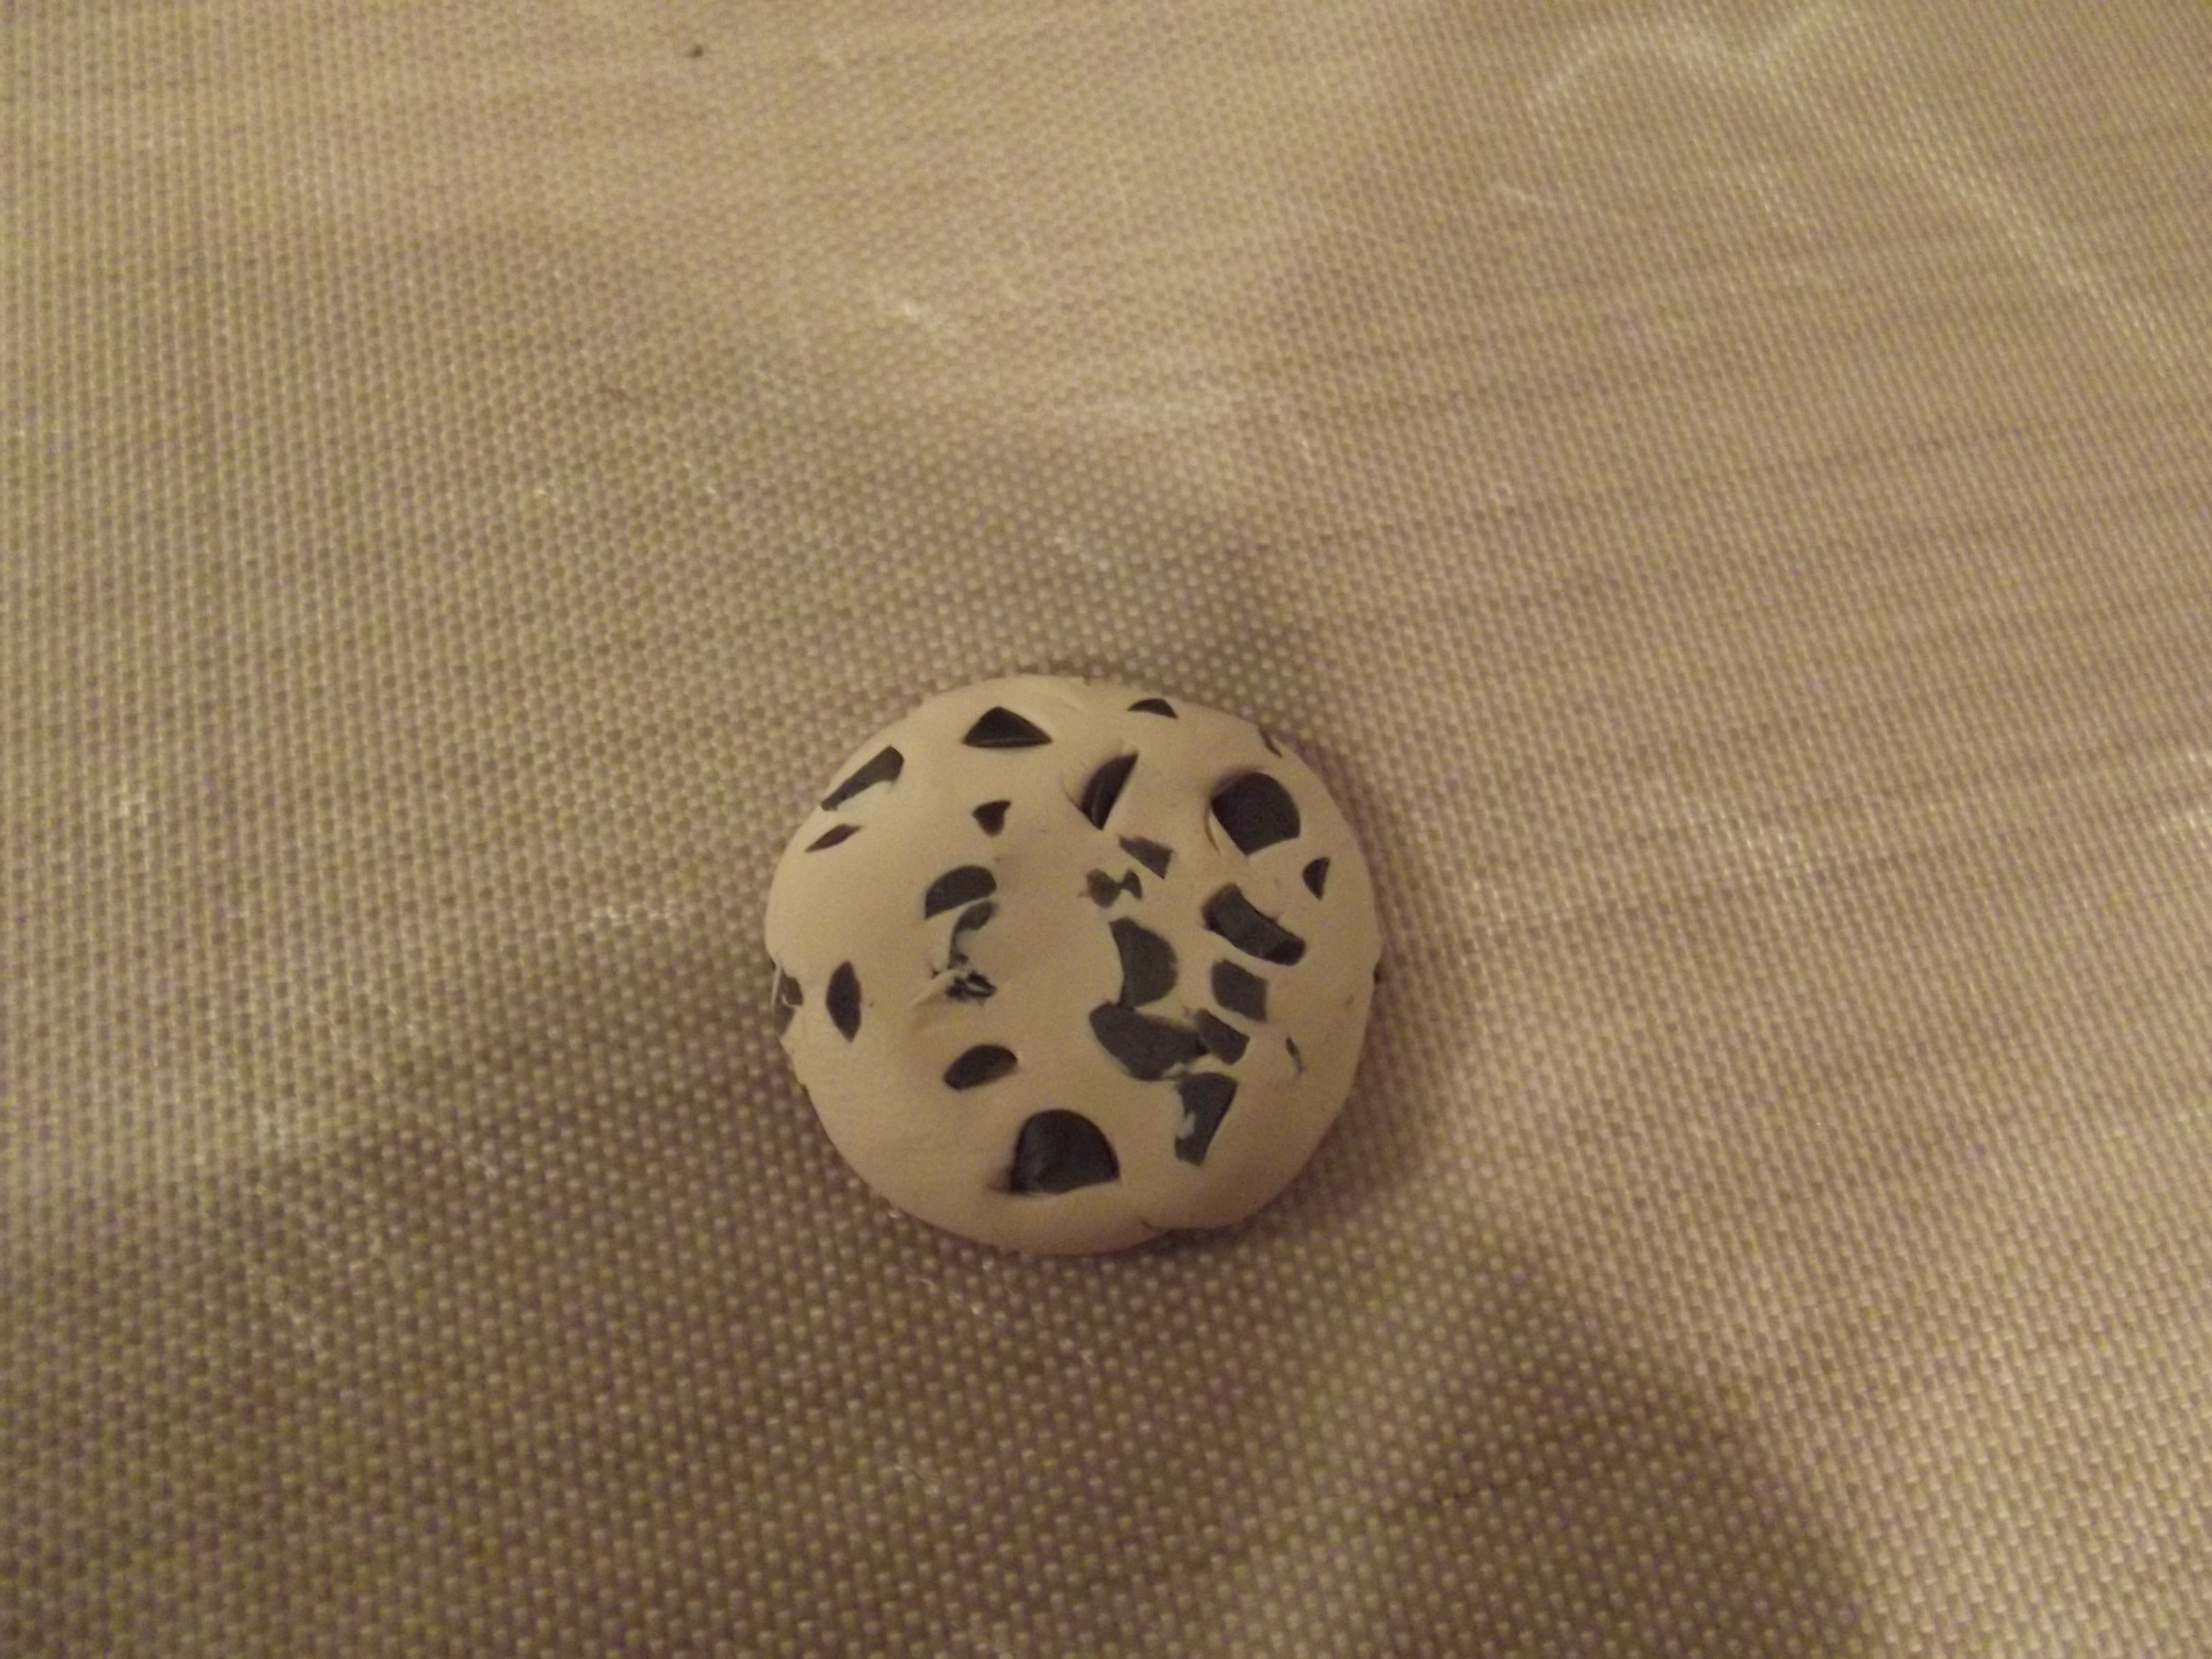
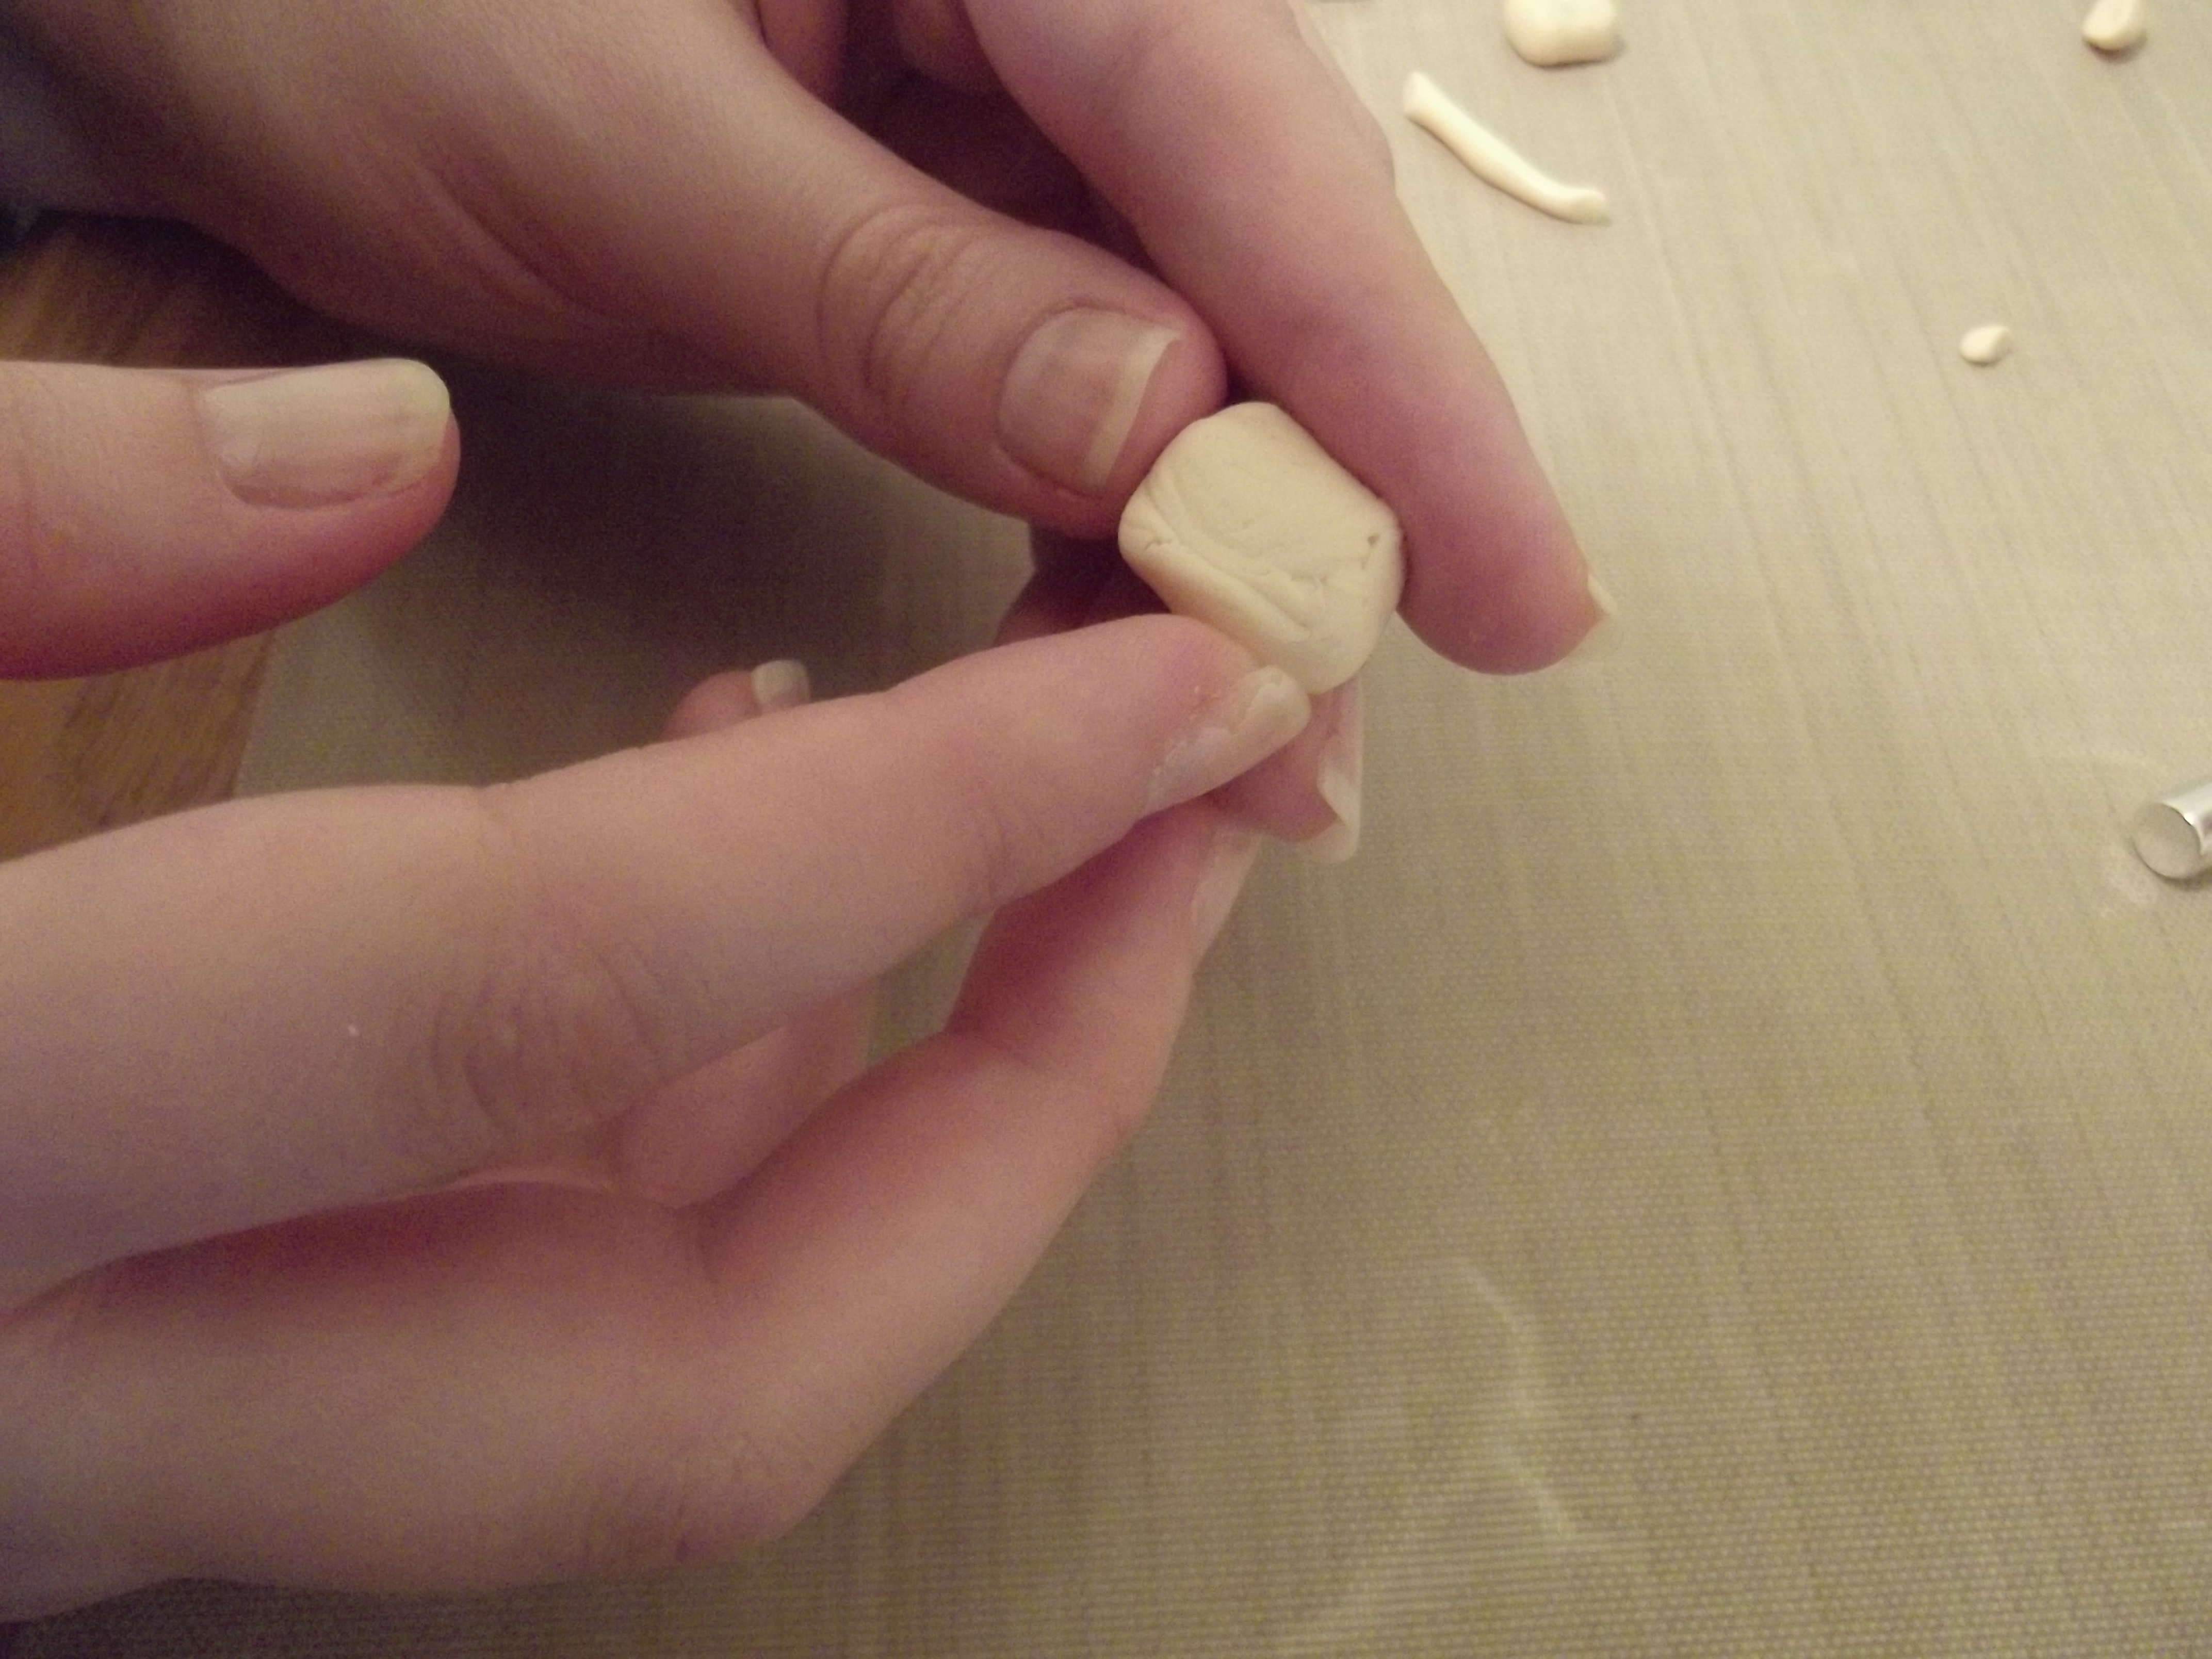
3. Next, using a piece of tan clay the size you will want your finished cookie to be, condition and start including your chocolate pieces. You are going to smash and pull the clay. Make sure that you can see a good amount of chocolate pieces when you are done.


4. Now, use your brush to add a bit of texture.


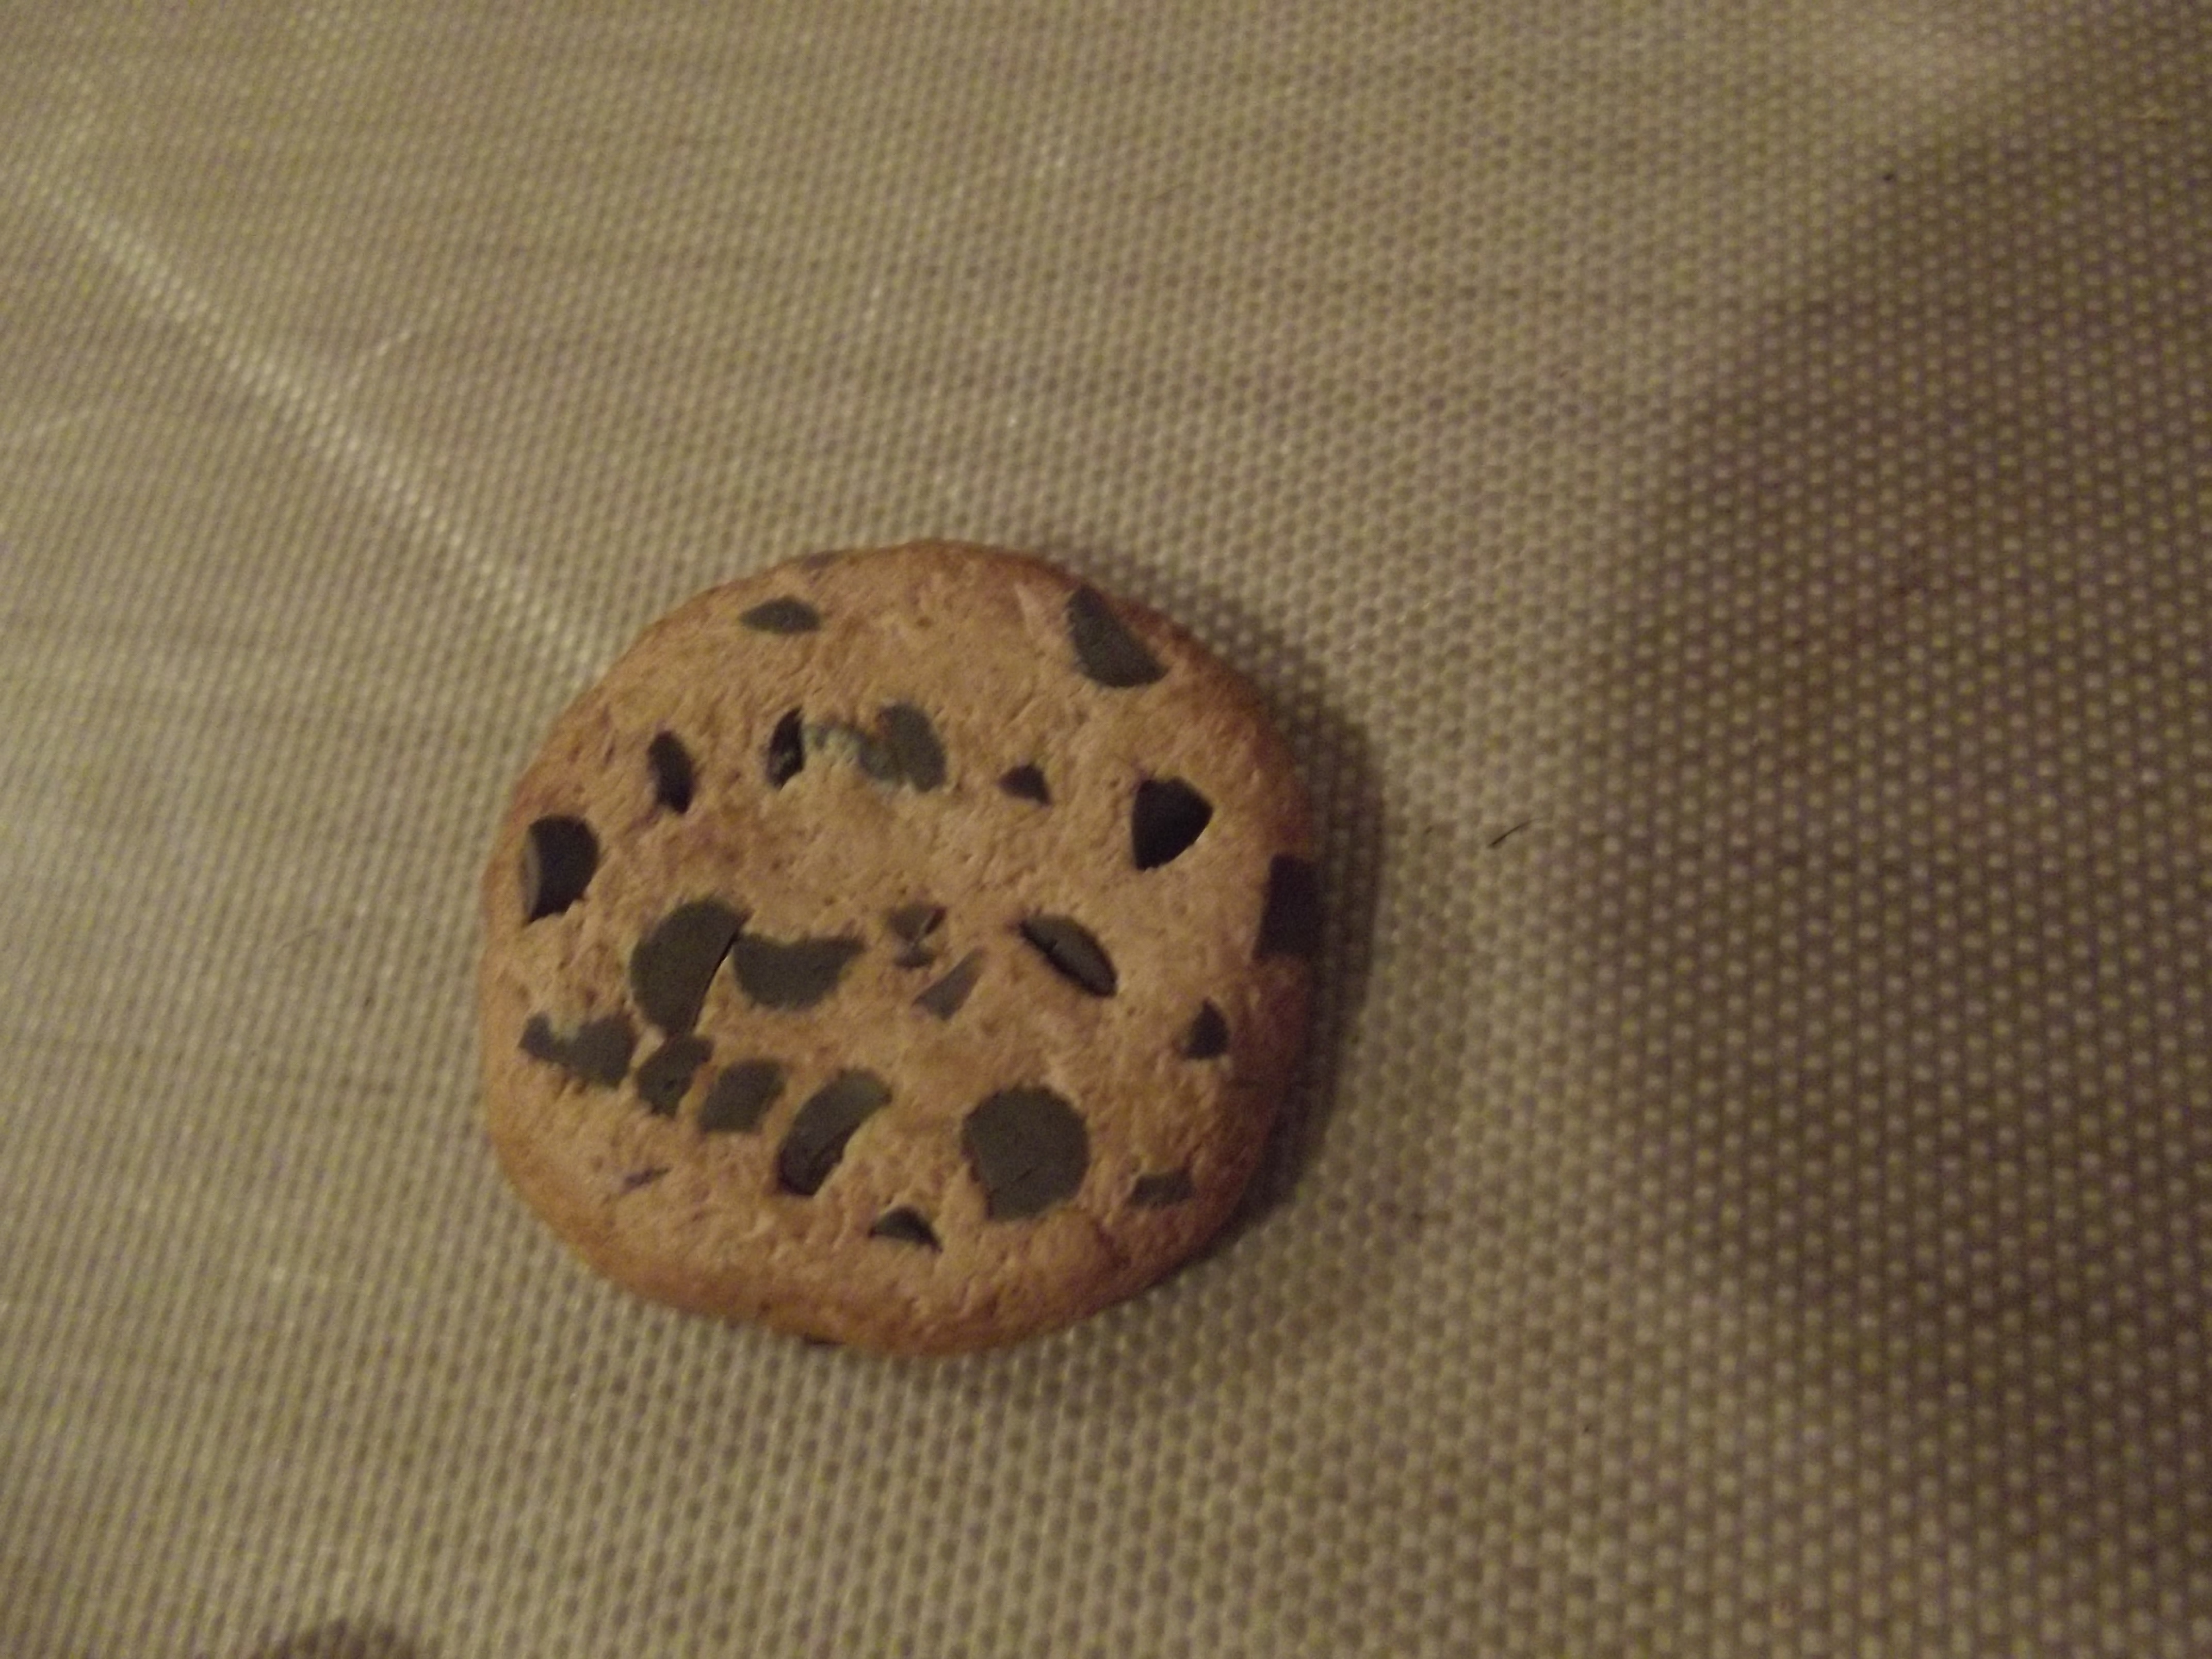
5. Use your blade to scrape off some of your chalk pastels. Mix the colors a bit and brush them on where a cookie would normally begin to brown.

6. Add your eye pin (this might be a little tricky since you now have to work around hardened clay pieces), and bake at 275 degrees for 15-20 minutes.

And there you have it!