So, my little sister turned 14 today. She loves Minecraft and Hello Kitty. Seeing as how Hello Kitty is a lot easier to find in the stores than Minecraft stuff, my parents geared her birthday more toward that.
They bought her some Hello Kitty rings to be placed on her cupcakes, but there were 4 rings and six cupcakes…dilemma, we have you. I took it upon myself to whip together a couple quick Hello Kitty cupcake toppers so each cupcake had a little something cute.
Fortunately, my camera was right next to me, and I snapped a few pictures on how to make these cute little things.
So, if you want to make something that looks like this: 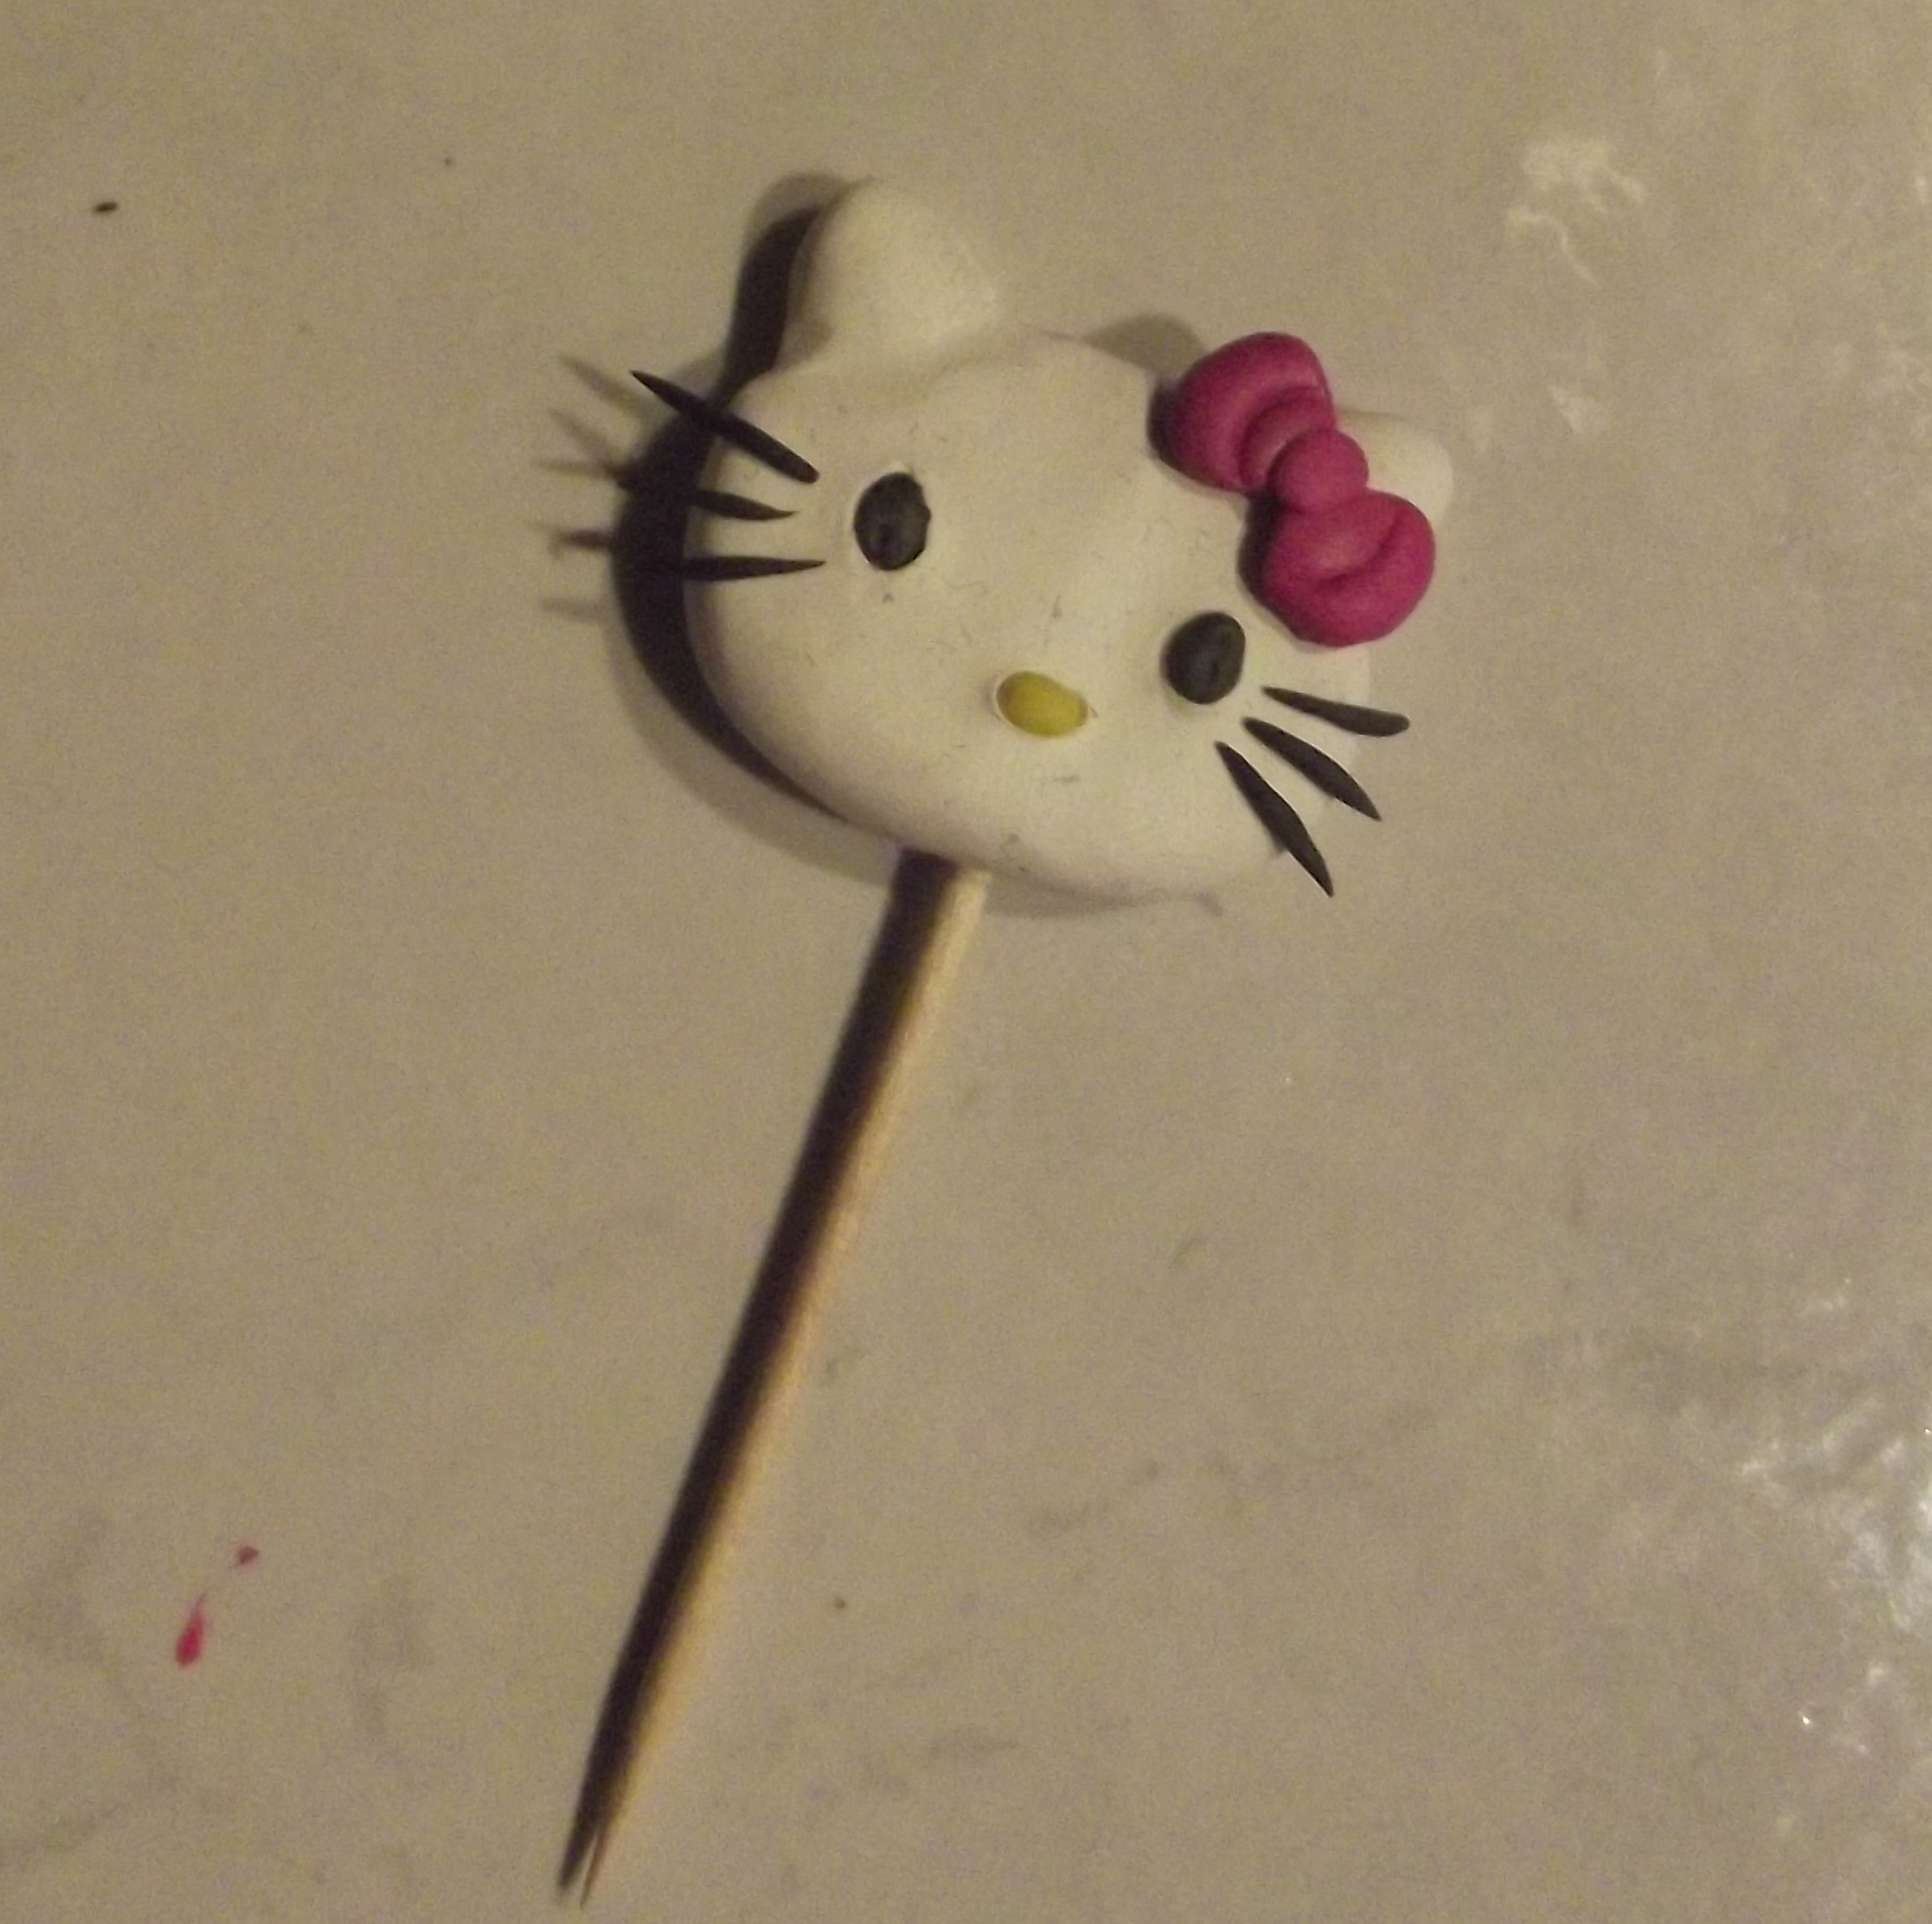
Then keep reading. 🙂
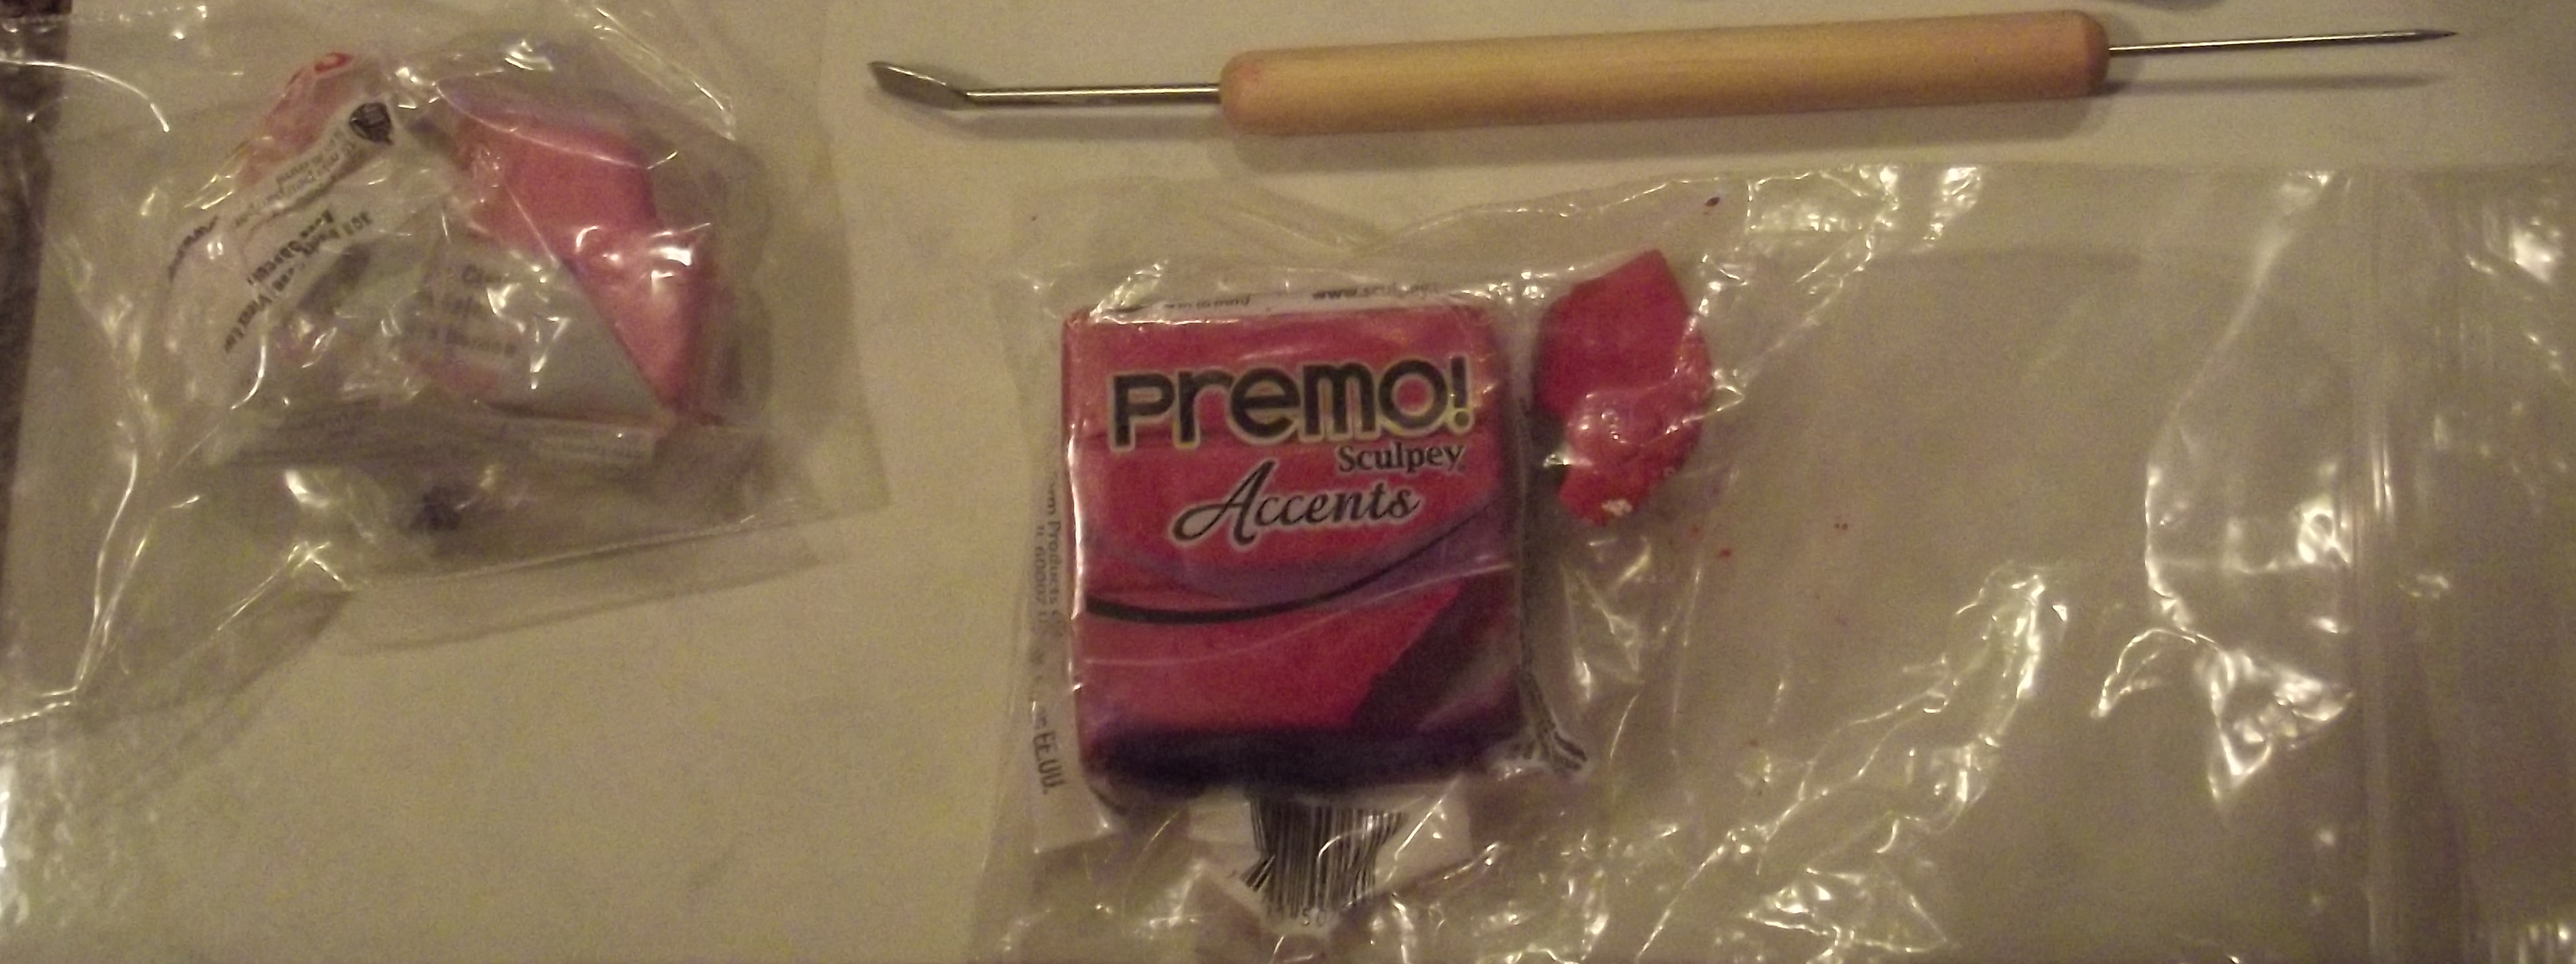
Here is what you will need:
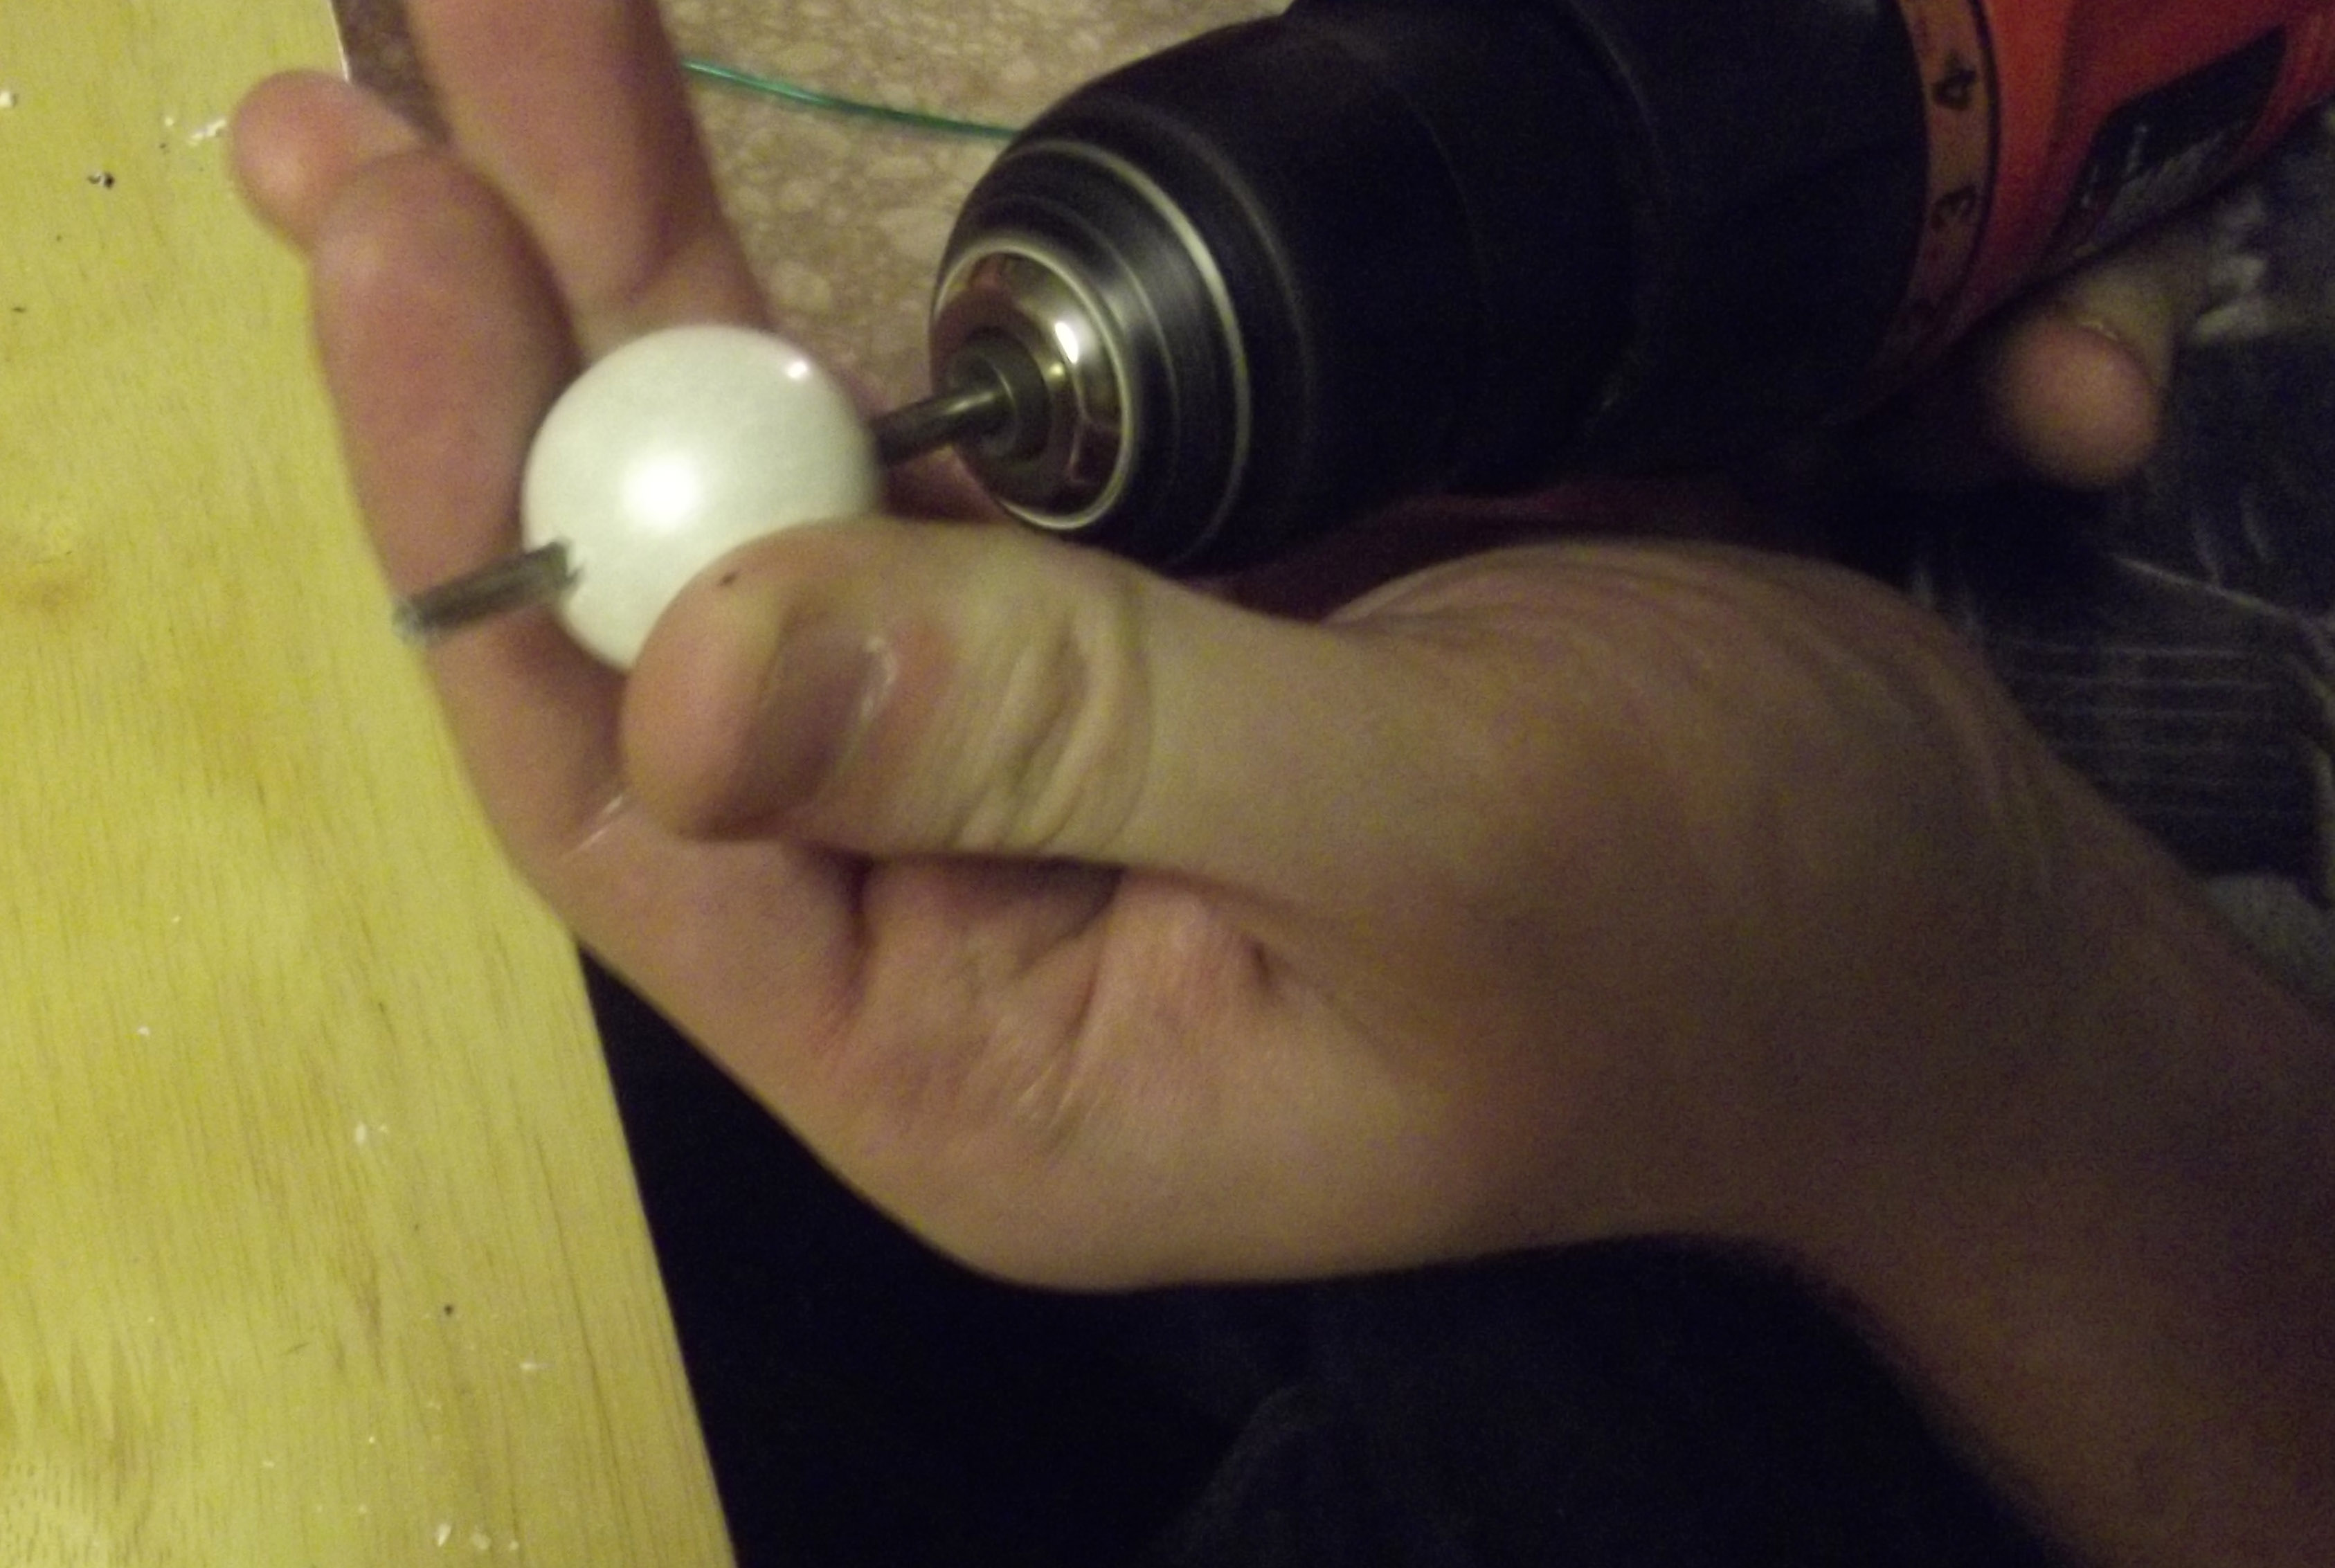
Ball Tool
Tooth Pick
Clay in white, black, yellow, and pink (or red, or whatever color you want the bow to be)
Something with a round tip. I used the bottom of a mechanical pencil and took out the eraser. A cookie cutter, or marker cap or whatever you want to use will be fine too.
*Tip: When working with white clay, lay out some wax or parchment paper, keep the area clean, have some scotch tape on hand, and needle tool. Make sure to complete your work with the white clay before moving on to another color, and keep your hands clean.
I know mine is covered in lint and such, I was kind of in a rush. But following these tips will keep YOURS clean.
When you get lint on your clay, take a small piece of scotch tape and place it gently over the area. That should pull most of it off. After that, take the rest of the lint out by carefully removing it with a needle tool.
Step one is rolling a chunk of your white clay into a ball:
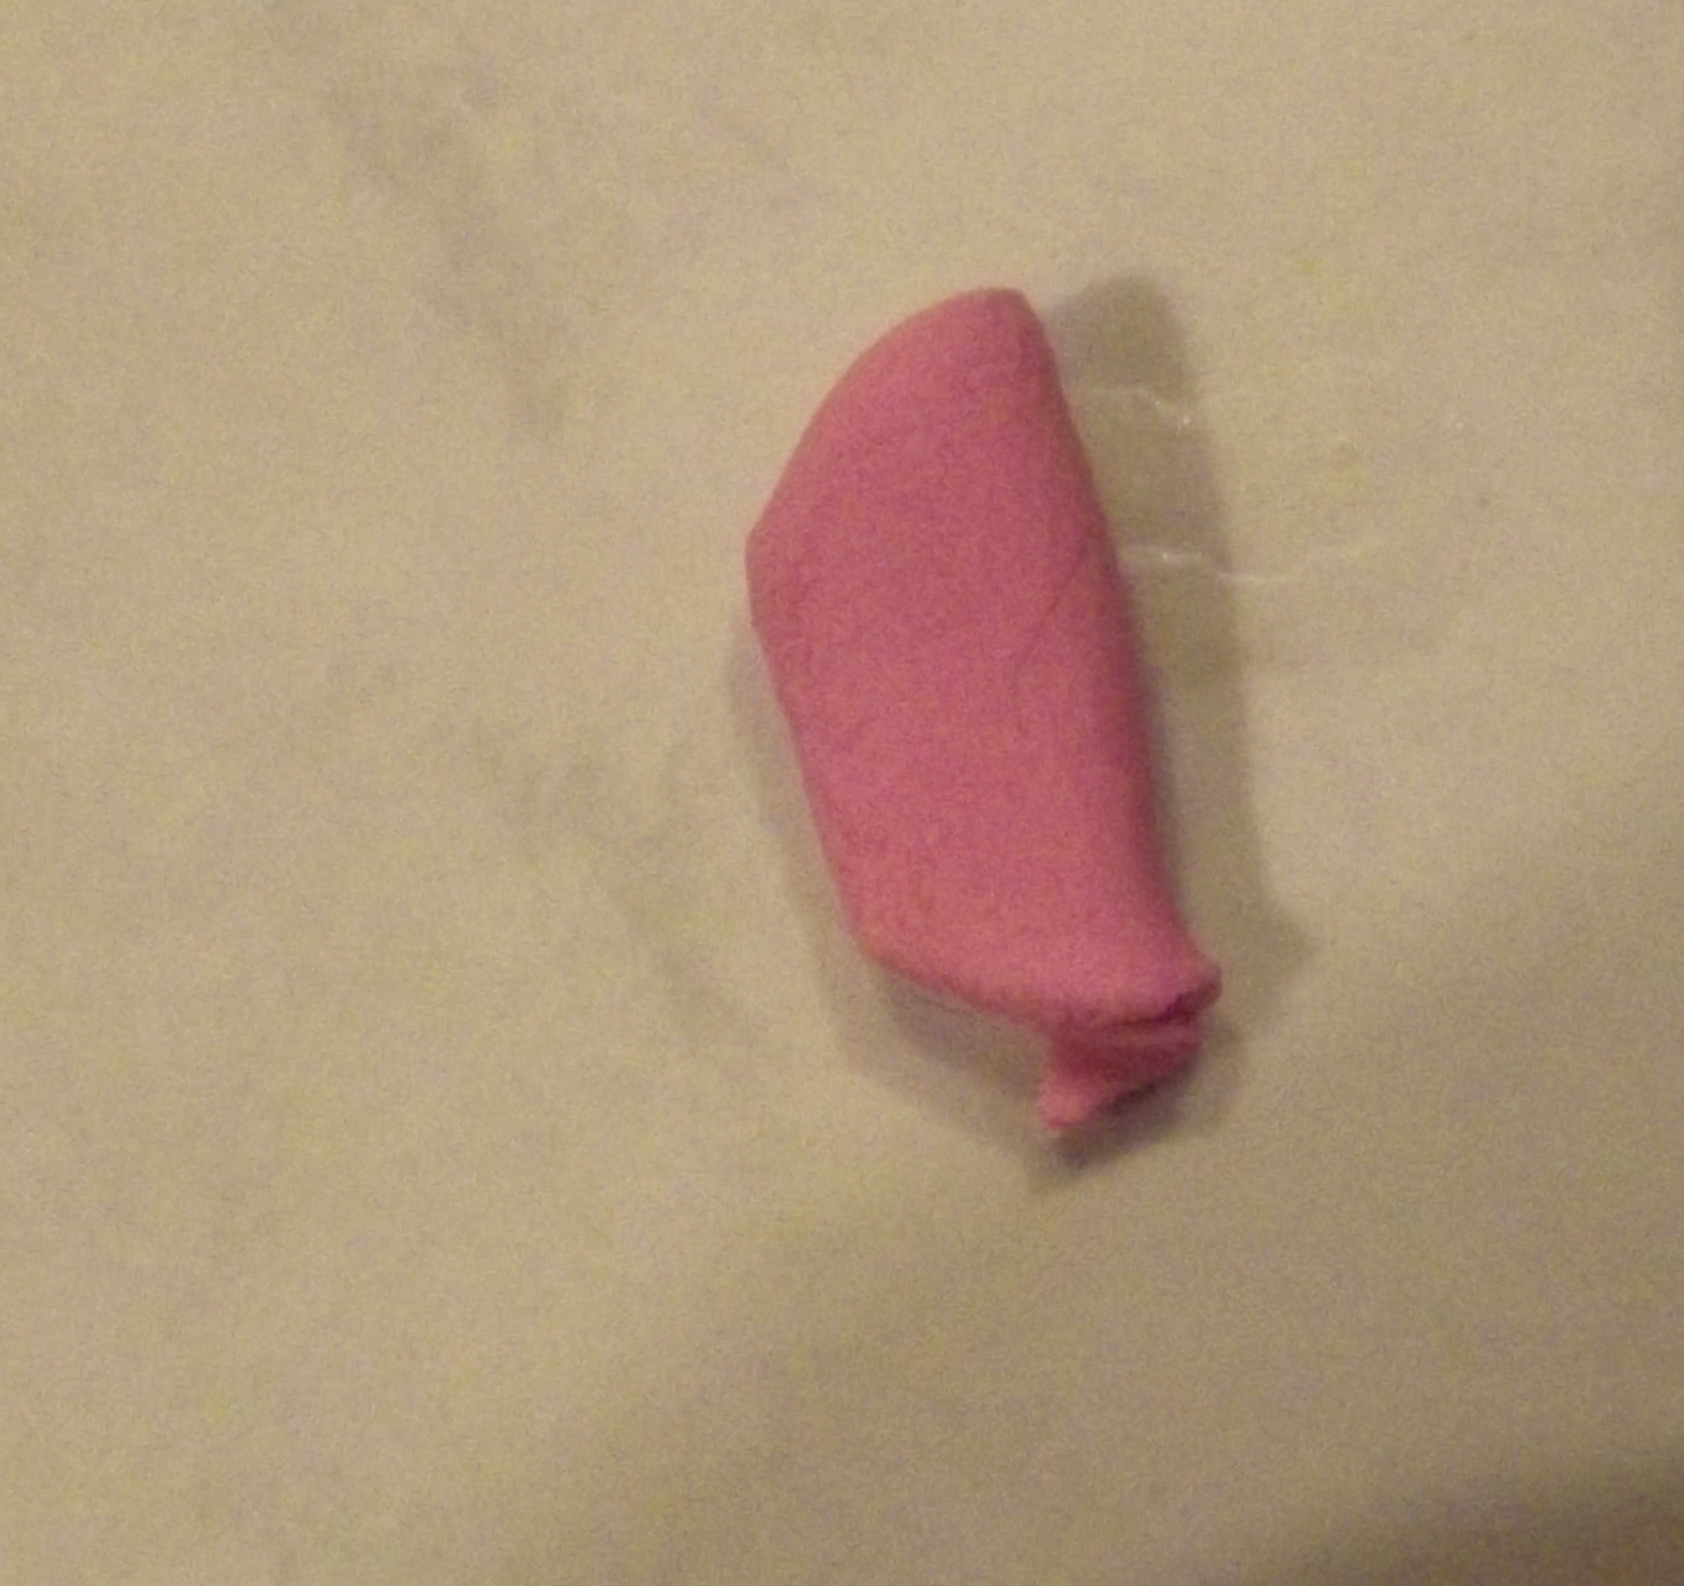
Flatten the ball into an oval shape:
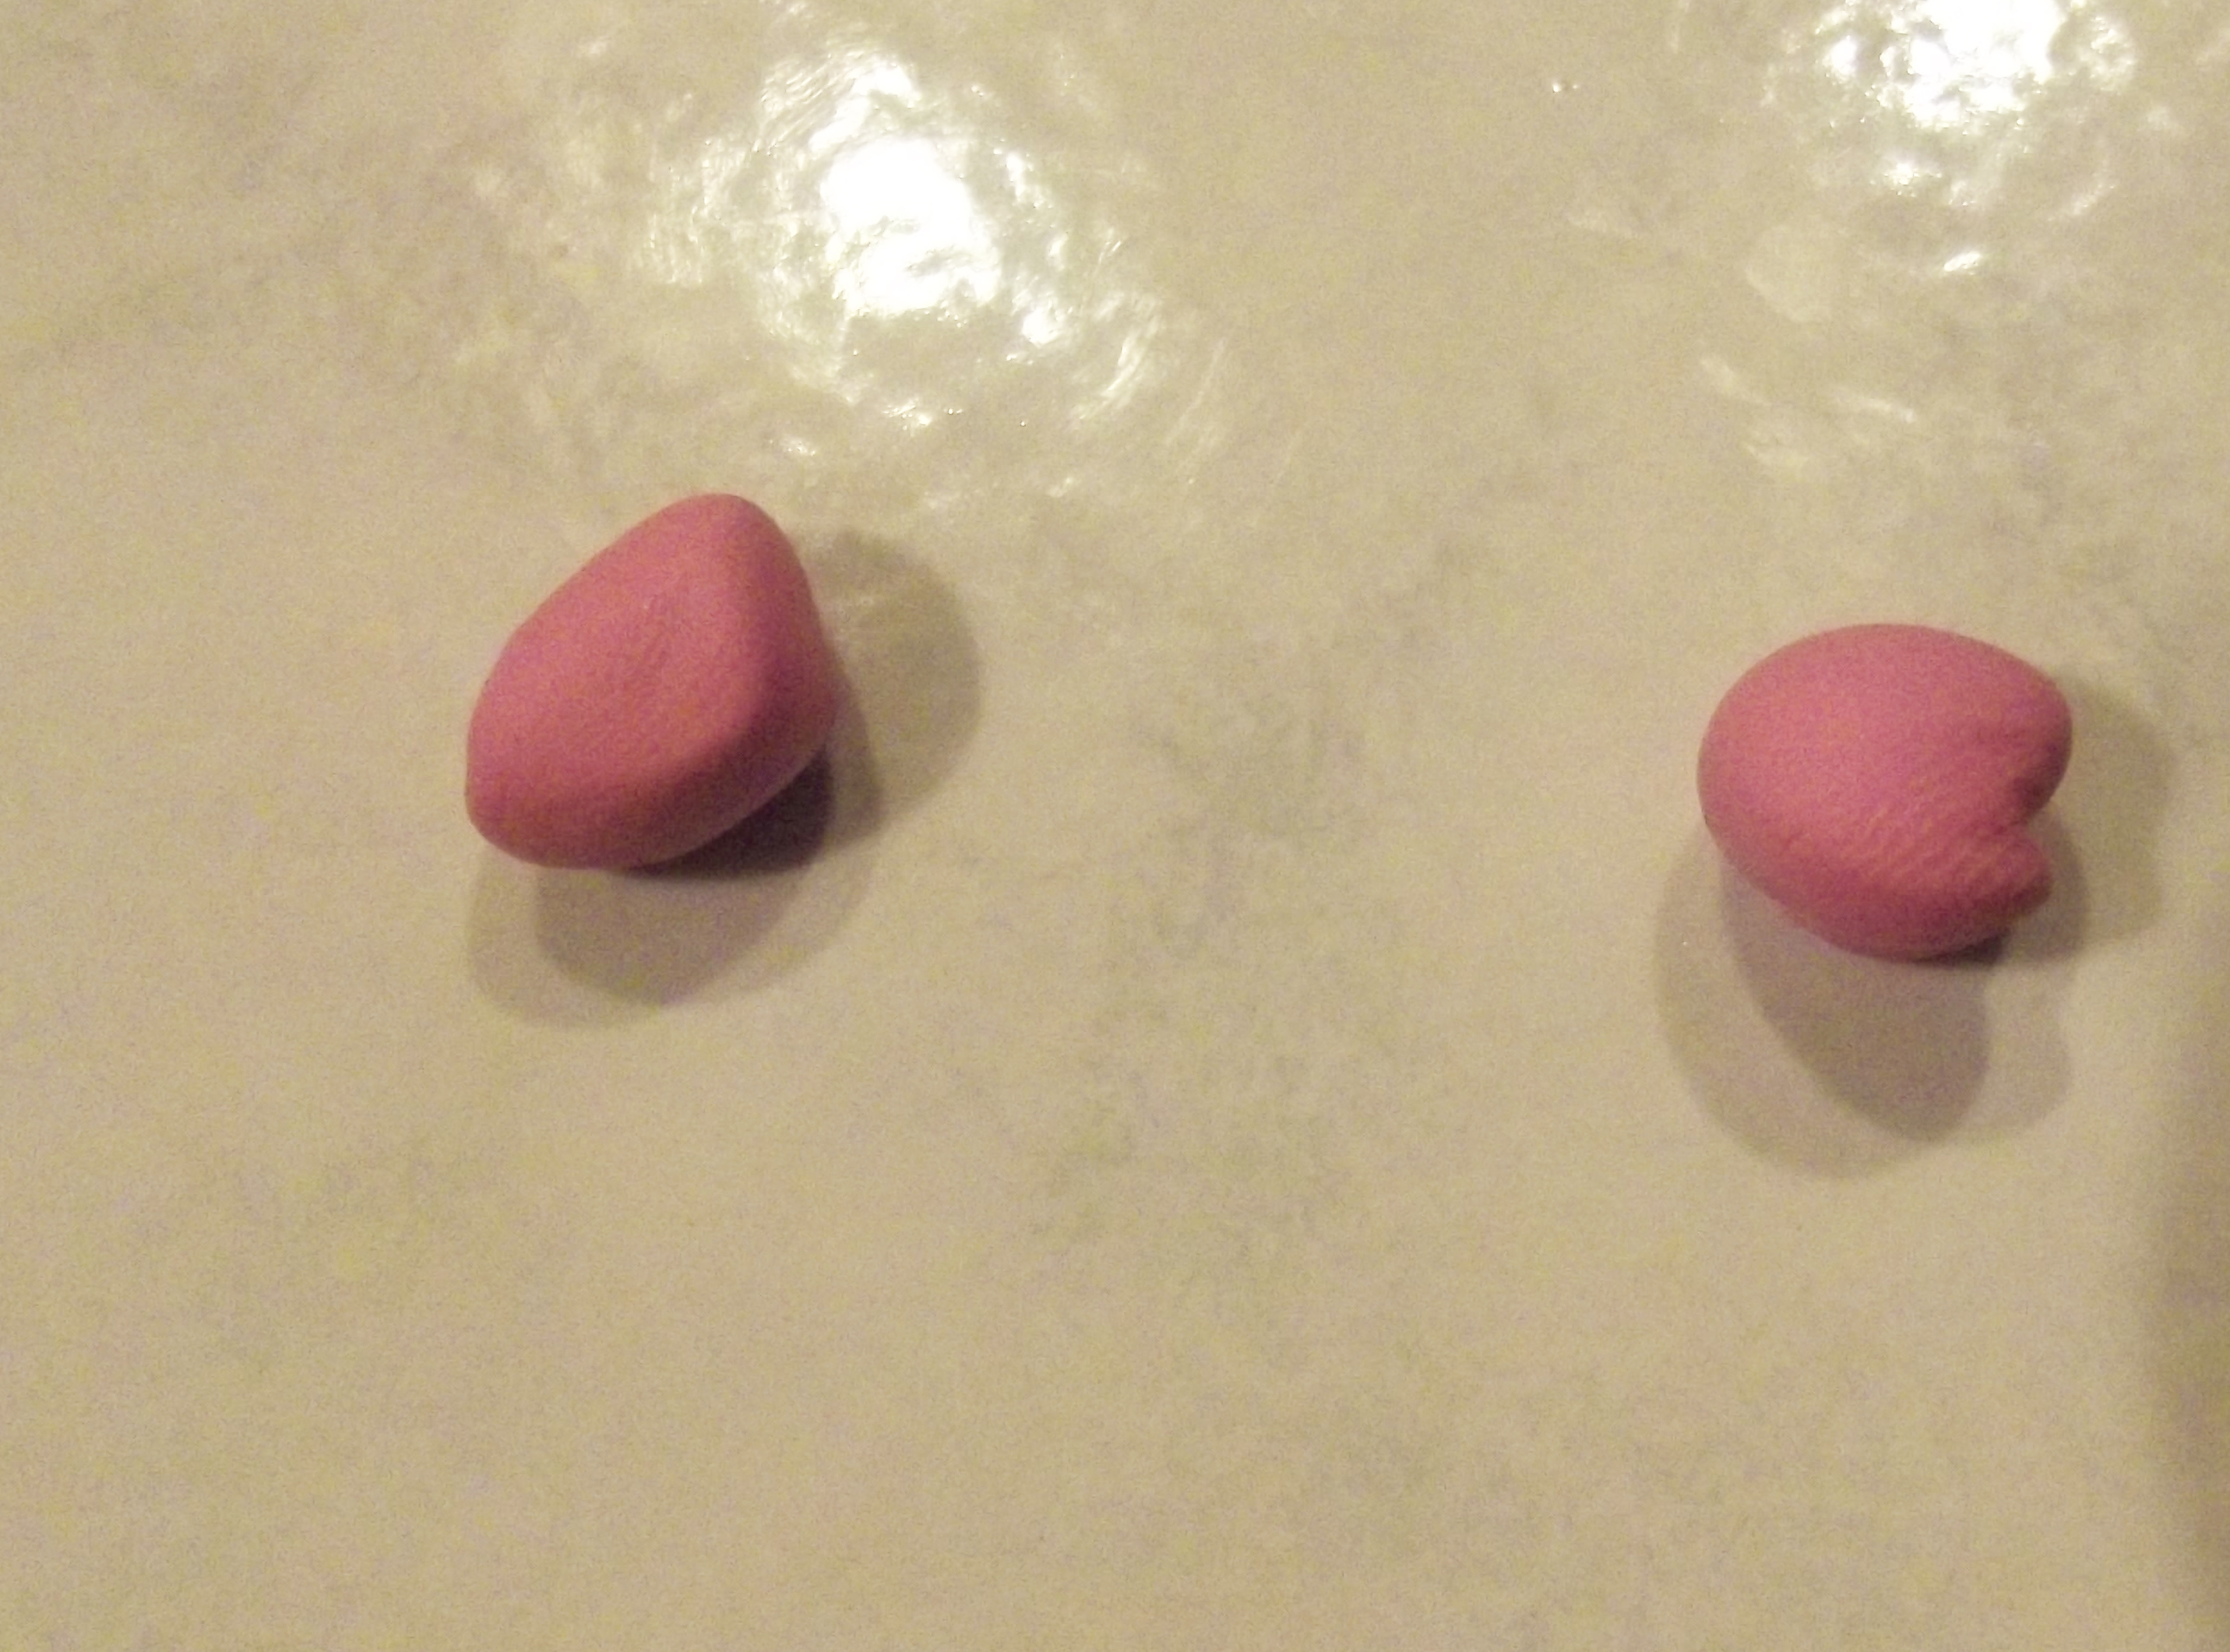
Take another two small pieces of white clay and form them into a triangular shapes: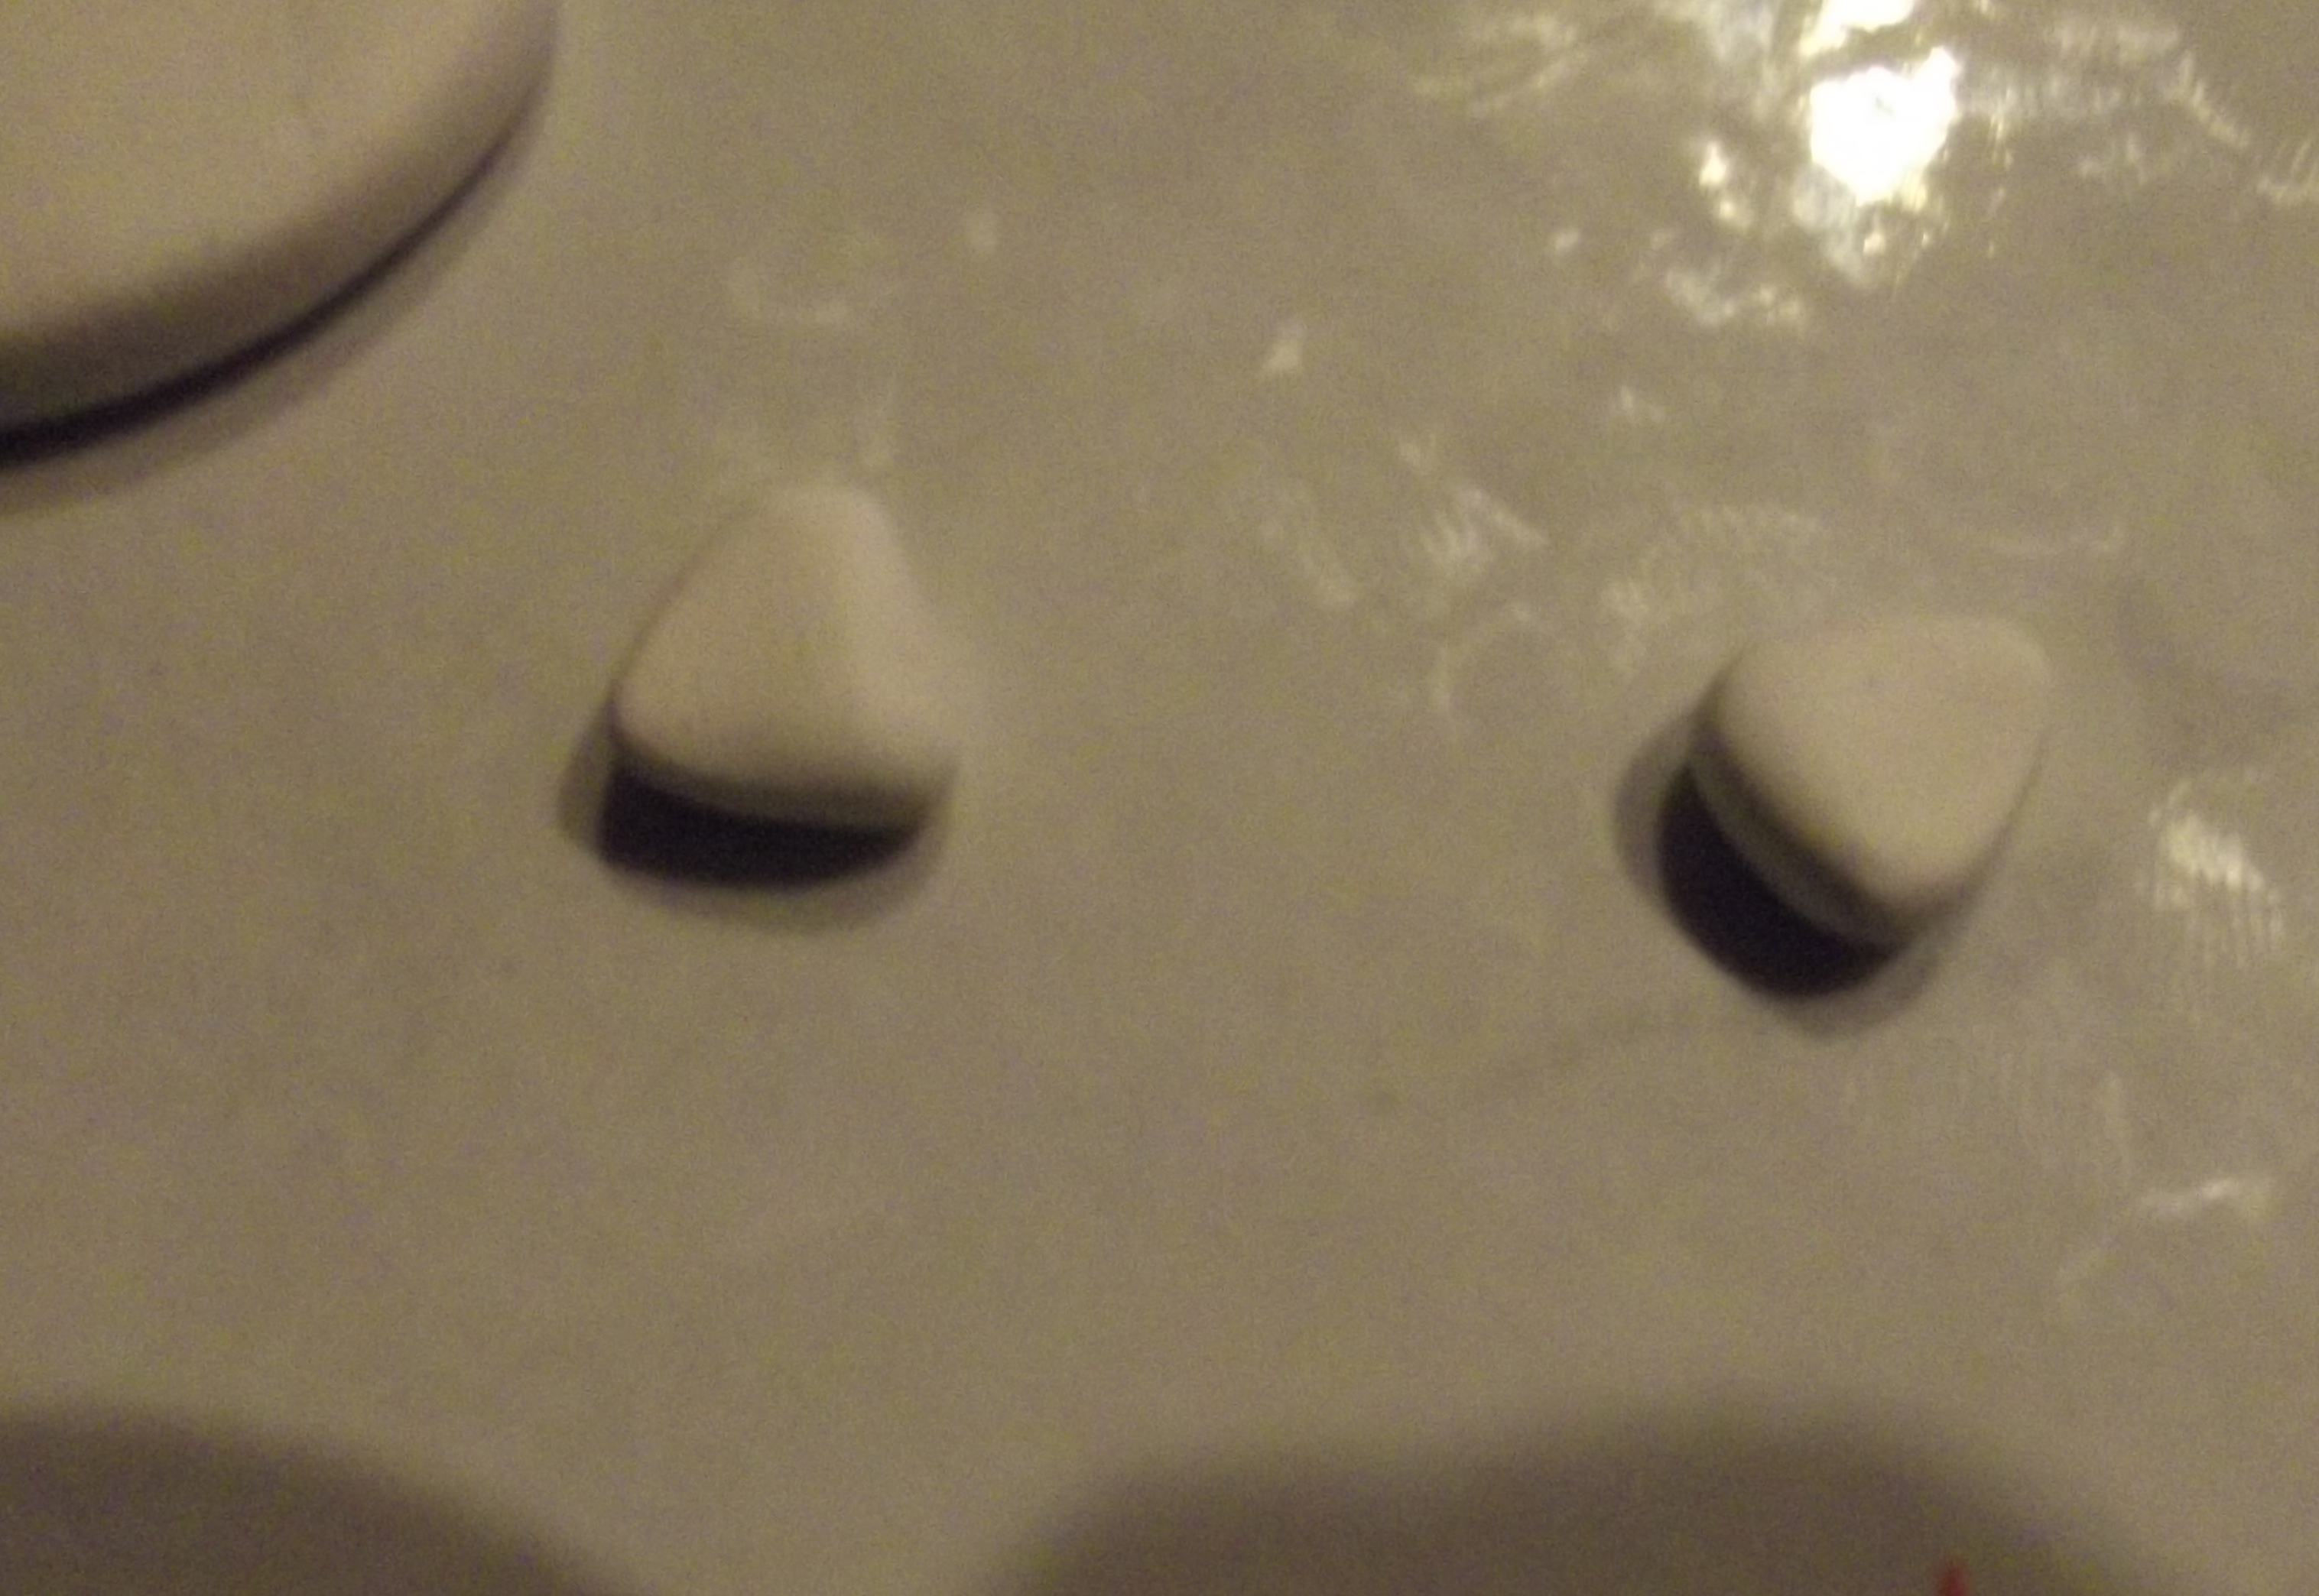
Put them on the oval shape for Hello Kitty’s ears: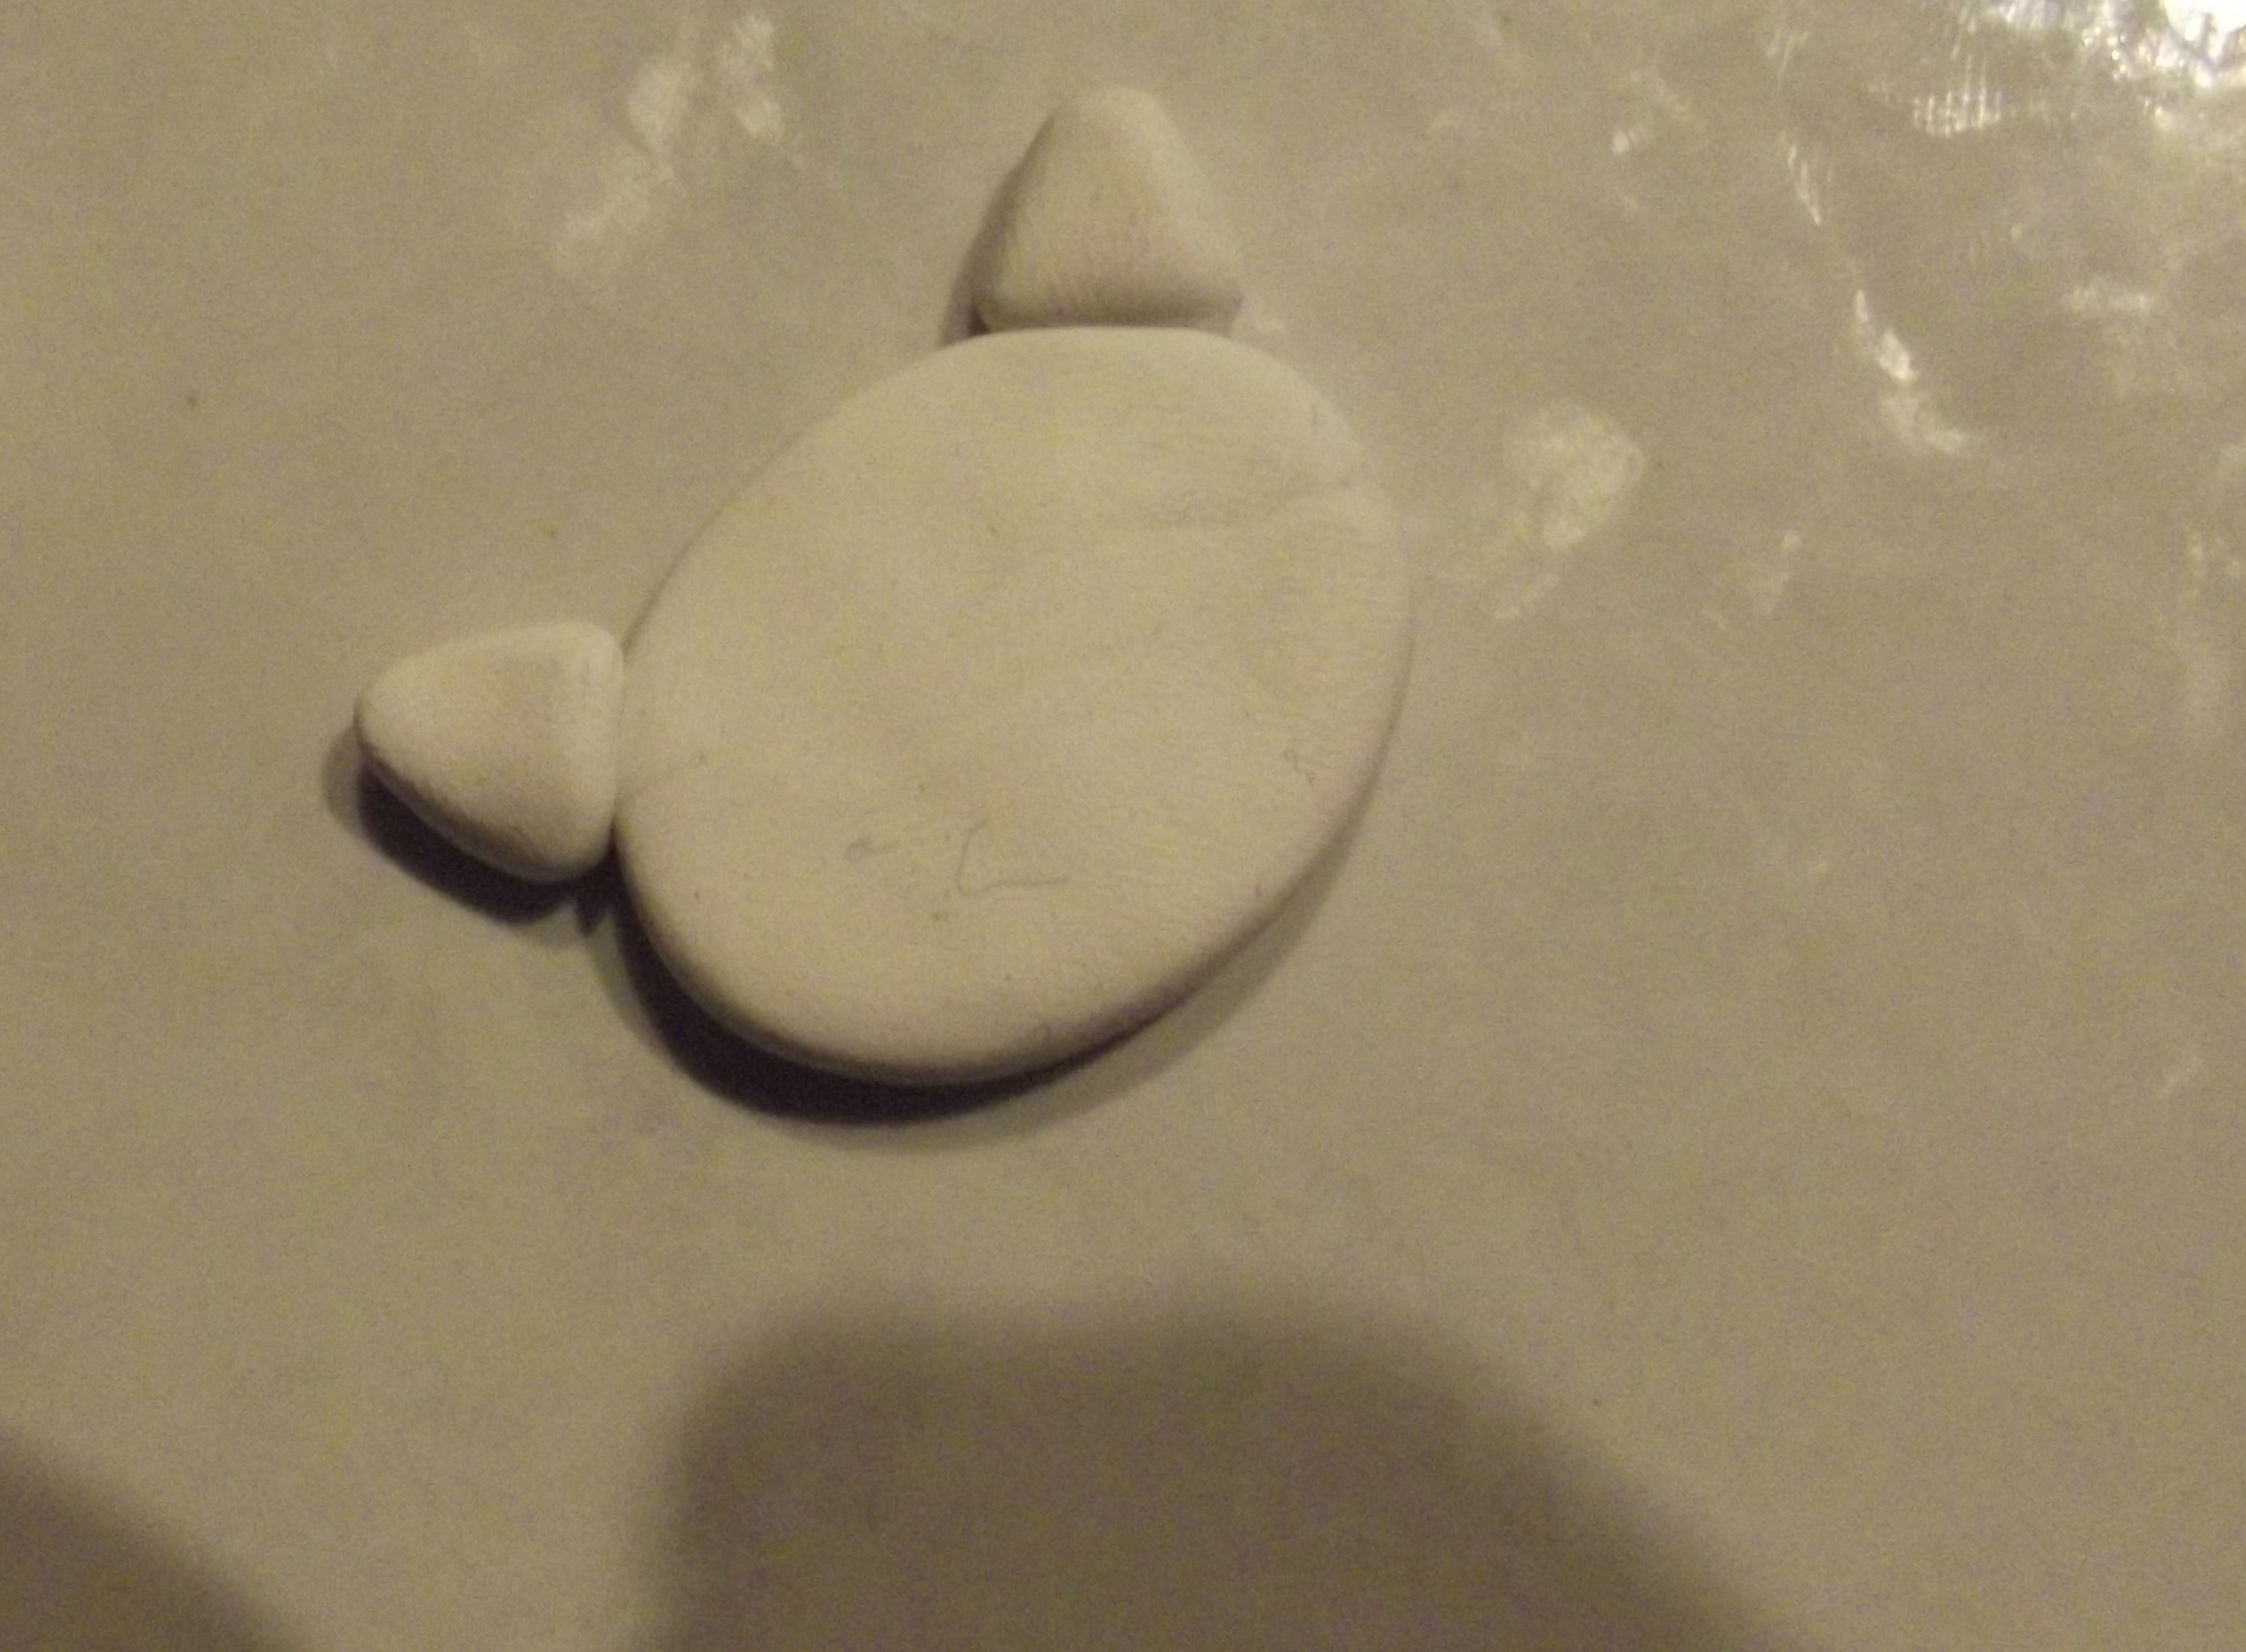
Smooth the ears into the head with your finger or another tool:
Use your ball tool and make three indents in your clay like this: 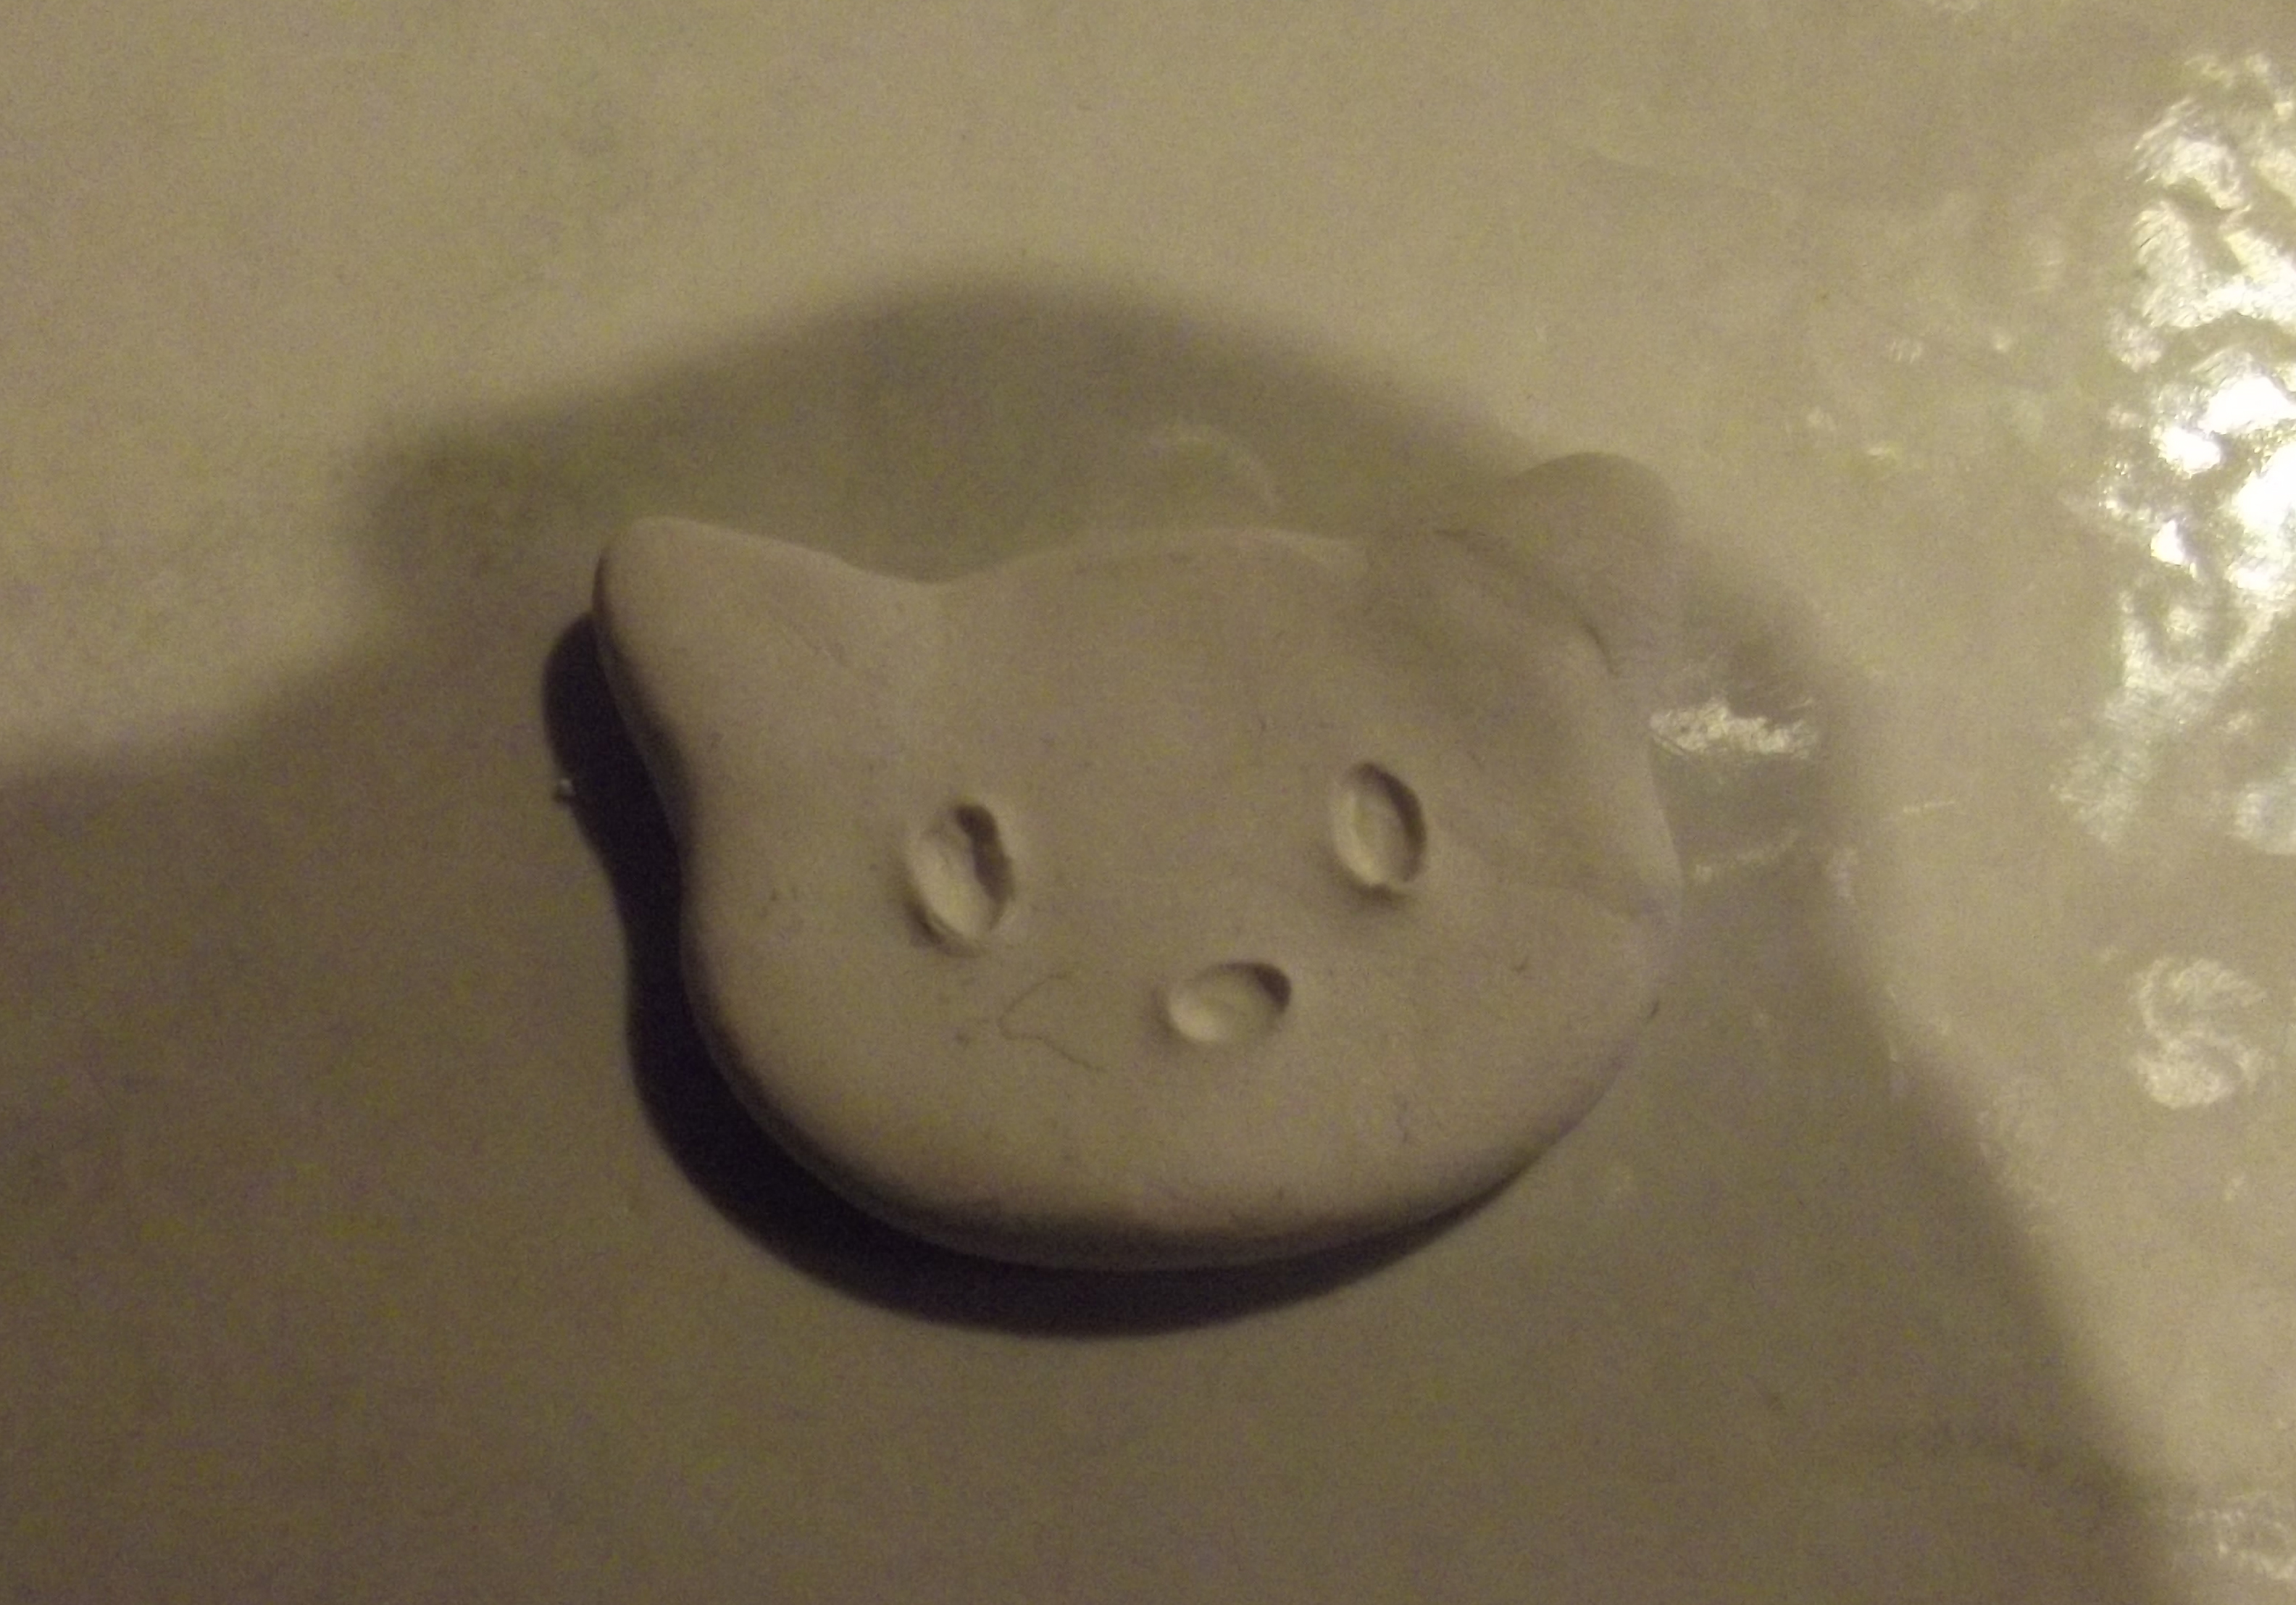
This will keep your eyes and nose in place. (I know there is lint in the clay, please check out my tip further up to keep YOUR creations lint free)
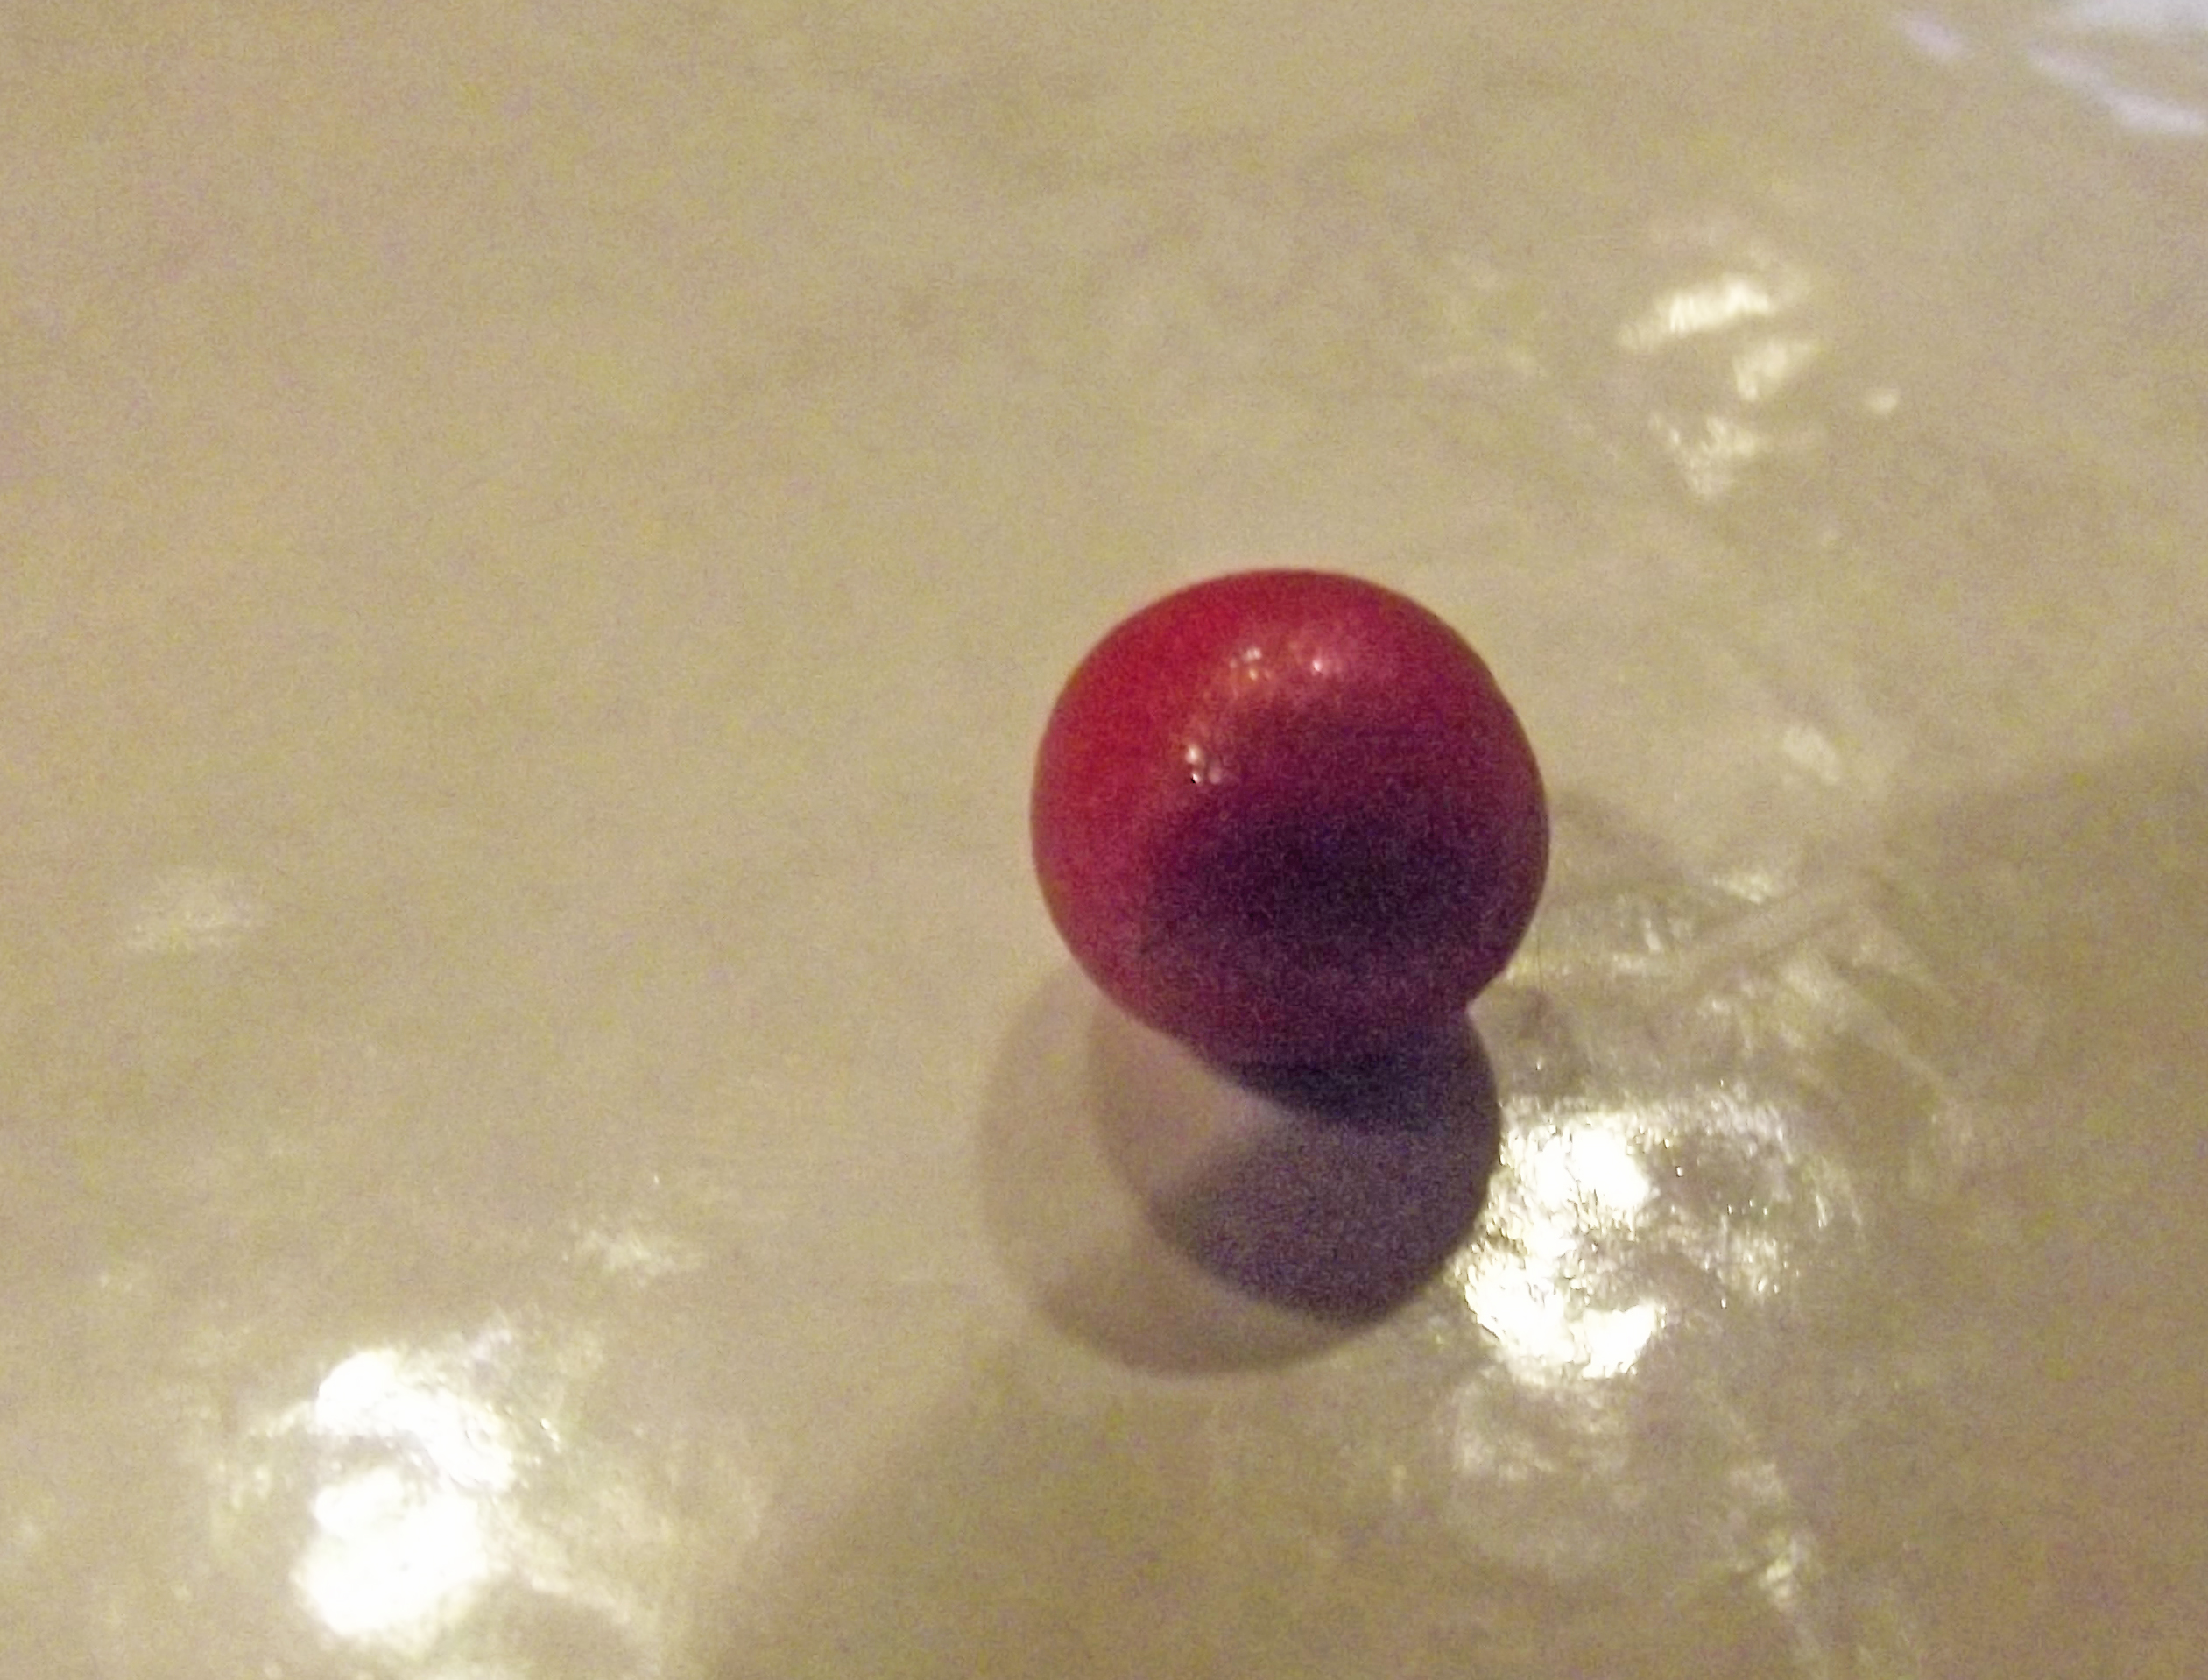
Now, get a super small piece of your yellow clay and roll it into an oval ball-ish shape:
This will serve as your nose: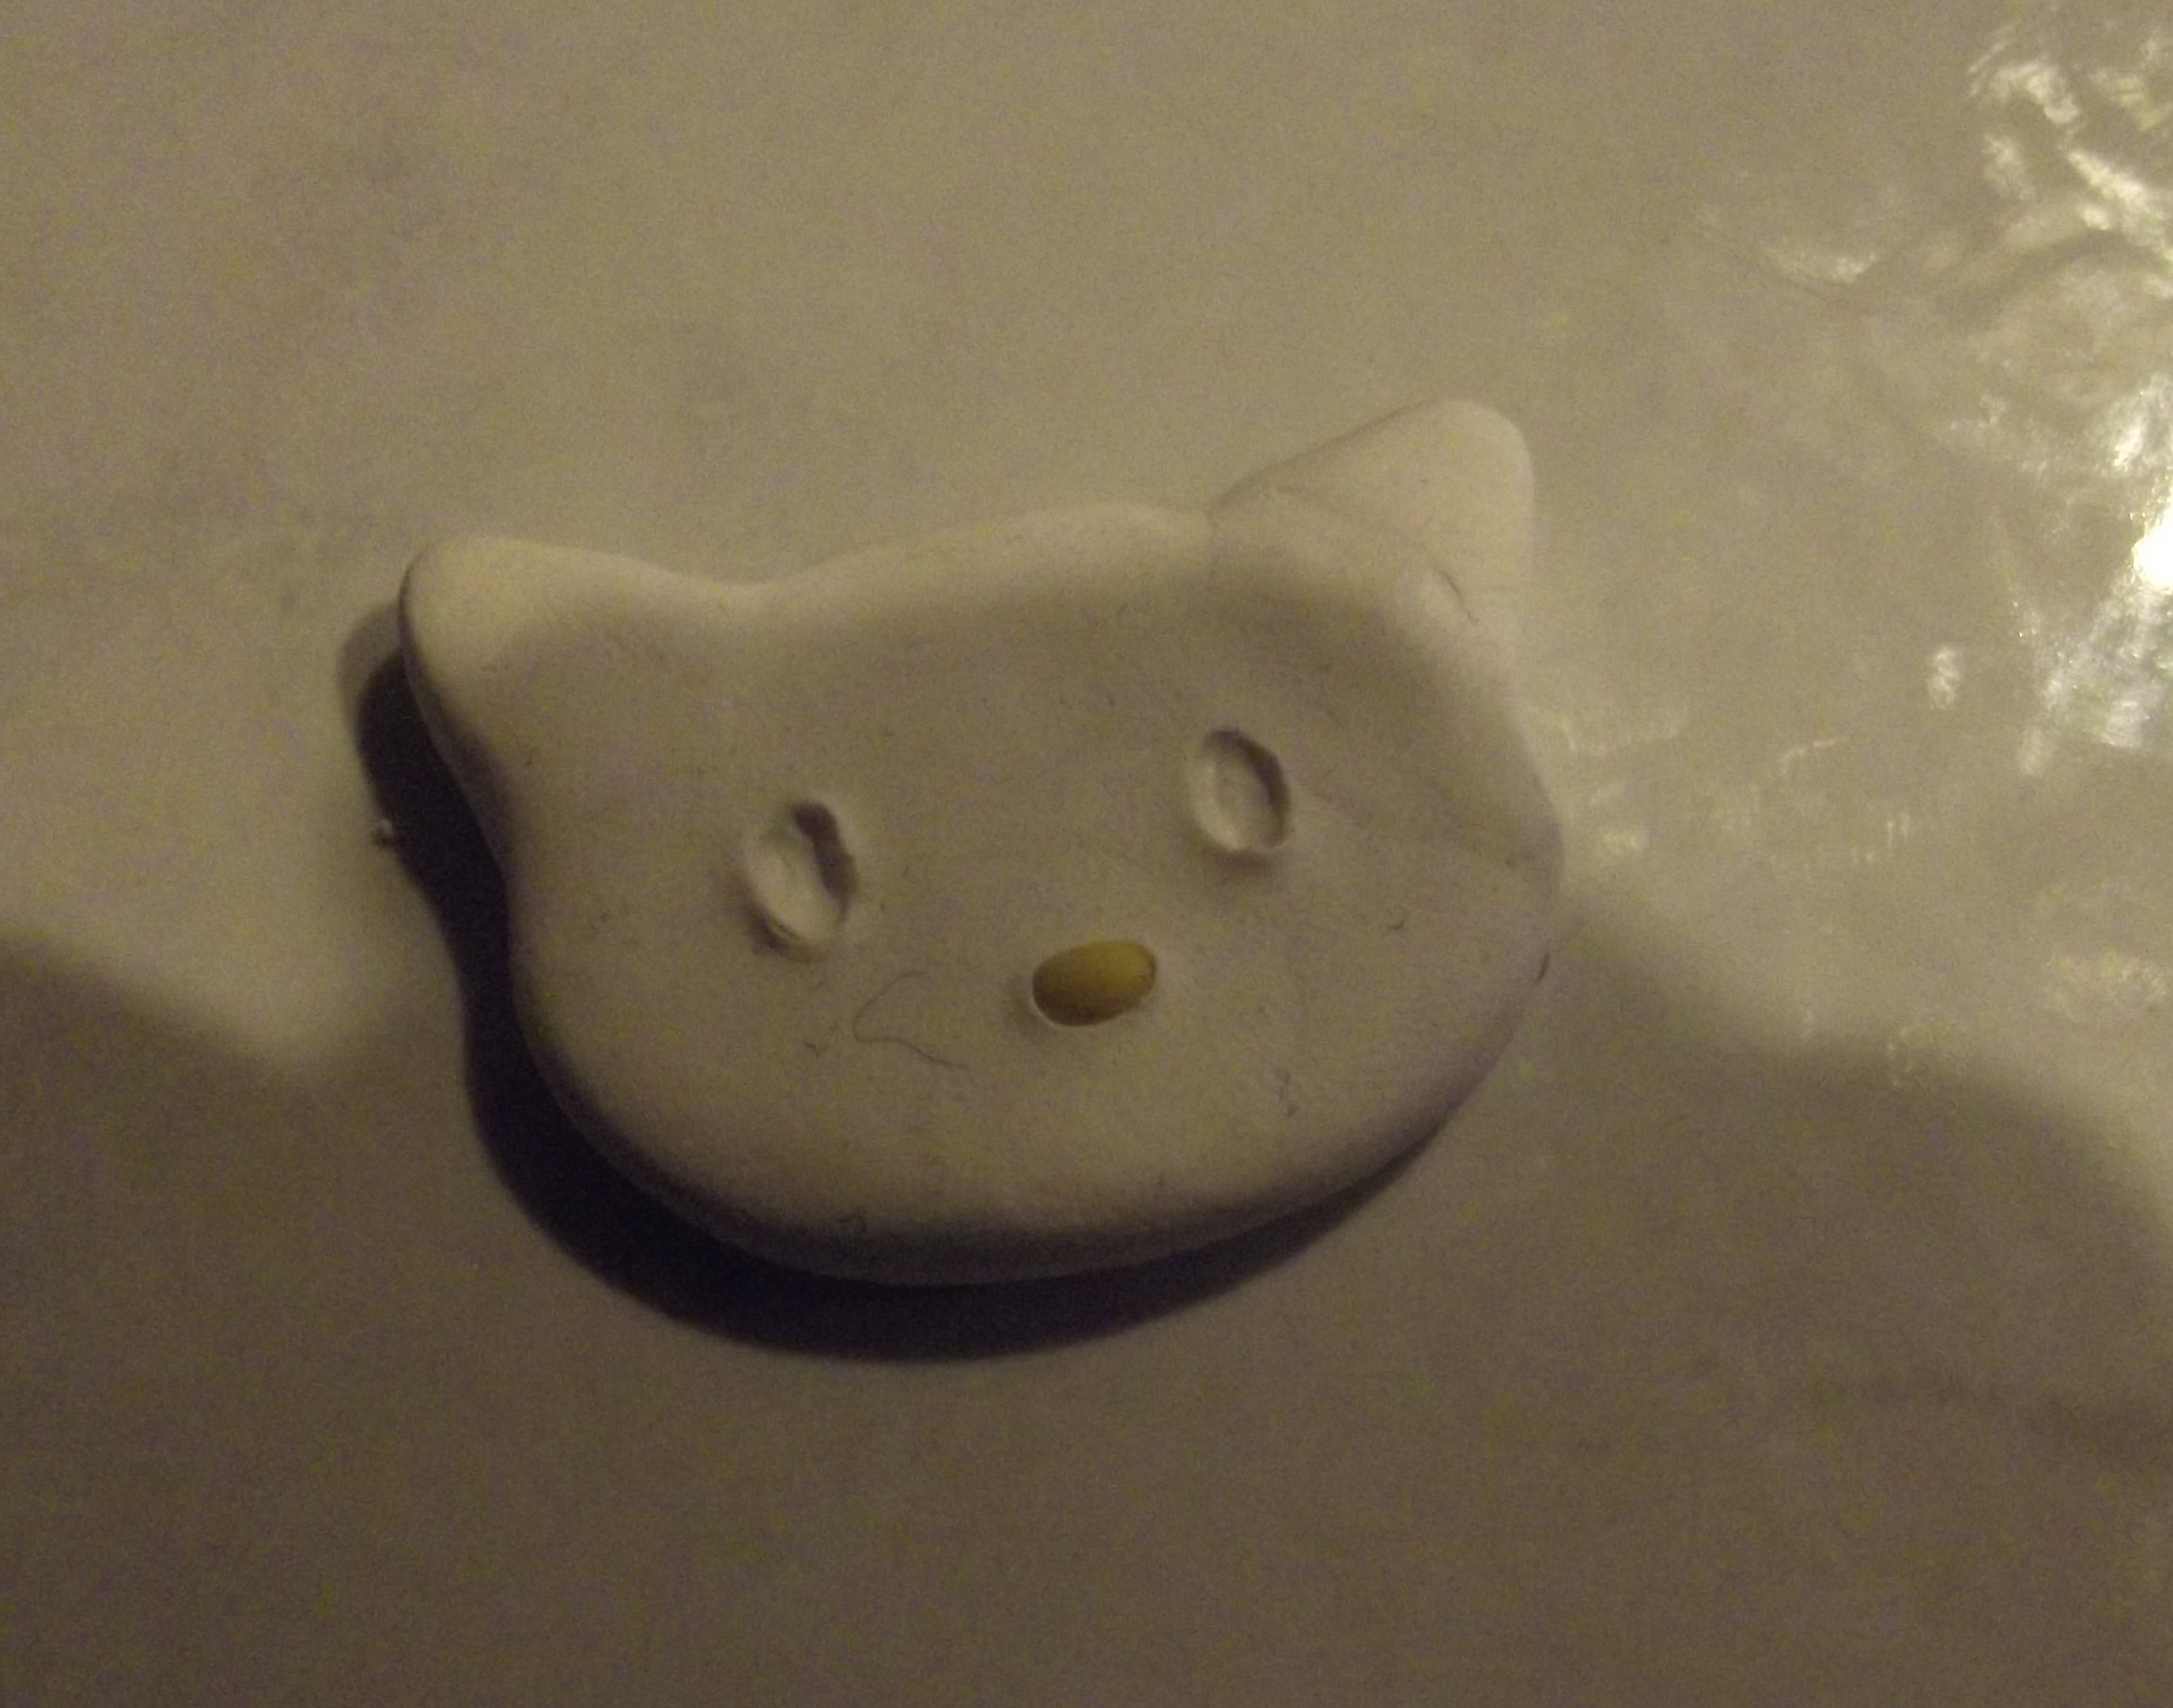
Repeat this process with the eyes:
Now it’s time for the whiskers!!! Just rolls 6 small pieces of black clay into ‘snakes’: 
Place them on you Hello Kitty head.
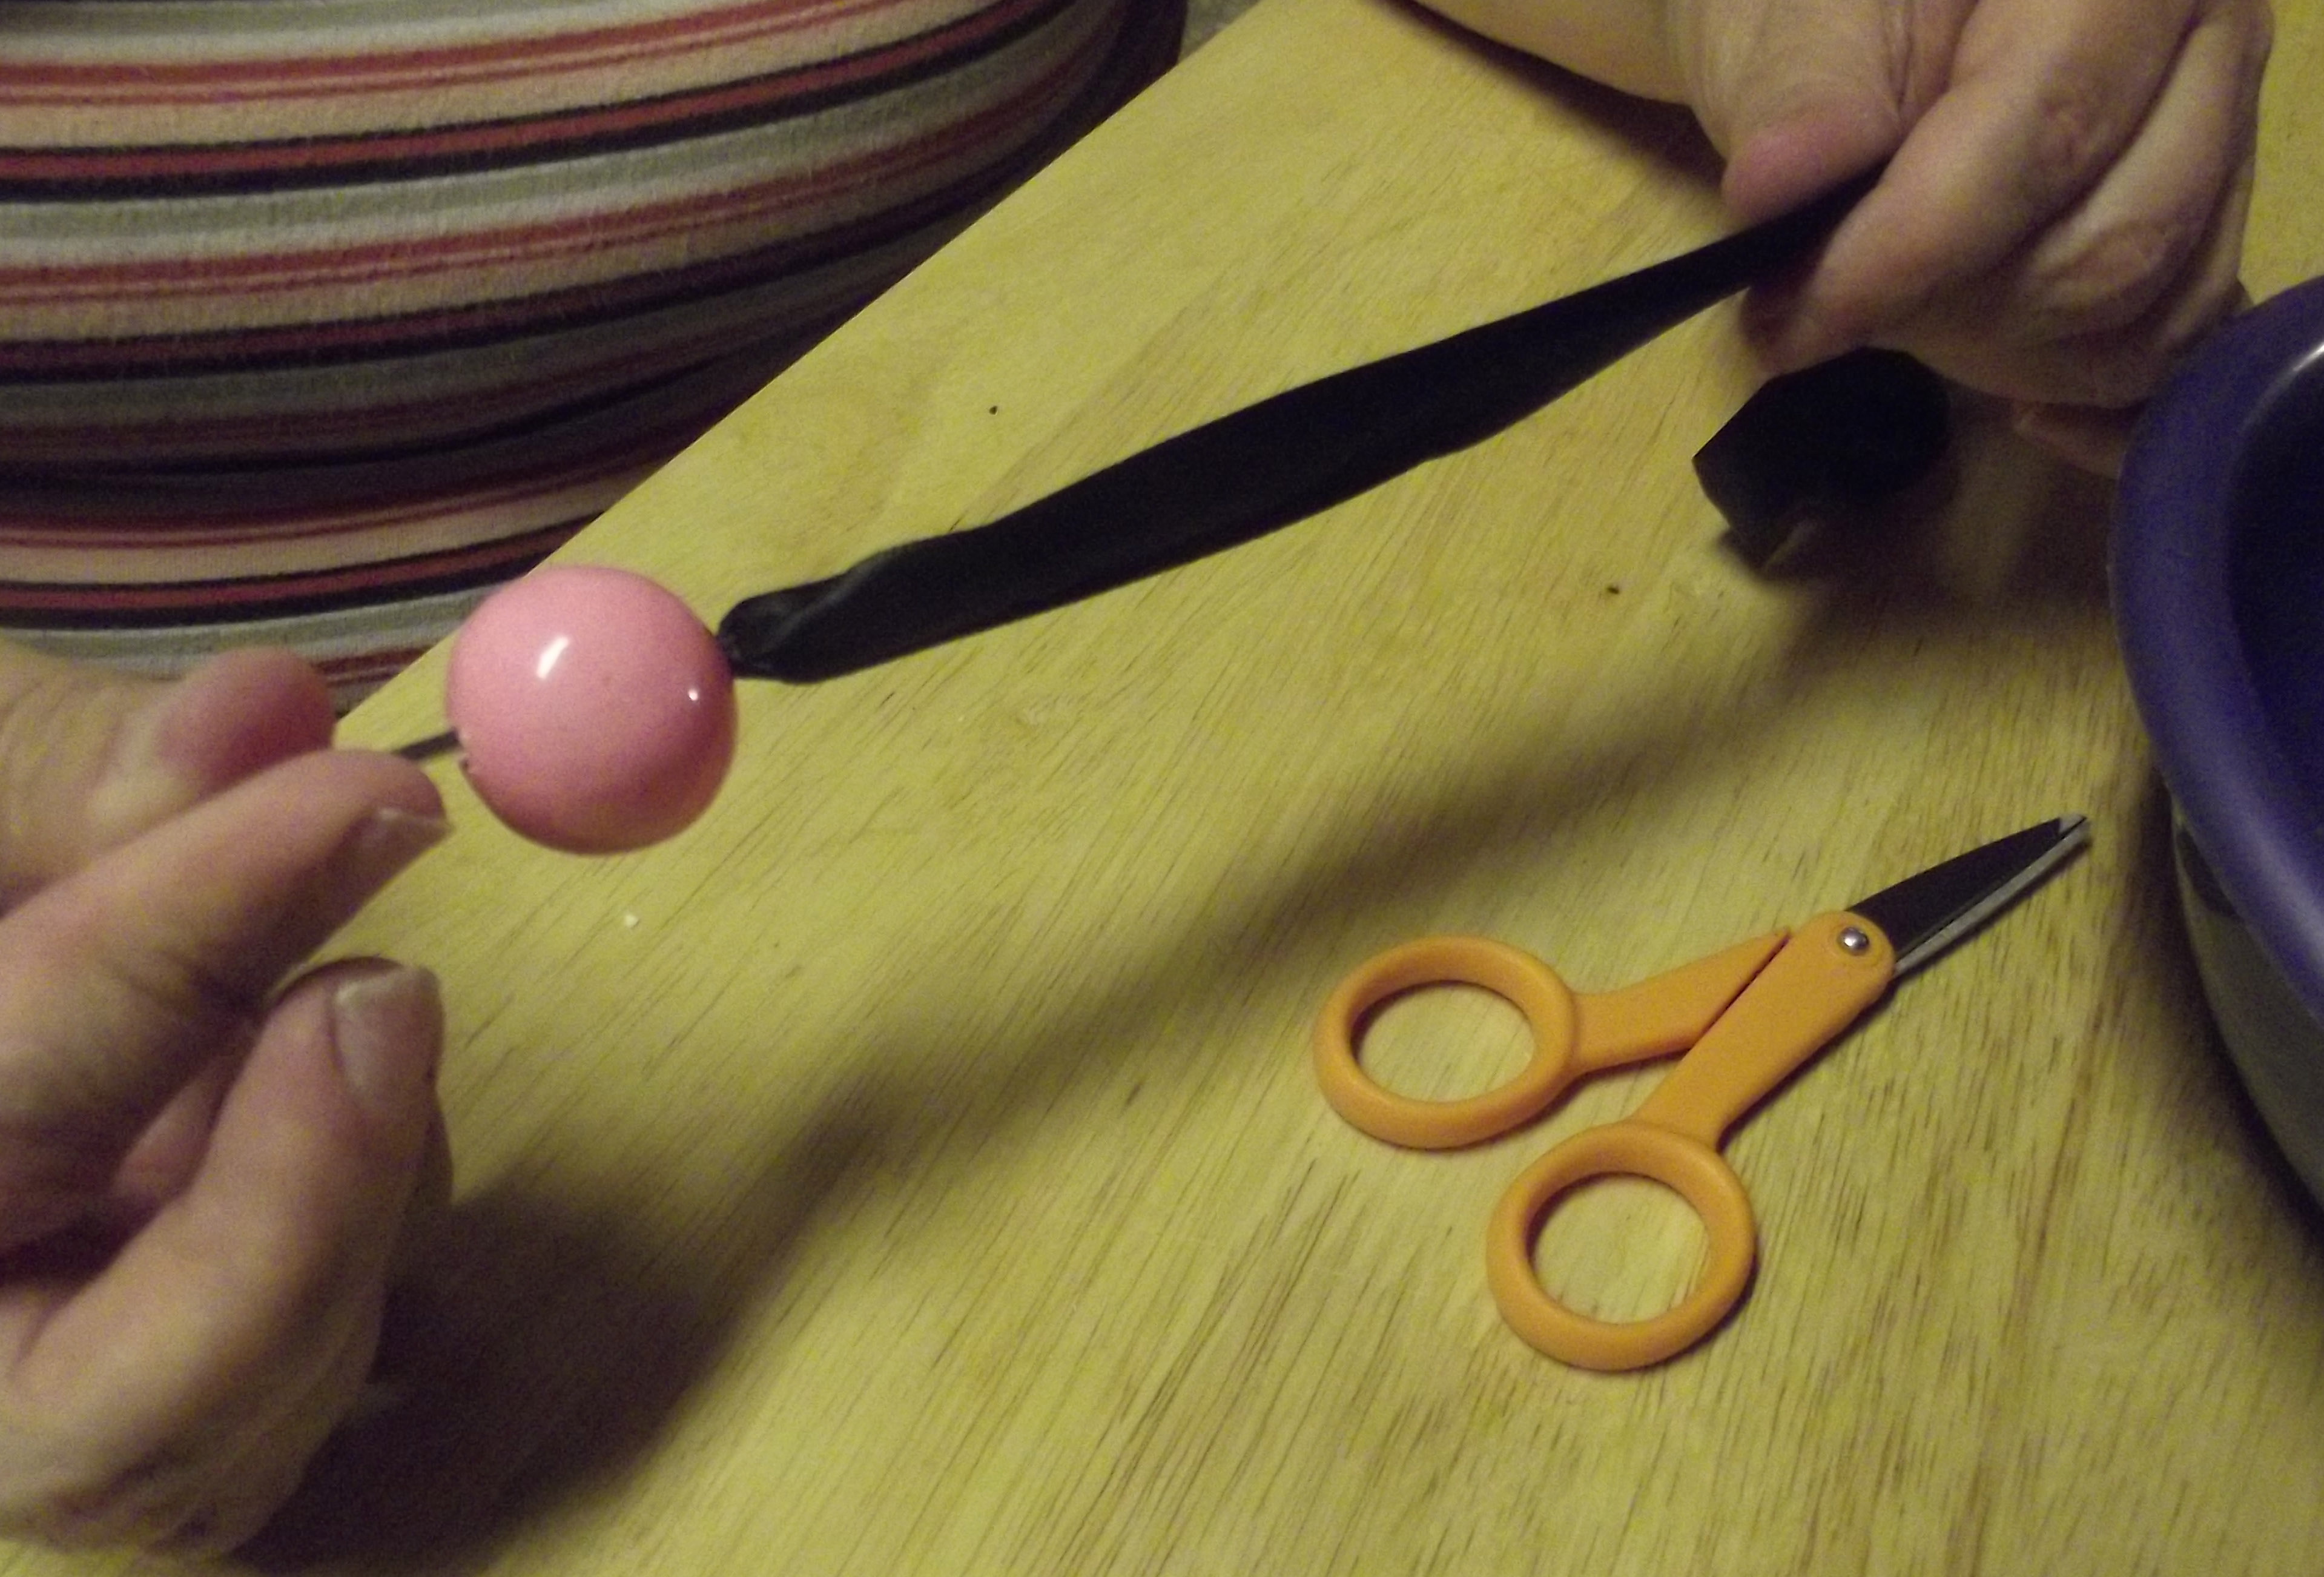
Now for the bow!
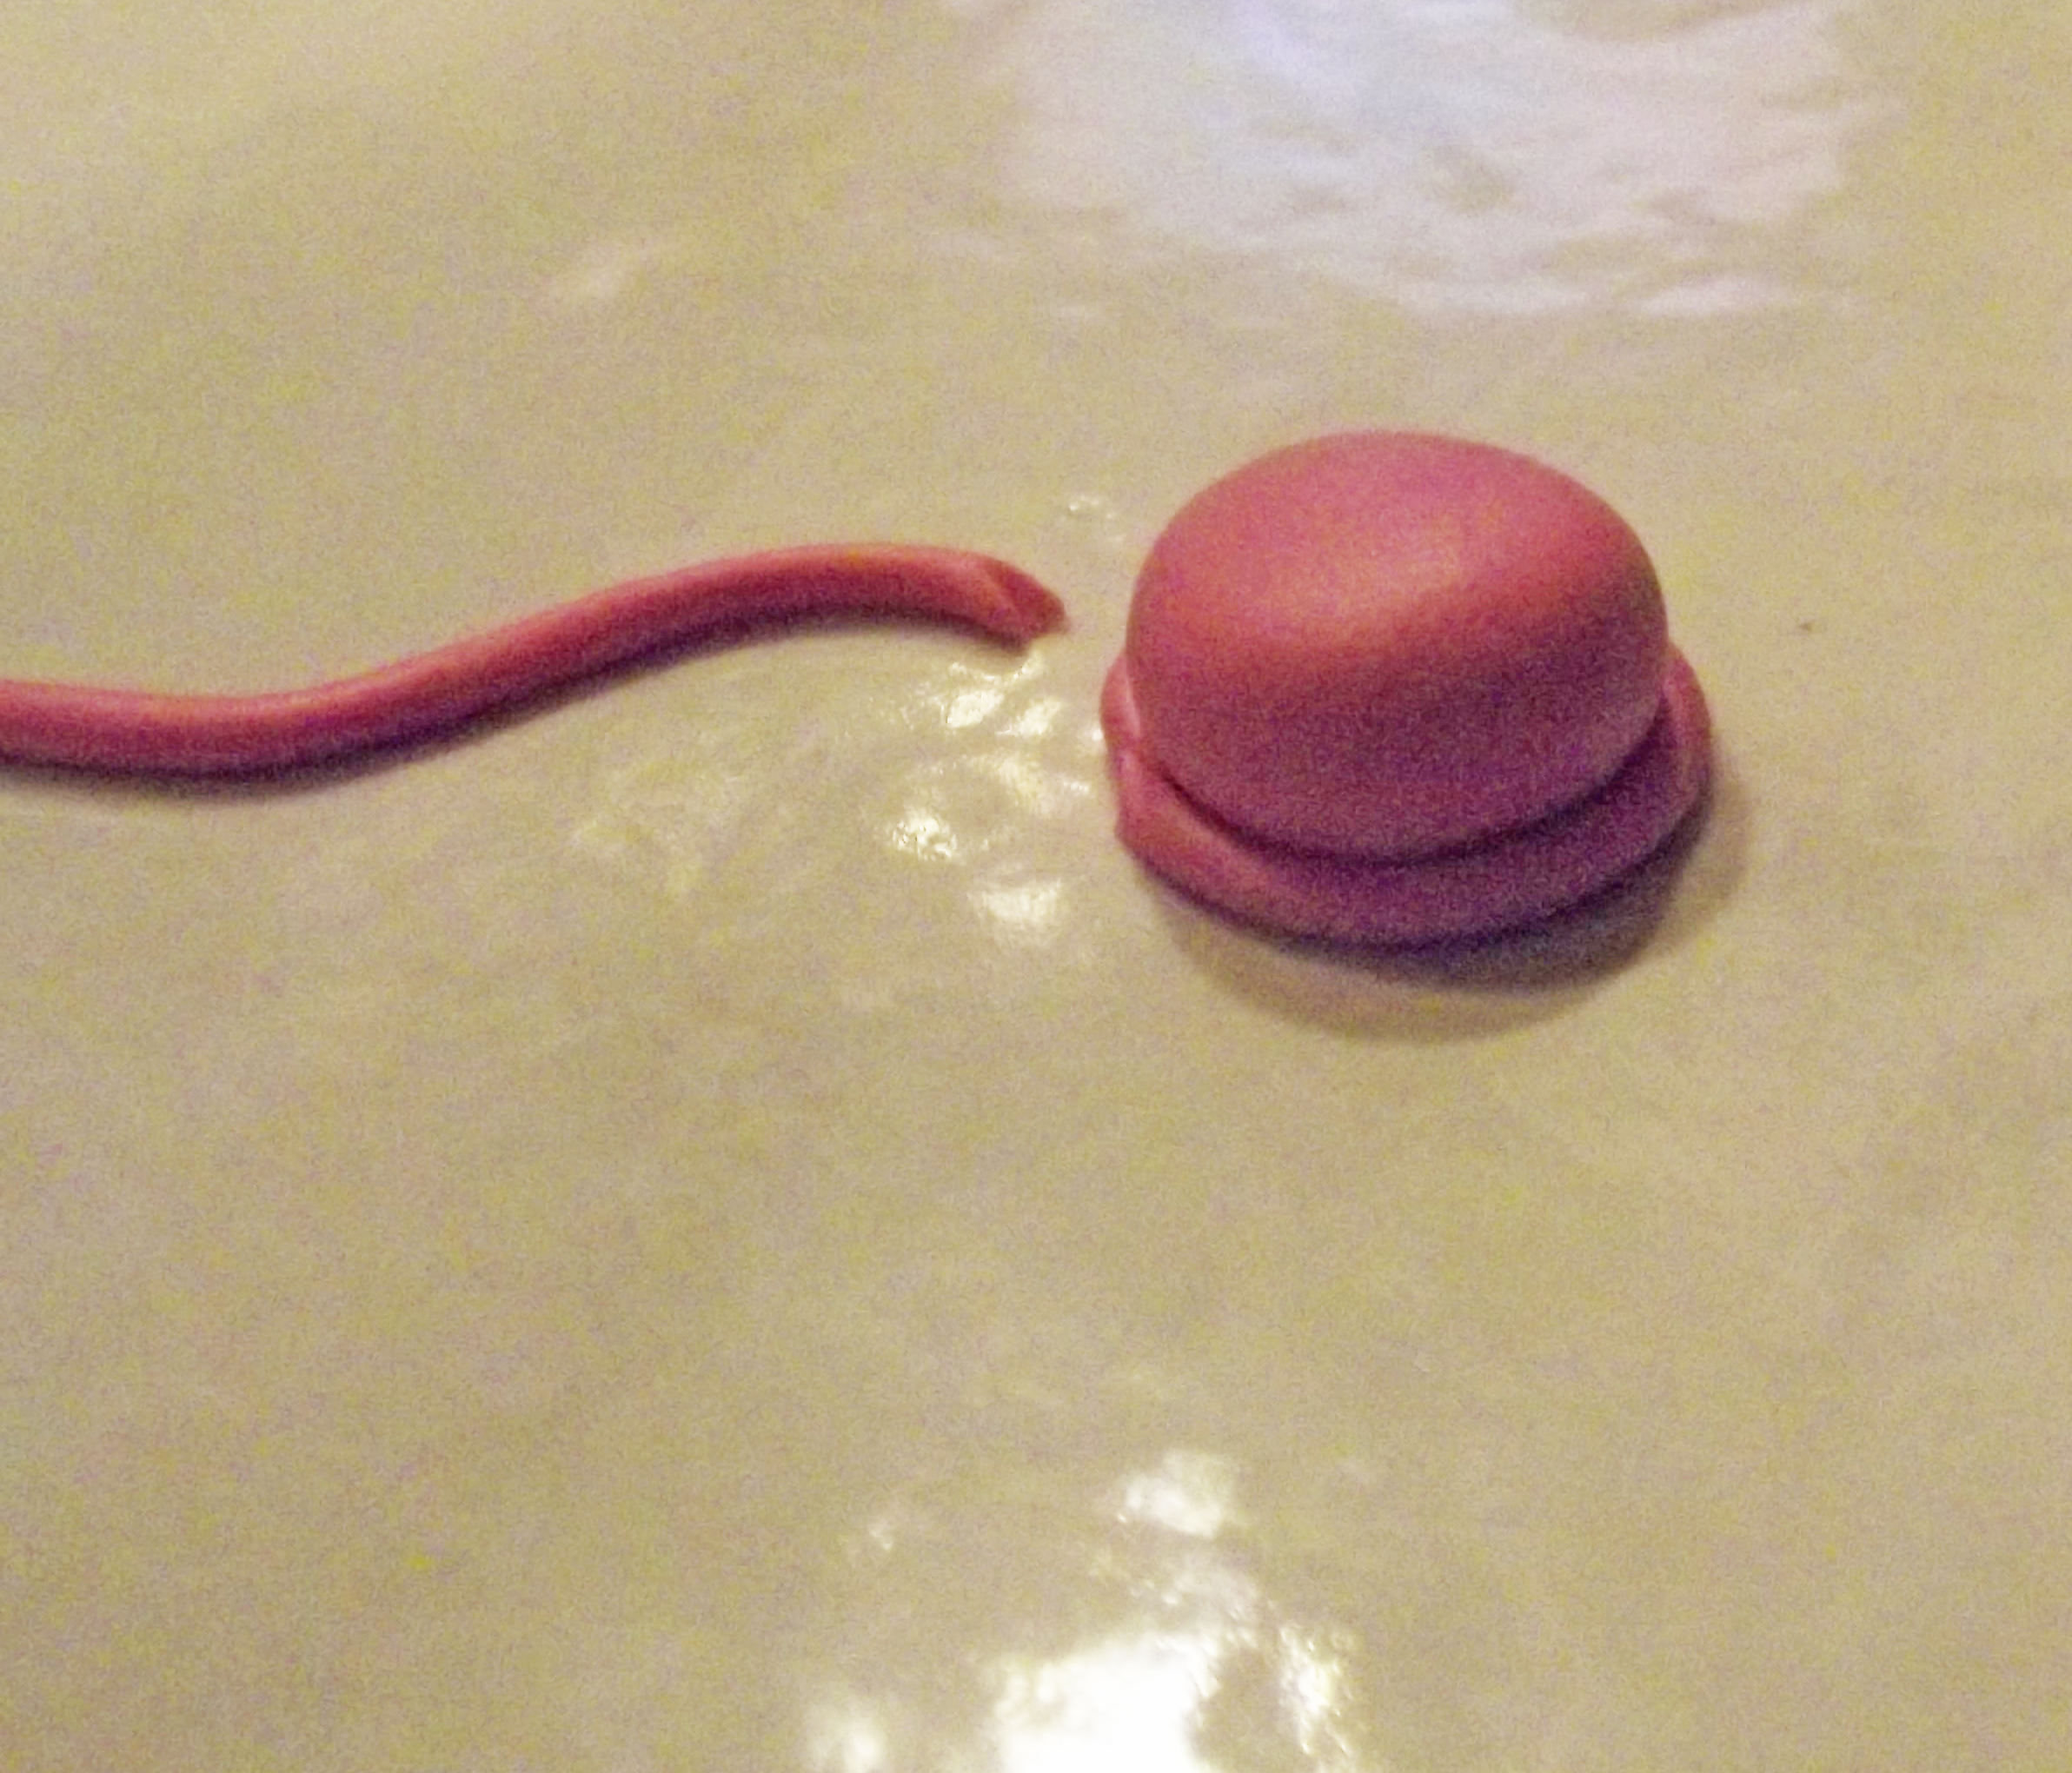
Make a couple small triangle-ish shapes with your pink clay. Add the dent to them and put them on Kitty’s head: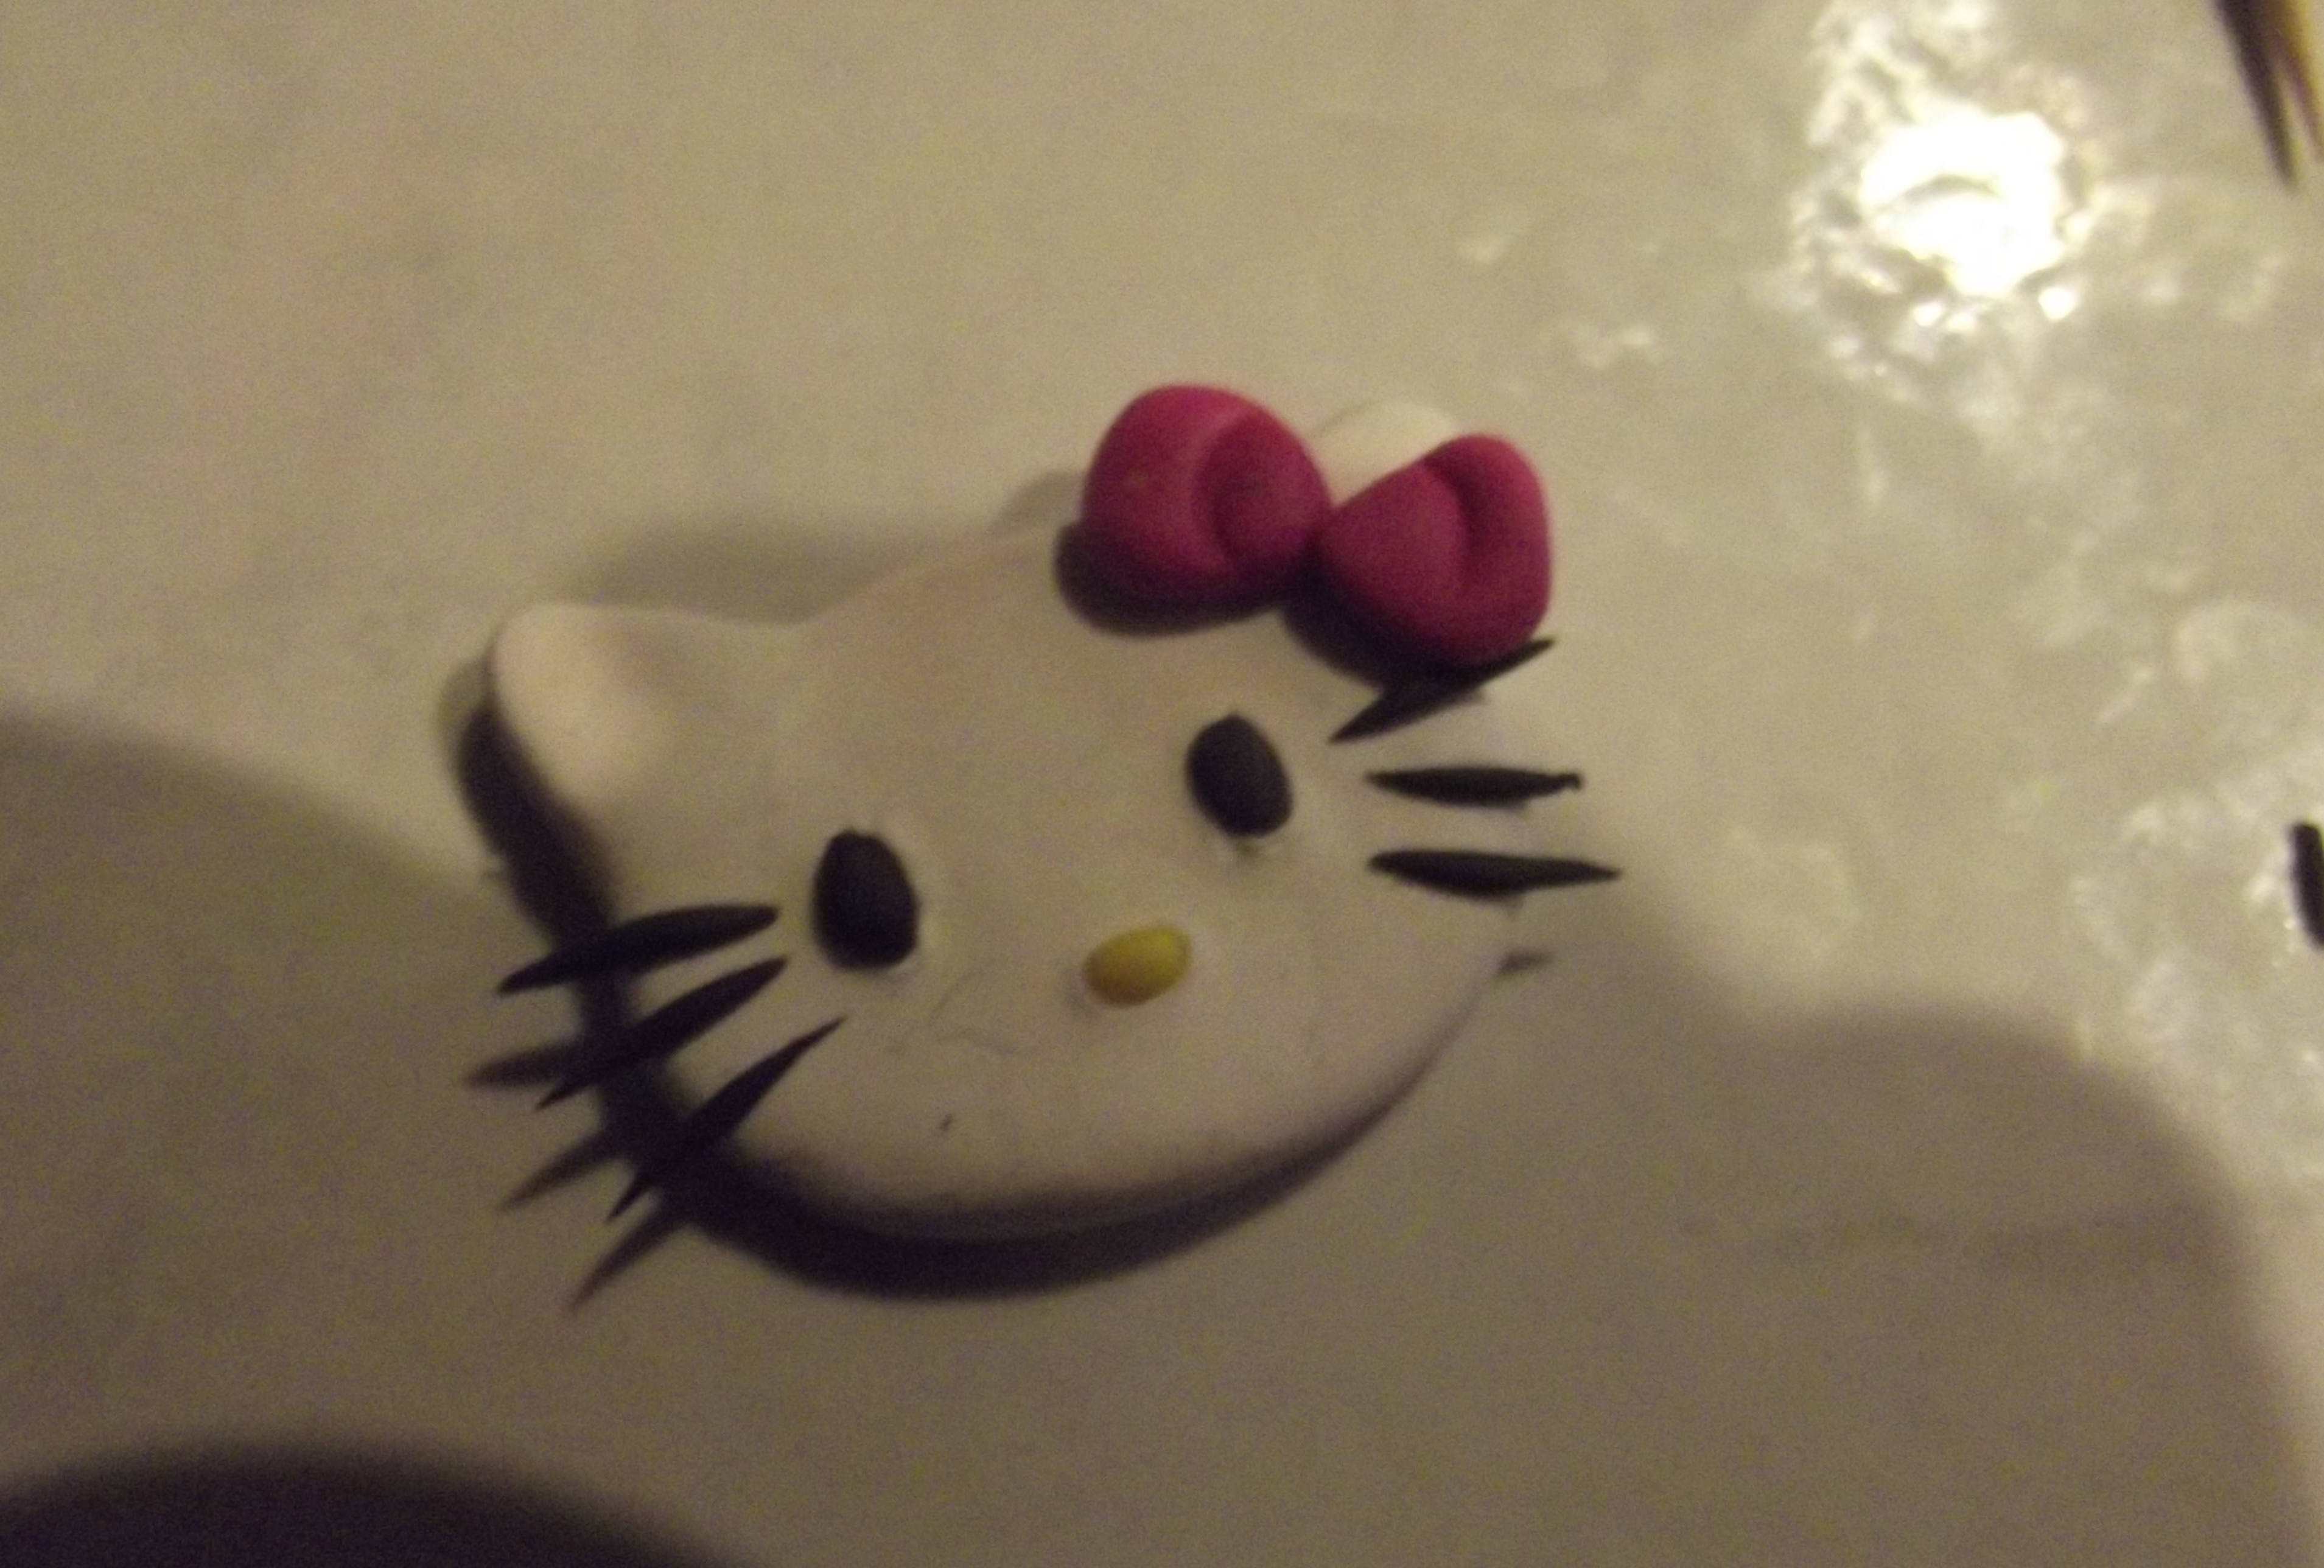
Roll another small bow to finish off the bow and slip in the toothpick: 
Bake according to the direction on your clay’s package and you are done!
Cute right?!
Happy 14th Birthday Baby Sister! 🙂