I know I have had a lot of people in the past ask me about how I make my clay projects. Some questions are a lot more difficult to answer, while others are just basic tips that can be easily passed along.
So, I thought tonight I would share with you some things that I do in my clay making process:
Tip 1: Make sure you have a good, non-stick surface to work on.
When I was first starting out, I went out and bought that expensive clay mat from the craft store, and quickly learned it did not suit my purposes at all. Number one reason being that you can’t cut on it and still expect it to work right…and if I can’t keep my clay on it when I cut, it really was useless to me. So, what do I use??? A simple ceramic tile that my husband picked up for me from Home Depot for $1.98. I think they might have been on sale at the time, but it serves me very well. It is about 12 by 12, non-stick, super easy to clean, and because it is ceramic, I can even bake my creations in the oven directly on it.
Tip 2: Keep a clean space.
This is soooo much easier said than done. Normally, when I work with light colored clays, I keep plastic wrap handy, wear latex (or latex free if you are allergic) gloves, and always make sure to finish up what I am doing with them first before moving on to another color. Clay picks up dust so easily, and it can be difficult to keep it all out.
Tip 3: Prepare for lint!
Like I mentioned above, clay picks up dust and lint very easily, so, even when you take all the necessary precautions and you still find lint in your master pieces, you can still save it! Keep scotch tape nearby. When you see lint on your project, gently place the tape over it and peel it off. If you find lint to be further down, you may need to use a needle tool or a tooth pick. Already baked it? Then pull out that sandpaper! Which brings me to…
Tip 4: Sanding
Have you noticed that no matter what, you still have lint in your project? Or maybe you got some finger prints in it? Well, it always helps to give that smooth, professional finish to sand after your project has finished baking and is completely cooled. You can buff your project afterward with a pure cotton cloth. Also…
Tip 5: Finger prints
Watch out, your clay is soft, and it is easy to put deep, rigid prints in your beautiful creations. No matter what, you will probably leave behind a few, but you can avoid the deepest ones by holding your clay softly and choosing a thicker, higher quality clay over a cheap and all too soft clay. Remember though, even when you have some left behind, you can sand them out.
Tip 6: Practice
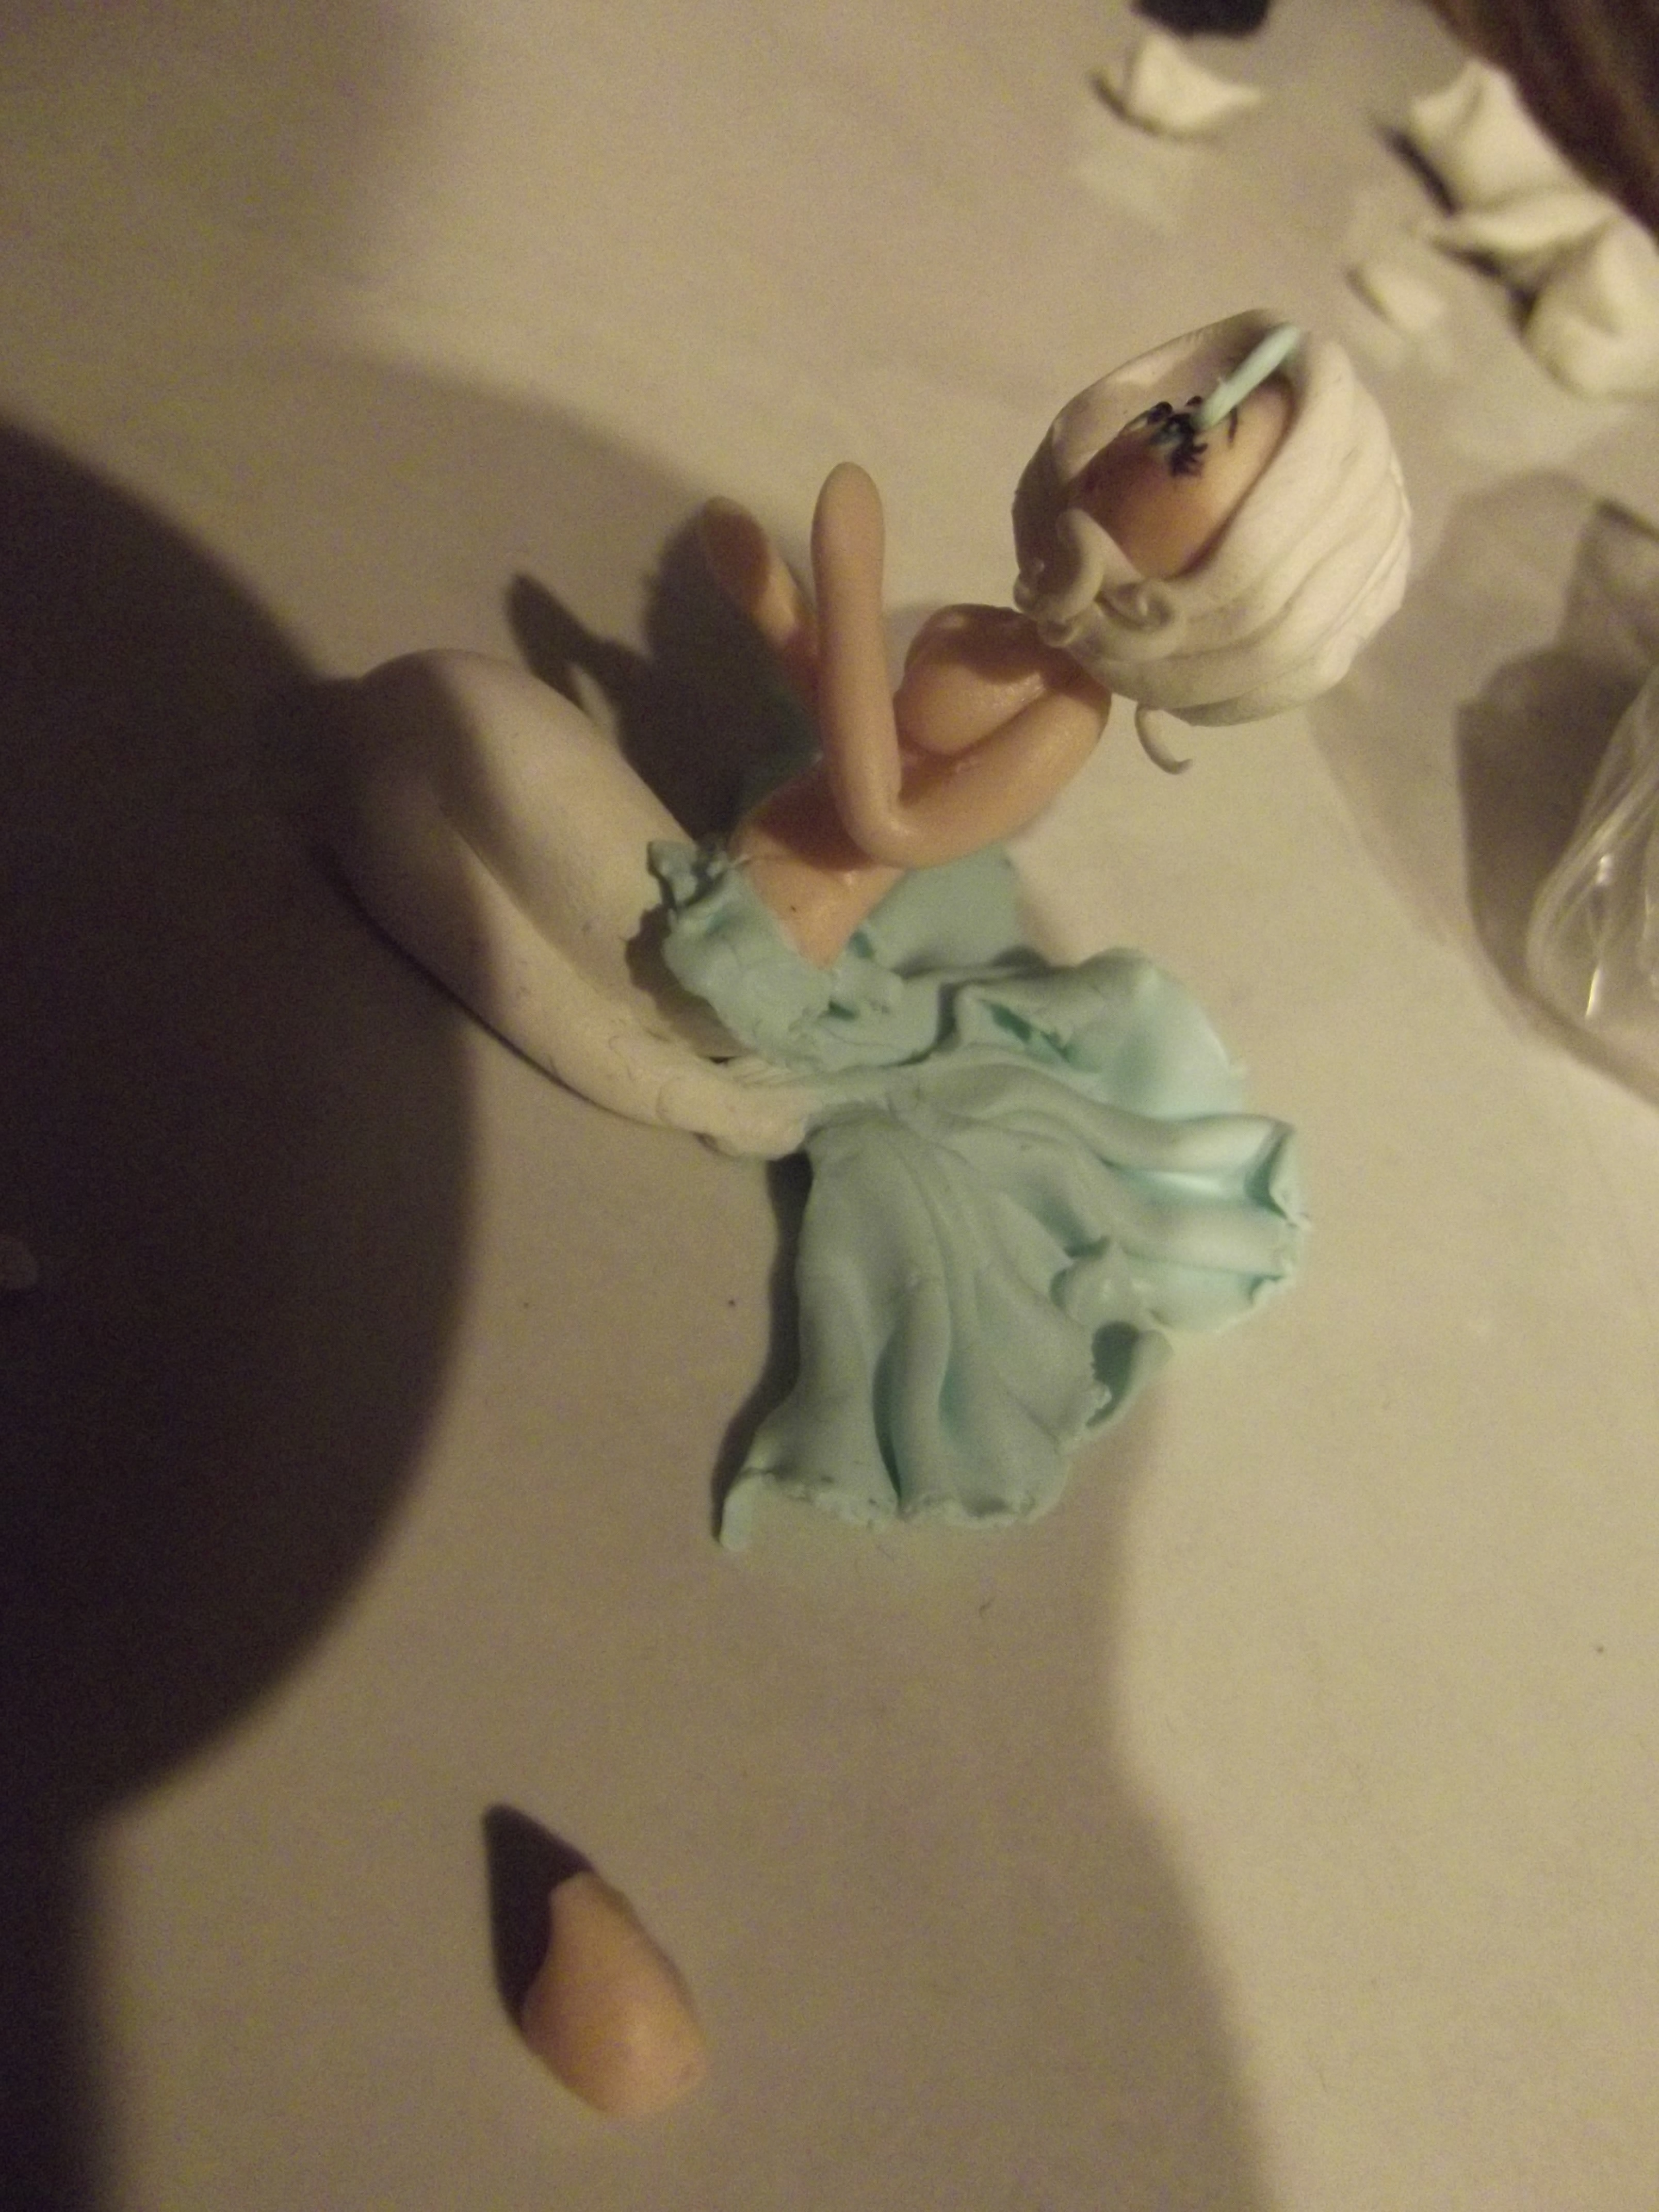
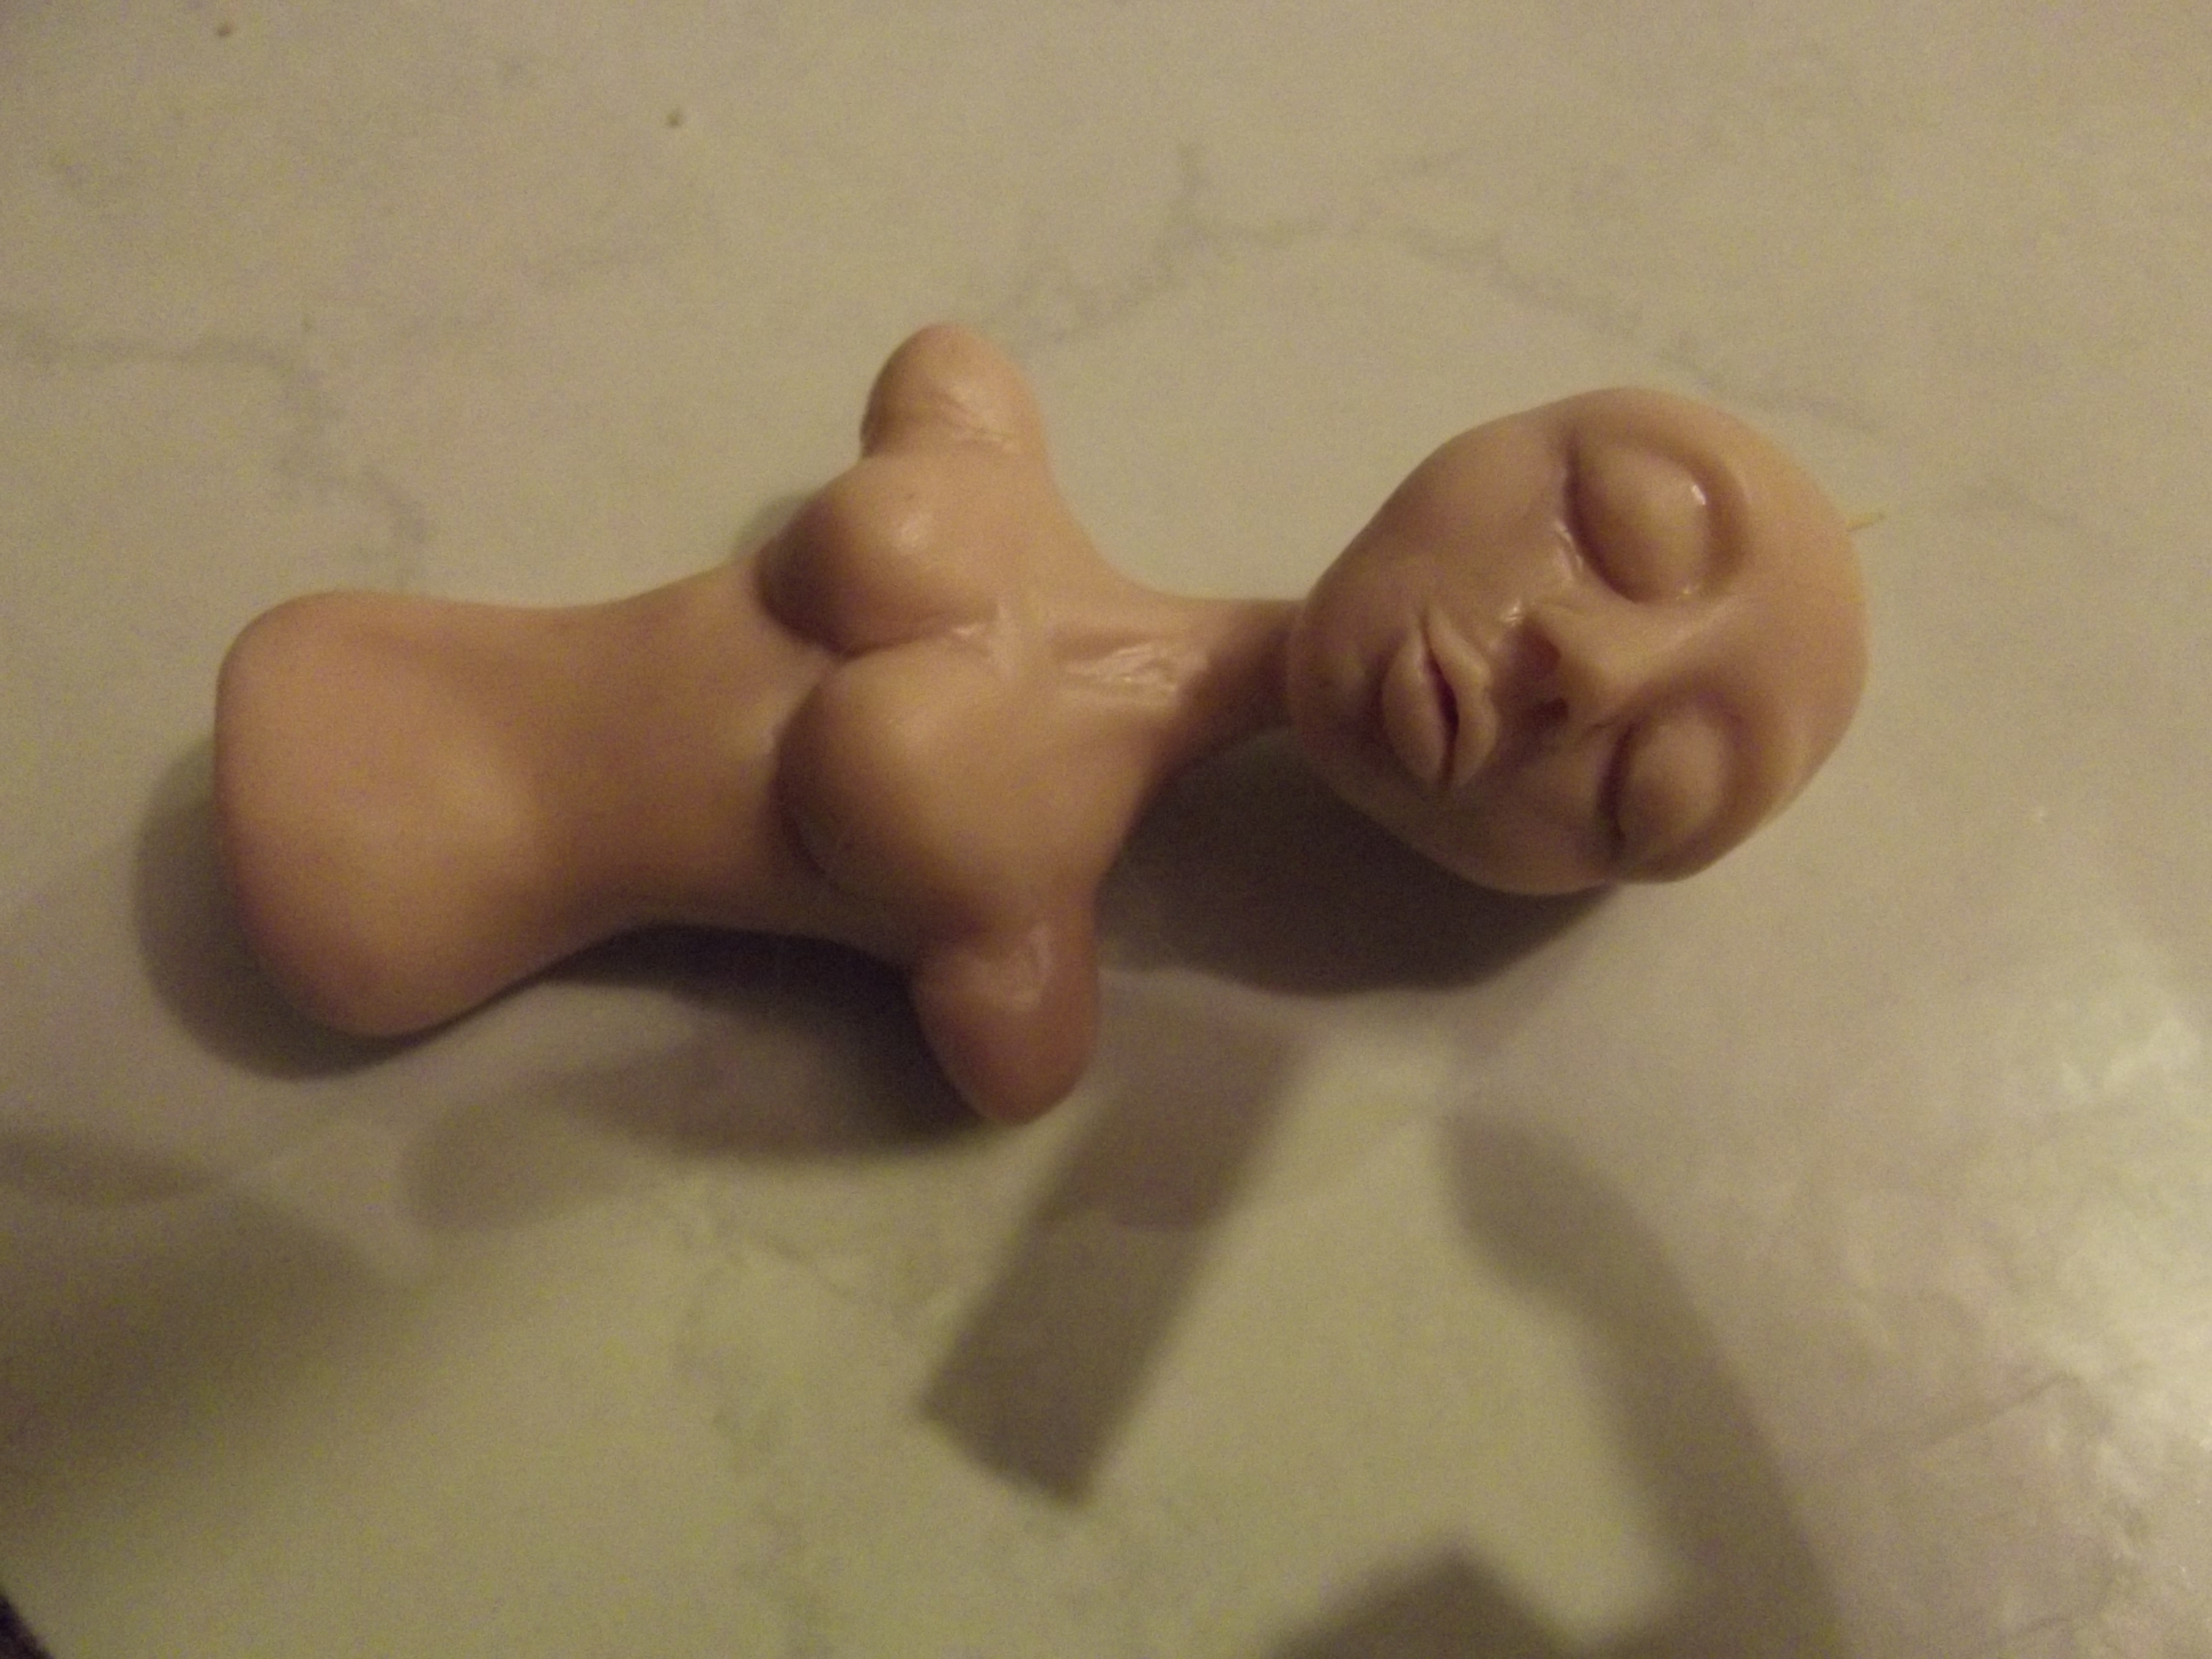
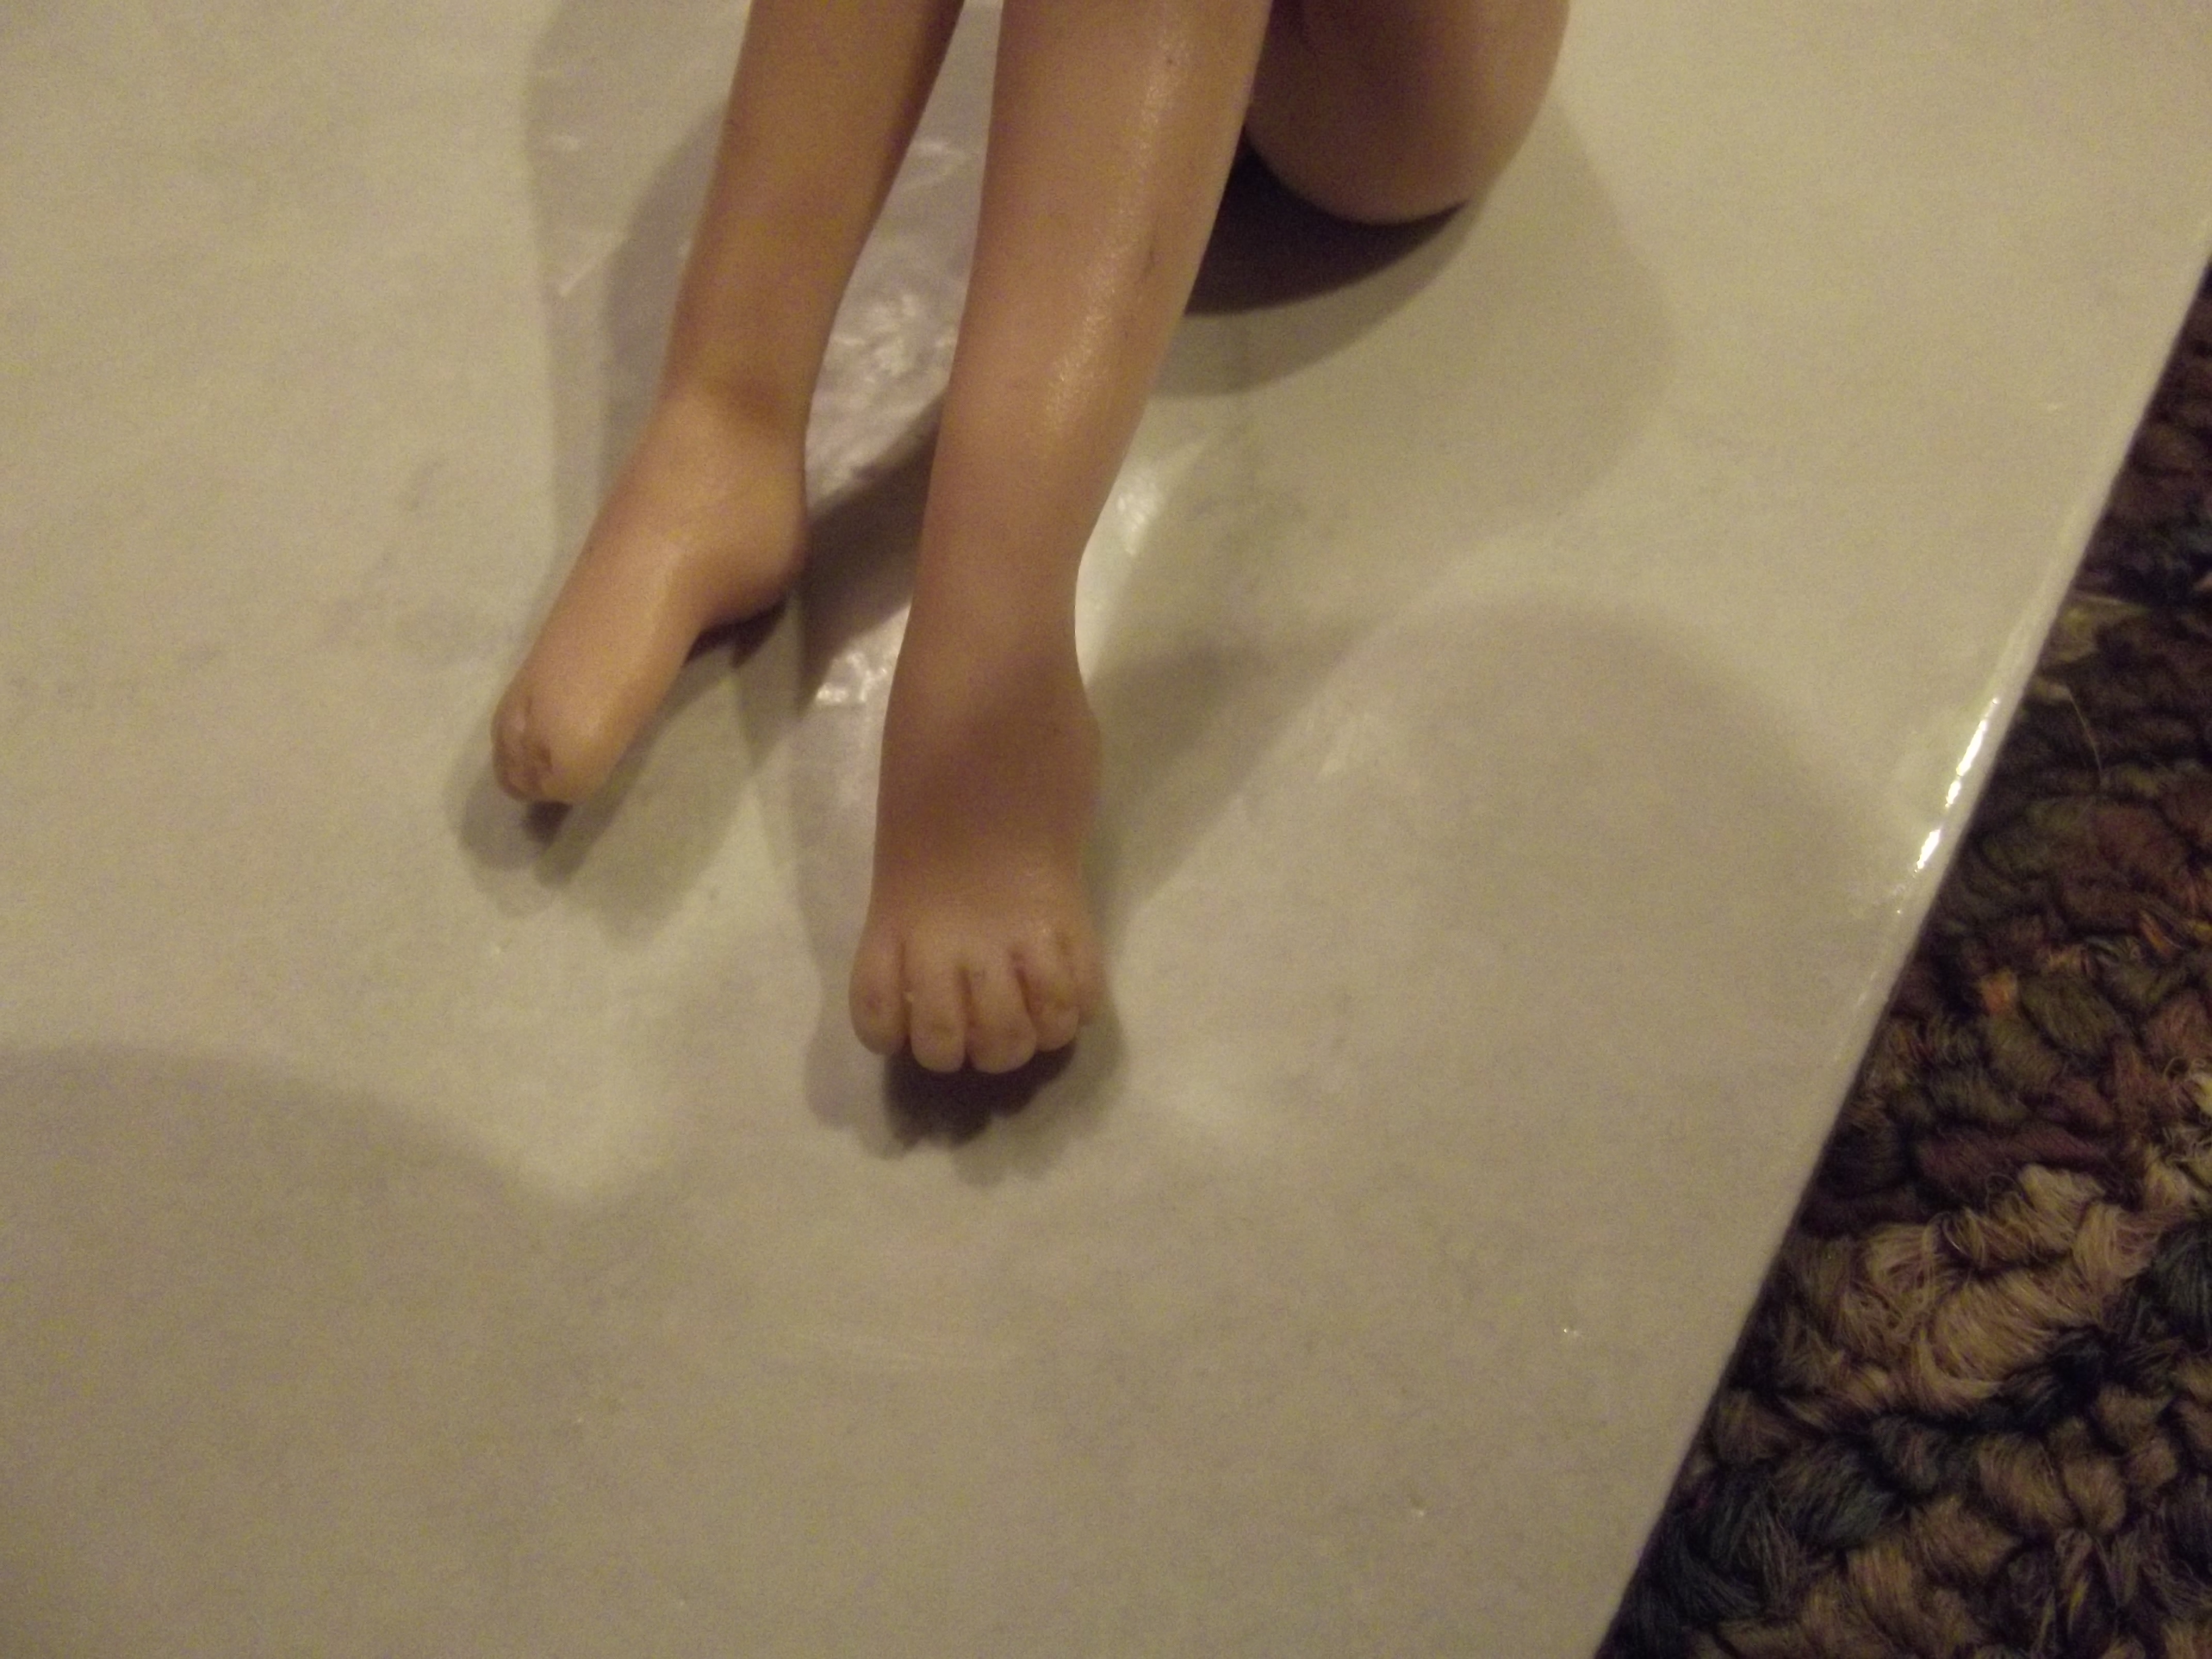
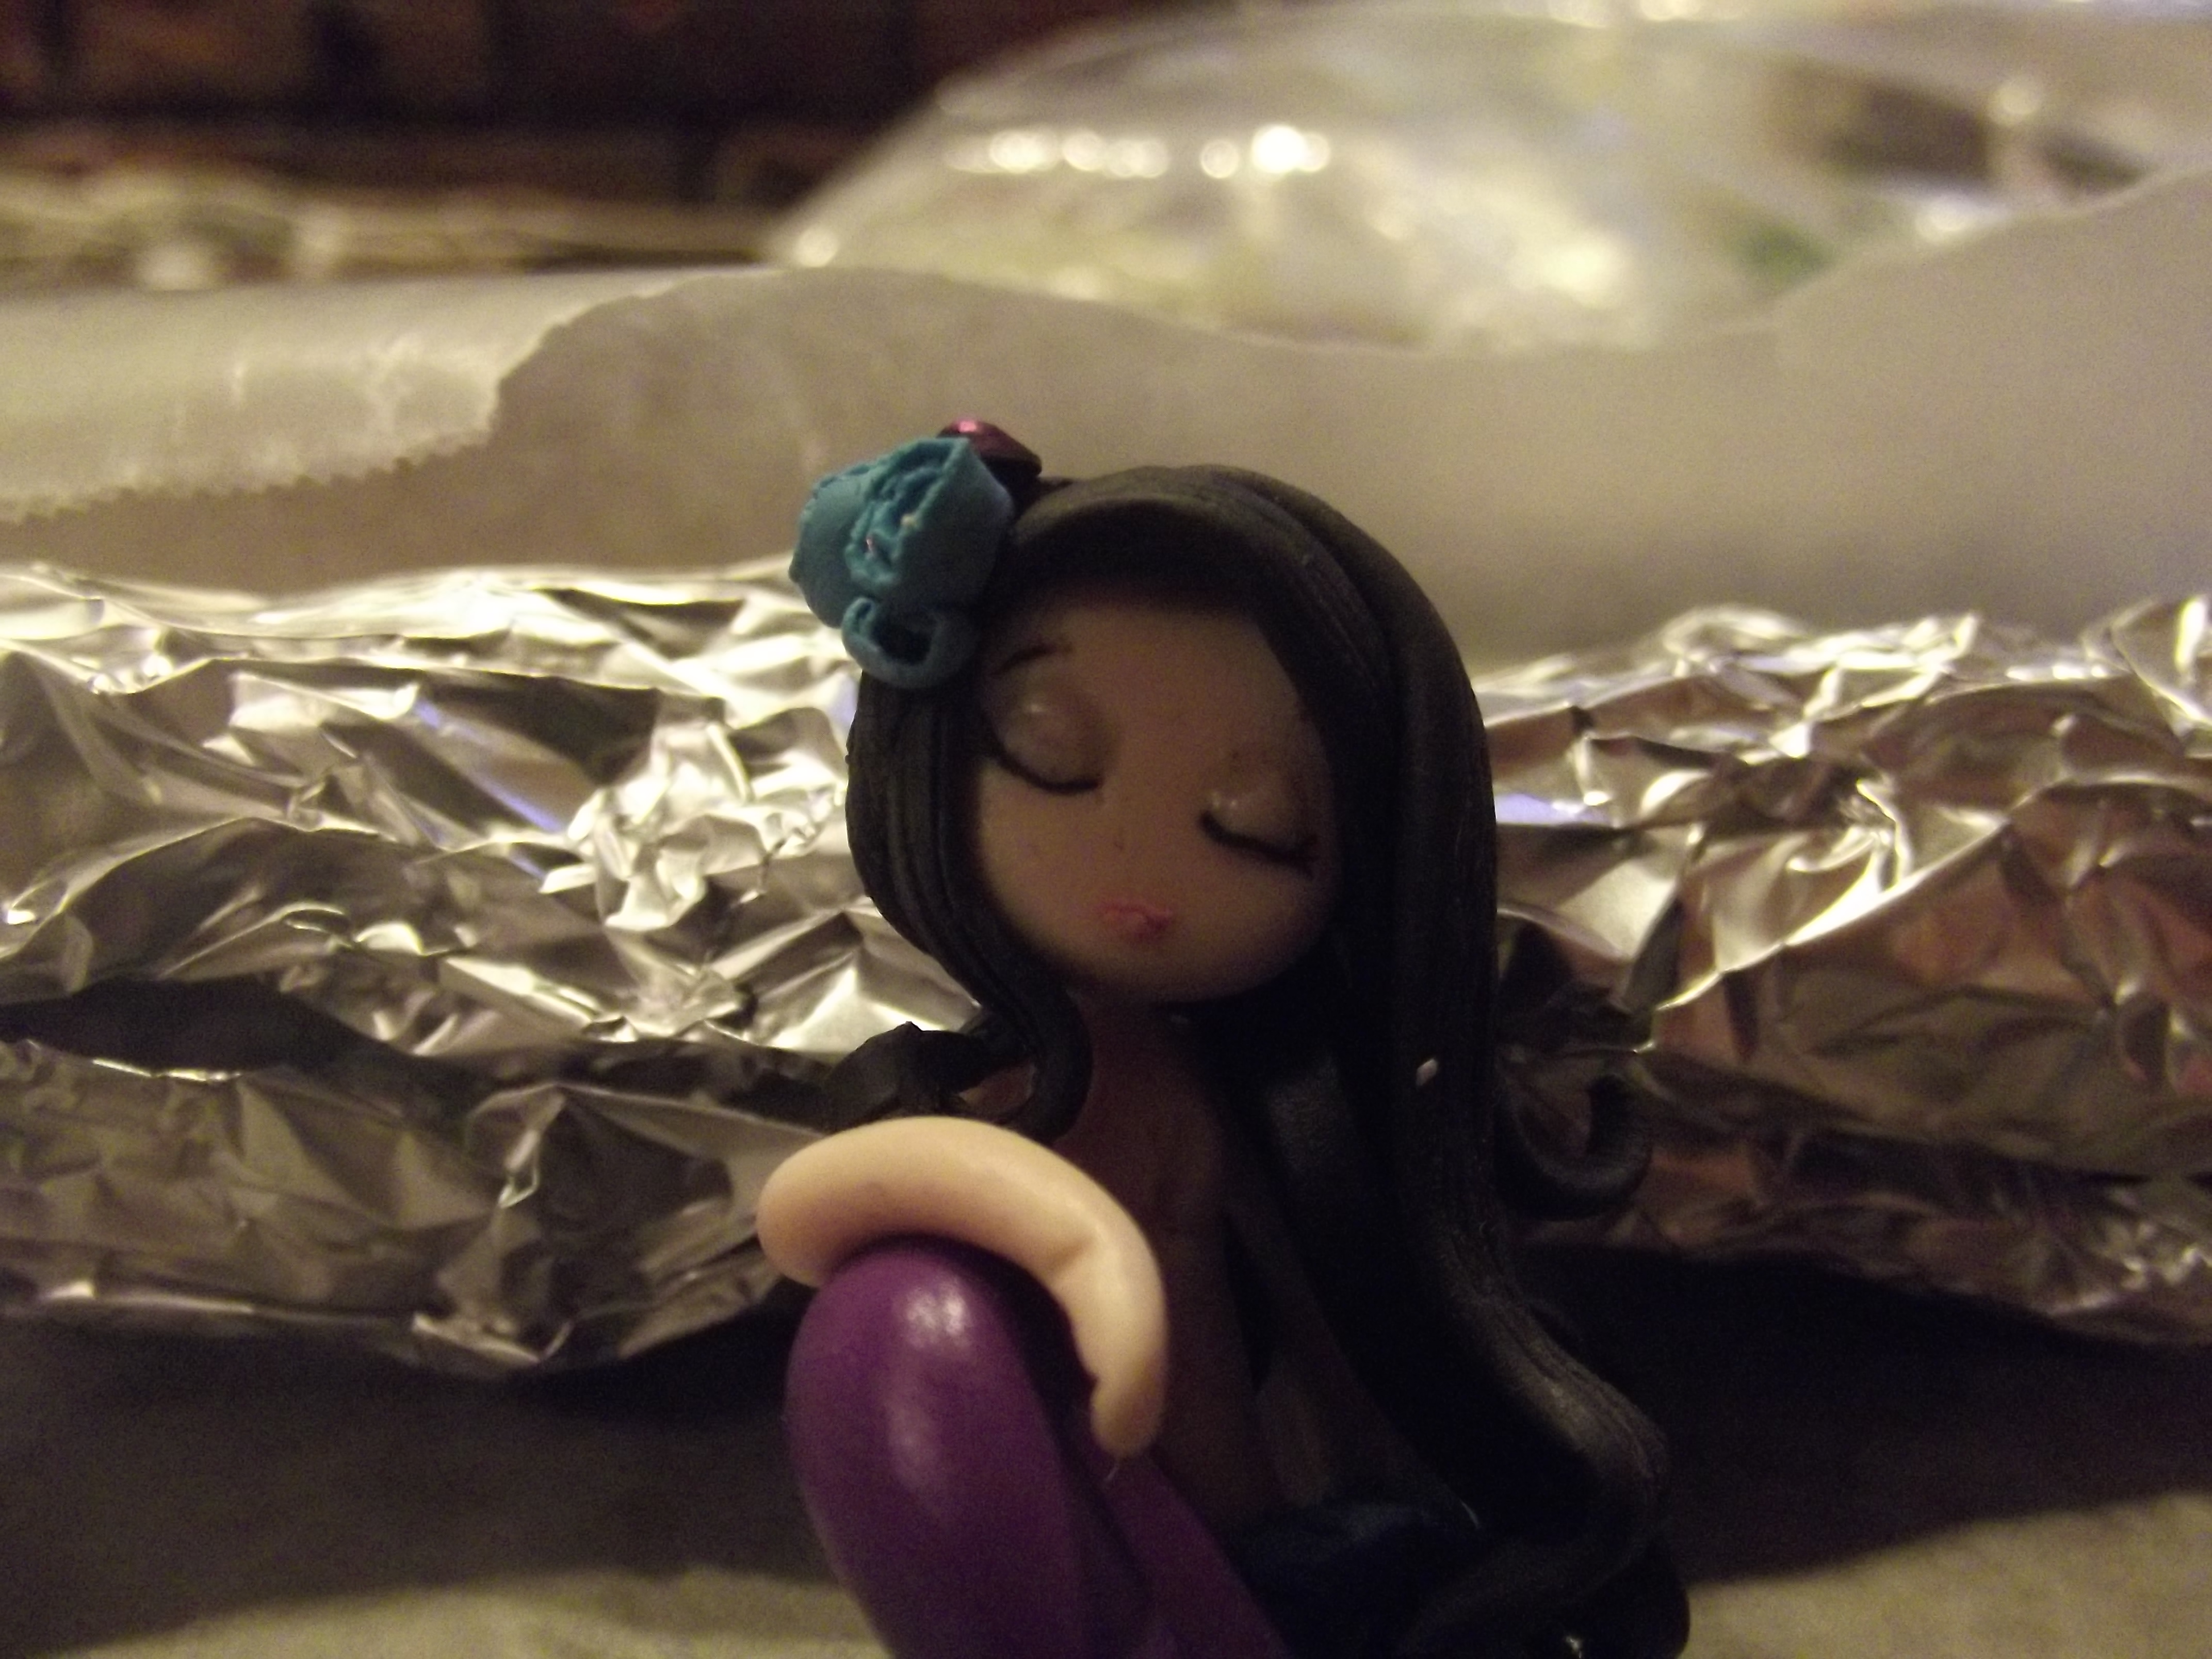
I know, this one seems like a duh, but even with the lower level I am at, I had to practice to even get this far. Every day I try to get better, and it takes a lot of practice. My chibis started out as balls on top of oblong chunks of clay. I used to paint all my details rather than working with small bits of clay. It isn’t easy, but it is very rewarding. And if this is something you love to do, you won’t even notice the time pass as you put some extra work into a special piece.
Tip 7: Be patient
My last tip is practicing patience with your work, your projects, and yourself. It is easy to get frustrated when something just doesn’t turn out the way you want it to, and so many times you will be tempted to give up. But know that you CAN do it, you will just need to give yourself. Not everyone can start out making beautiful life-like dolls like some of my favorite artists that I aspire to be like. I have my own goals, and one day I hope that I can make such lovely art dolls as I have seen, but right now? I know I need to be patient with myself and love what I do. Give yourself that same kind of care and time.
Well, I hope these few tips will be of some help to you! Hopefully I will have a new tutorial for you soon.